How to Thread a Sewing Machine Needle
The ability to thread a sewing machine needle is an essential skill in any modern-day seamstress or tailor’s craft. A sewing machine needle is a small piece of metal that is used to stitch fabric together. The correct threading of the needle is important for achieving even and consistent stitches. In this article, we provide a comprehensive guide on how to thread a sewing machine needle.
The first step is to ensure that the sewing machine is turned off. Place the spool of thread onto the machine’s spool pin. To make it easier to pass the thread through the machine, many seamstresses recommend that you use a thread stand. Guide the thread through the guides located near the top of the machine. Next, guide the thread through the thread tension adjuster, which helps you evenly control the tension of the thread as it passes through the machine. After passing through the tension adjuster, the thread should now come out of the take-up lever.
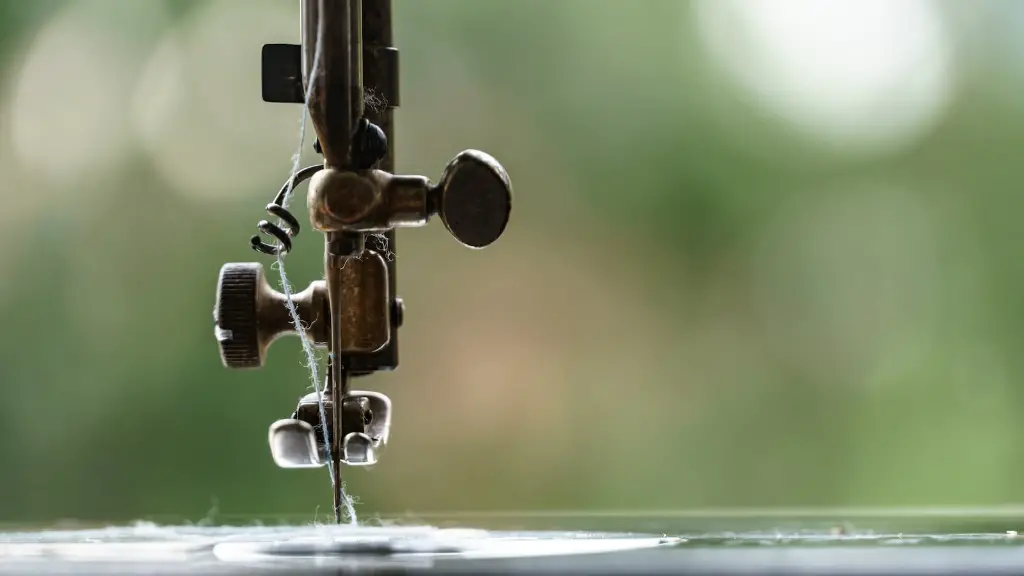
Once the thread has passed through the take-up lever, it’s time to thread the sewing machine needle. Start by pushing the needle up and away from the machine, so that the needle threader can slide onto the needle. Do this by turning the hand wheel towards you. Next, pass the threader over the needle and catch the thread into its hook. You should then see the thread pulled through the eye of the needle. Pull the threader away from the needle and wrap the thread around the thread post.
Now that the thread is correctly passed through the machine and the needle, one must now check that the thread is correctly in the tension discs. This is a vital step as incorrect tension can lead to uneven garment stitching. Gently pull the thread downwards until it reaches the tension discs. Once at the tension discs, the thread should be snug and tight. If the thread is too loose, simply adjust the thread tension adjuster to increase the tension.
Finally, to complete the threading of the needle, simply take the thread and guide it through the presser foot, creating a loop of thread. This loop will later be placed under the presser foot, securing the thread and fabric in place, creating strong and secure stitches.
Troubleshooting Common Threading Problems
Sometimes a thread may become twisted and knotted in the machine or on the bobbin, leading to a break in the threading pattern. To avoid this, regularly inspect the thread for any tangles or knots. If any knots or twists are found, remove them gently as to not damage the machine. When threading the bobbin, also ensure that only one side of the thread is pulled from the spool, otherwise the thread will likely become tangled.
Related Terms To Keep In Mind
One of the terms that any beginner to the craft of tailoring should understand is “backstitch”. This is the basic stitch used to secure the beginning and end of the garment’s seam. It is also used to secure any overlapping seams, such as when creating more complex garments. Backstitching should also be used if the thread has become untied or if the thread is changing colour.
Methods to Improve Needle Threading
Anyone wanting to improve the threading of their machine can experiment with different thread brands or sizes. Some individuals find that using a thicker thread helps to make the process easier. Some garments may call for the use of two separate threads, each a different colour. When threading two separate threads, be sure to alternate the position of each thread in the tension discs.
Tips For Beginners
For those just starting out, it is recommended that one regularly checks the machine’s tension. To test the tension, simply place the fabric between the needle and the pressure foot, and then turn the hand wheel. If the thread appears too tight or loose, it can be adjusted accordingly. In addition, it is important to regularly oil the machine as this helps to increase the longevity of the machine.
Using Colourful Threads
Tailors and seamstresses can use colourful threads to add a unique touch to their finished garments. Before doing so, however, it is important to check the thread for any snags, knots or twisting. Special attention should be paid to the needle threader as its groove can be damaged by some of the thicker colour threads. To make the process easier, invest in a good-quality threader, such as those made of stainless steel.
Checking Finished Garments
In addition to threading the machine, one must also check the finished garment for any visible signs of bad threading. To do this, look over the finished seams and inspect each one for any loose or wavy stitches. If any of these are detected, simply re-stitch the area before the garment is worn.


