How to Thread the Bobbin on a Singer Sewing Machine
Working with a Singer sewing machine can be an enjoyable and creative hobby, but it often requires a bit of knowledge and understanding in order to get the most out of it. It’s important to understand how each part works, from the needle to the bobbin, and know how to properly set up and maintain your machine to get the best performance. One of the most important things to know is how to thread the bobbin on your Singer Sewing machine, so you can get sewing right away.
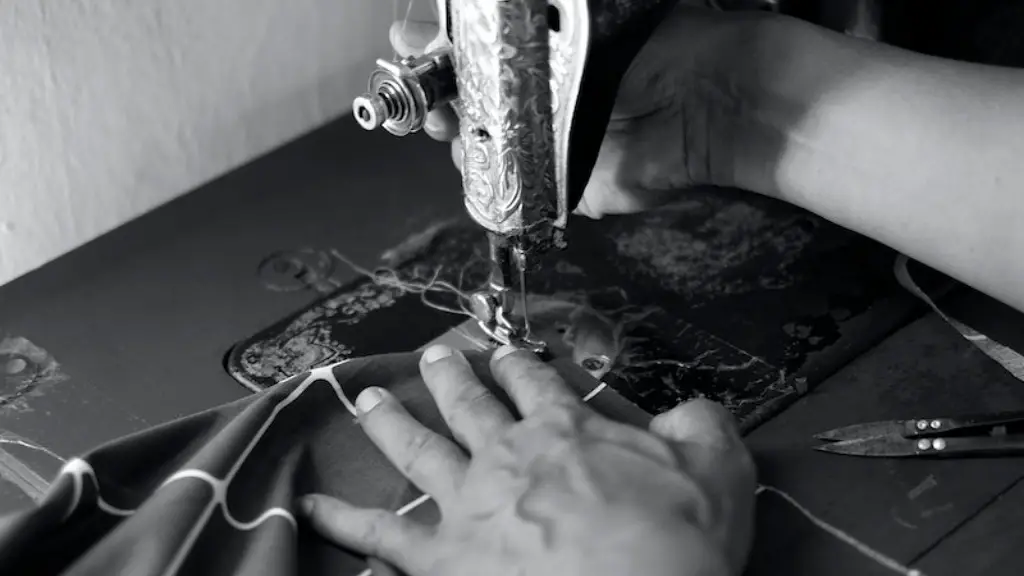
Threading the bobbin on your Singer Sewing Machine isn’t too hard, but it certainly requires patience and attentiveness due to the multiple steps involved. To begin, locate the bobbin in the needle plate, which can be found near the needle. Most sewing machines have a guide to the left of the plate that helps you to correctly position the bobbin.
Once the bobbin is in position, wrap the thread around the bobbin clockwise, making sure to keep the thread tight. When it is wrapped enough times, pass the end of the thread through the little hook. To secure the thread, grip the free end in one hand and pull the bobbin towards you with the other. You may need to repeat this several times until there is enough tension on the thread to keep it from slipping.
The next step is to thread the take-up lever. This can be found directly above the needle, and is usually indicated on the needle plate. Simply thread the end of the thread along the groove indicated on the needle plate and then insert it into the tiny hole on the take-up lever, which will pull the thread up.
Finally, once the thread is running along the grooved channel on the needle plate, wrap it around the bobbin holder and then pass it through the slot in the tension bar. This ensures that the thread is under sufficient tension throughout the whole stitching process and helps to minimize any bunching of the thread, which can cause your stitch to be uneven.
Once the bobbin is threaded, you can now insert it into the bobbin case. This can be a little tricky, as the bobbin needs to be placed in the case in the same direction as the thread. If the thread is not properly positioned on the bobbin, your stitch will not be correct.
The last step is to insert the bobbin back into the needle plate, making sure that the thread is coming up through the opening in the needle plate in the same direction as the thread is wrapped around the bobbin – otherwise, the thread will not pass through the needle correctly. Keeping the thread tight, turn the hand wheel towards you until you see the bobbin thread on the needle plate.
Threading the bobbin is not difficult if you take your time and follow the instructions carefully. Understanding how to correctly thread your Singer Sewing Machine will save you time, ensure your stitches look good, and help you get the most out of your machine.
Correctly Installing and Positioning the Bobbin
The first step to threading the bobbin is to make sure it is properly installed and in the right spot. To do this, look for the bobbin holder in the needle plate on the engine side, and then fit the bobbin into the holder.
The bobbin should be in the same position as the stitching line and the thread needs to be in the same direction as the bobbin is turning. This makes it easier for the needle to pick up the thread as it moves up and down. The stitch width should also be set to the appropriate size for the fabric you are working with.
To avoid tangled threads, it’s important to use the correct bobbin size for the fabric you are working with. Generally speaking, the thinner the fabric, the smaller the bobbin should be. For fabrics like cotton, a #9 bobbin usually works best, whereas for heavier fabrics like twill or denim, a #11 or #12 bobbin is more suitable.
Once the bobbin is in place, take the end of the thread and wrap it around the bobbin a few times clockwise. Make sure the thread is tight, and then pass the end of the thread through the small slot or loop the bobbin. This will ensure the thread stays in place while you sew.
It’s important to make sure the thread is wound evenly around the bobbin so that it’s not too loose or too tight. This will make sure the tension is consistent and will prevent the bobbin from getting jammed up or tangled.
Finally, make sure to check the bobbin for any damage before you start sewing. Look for nicks in the thread, worn-out edges, or any other sign of damage. If your bobbin shows any signs of damage, it’s best to replace it before you begin sewing.
Tension Adjustment and Thread Selection
To get the best performance out of your machine’s stitching, it’s important to adjust the tension correctly. The tension will determine the amount of thread used for a stitch and the amount of pressure applied to the fabric. To adjust the tension, simply turn the tension knob on the side of the machine.
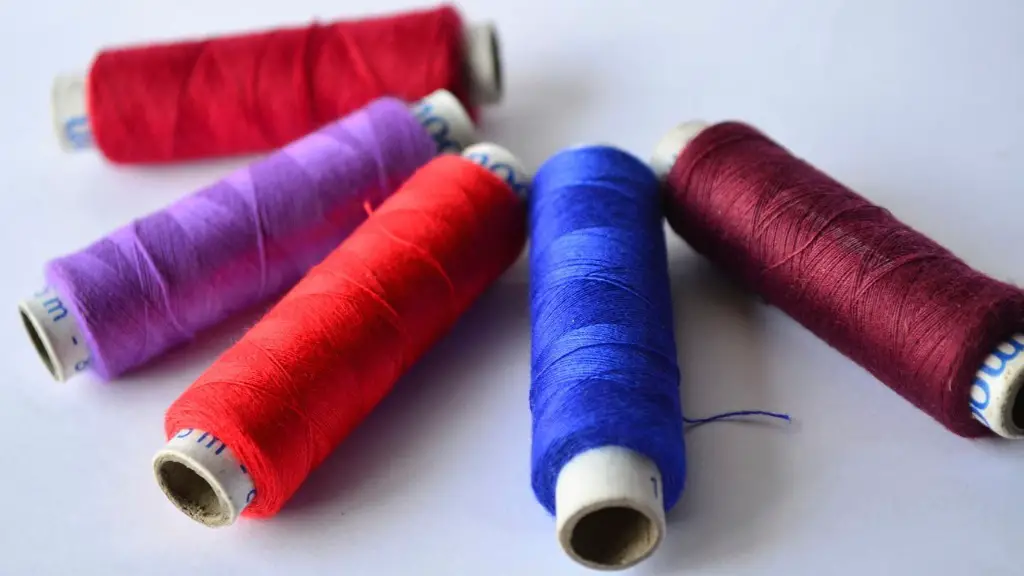
It’s also important to consider the type of thread you are using. Thread comes in many different thicknesses and colors, and it’s important to select the right thread for the job. For thin fabrics such as chiffon or silk, it’s best to use a thin, lightweight thread. For heavier fabrics such as denim or canvas, a thicker thread is usually more suitable.
For best results, use the same brand of thread in the bobbin and in the needle. This will ensure that the tension is even and that there are no tangles or knots in the threads. If the tension is too tight, it can cause bunching, while if it’s too loose, the thread may not stay in place.
It’s also important to make sure the thread isn’t too thin or too thick. If the thread is too thin, it can lead to skipped stitches, while if it’s too thick, it can lead to irregular and uneven stitches. Selecting the correct thread for the fabric you are working with is an important part of ensuring the best results from your sewing machine.
Threading the Needle
When it comes to threading the needle on the Singer Sewing Machine, there are a few steps to follow. First, take the end of the thread that is coming from the bobbin and thread it through the eye of the needle from the front.
Next, wrap the thread around the tension discs and bring it back to the top of the needle from the rear. Finally, thread the end of the thread into the hold of the needle plate and press the lever on the plate to lock the thread in place.
Make sure to check the tension of the needle thread to ensure it’s not too loose or too tight. Before you begin sewing, it’s also important to check and make sure that the thread is not tangled or knotted.
If the thread is too loose or too tight, it can cause skipped stitches and irregular stitches, so it’s important to make sure the thread is under the correct tension before you start sewing. With the right tension and the right type of thread, you can get started sewing and enjoy the results of your hard work.
Troubleshooting Common Threading Issues
When threading your Singer Sewing Machine, it’s inevitable that you’ll encounter some common issues, such as thread tension and skipped stitches. Fortunately, it’s usually not too difficult to troubleshoot these problems.
If you’re having issues with thread tension, you can adjust the needle tension by turning the tension knob on the side of the machine. If the tension is too tight, it can cause bunching or skipped stitches. If the tension is too loose, it can cause the threads to slip through the needle and get tangled or knotted.
If you’re having issues with skipped stitches, the thread may be too thick for the fabric or the tension may be too tight. Make sure the thread is the correct weight and thickness for the fabric you’re working with and adjust the tension until it’s just right.
If the thread is getting tangled or knotted, make sure the thread is properly wound around the bobbin and check the tension of the thread to make sure it’s not too tight. If the problem persists, it may be time to replace the bobbin thread.
With a little practice, threading the bobbin on your Singer Sewing Machine can become a lot easier. With the right thread and tension, you can get perfectly even stitches and enjoy the experience of sewing in no time.
