Safety and Preparation
Before attempting to tie off a stitch with a sewing machine, it is important to consider safety. Always make sure that the machine is unplugged when adding any attachments or adjusting settings. Any scissor-like edges should also be kept away from small children and pets to ensure that they do not hurt themselves. Make sure the area where the stitching is to be done is clean and well lit. All tools and supplies should be close at hand in order to avoid having to leave the area.
Once the area is prepped and ready to go, gather together any necessary materials. Of course, the most important item is the thread; you’ll need to make sure that the chosen thread is the correct type for the fabric and the machine. Also make sure you have sufficient thread as this will determine how long the stitch and tie-off takes. Finally, make sure that the sewing machine is correctly set up for the type of stitches you want to use.
Creating the Stitch
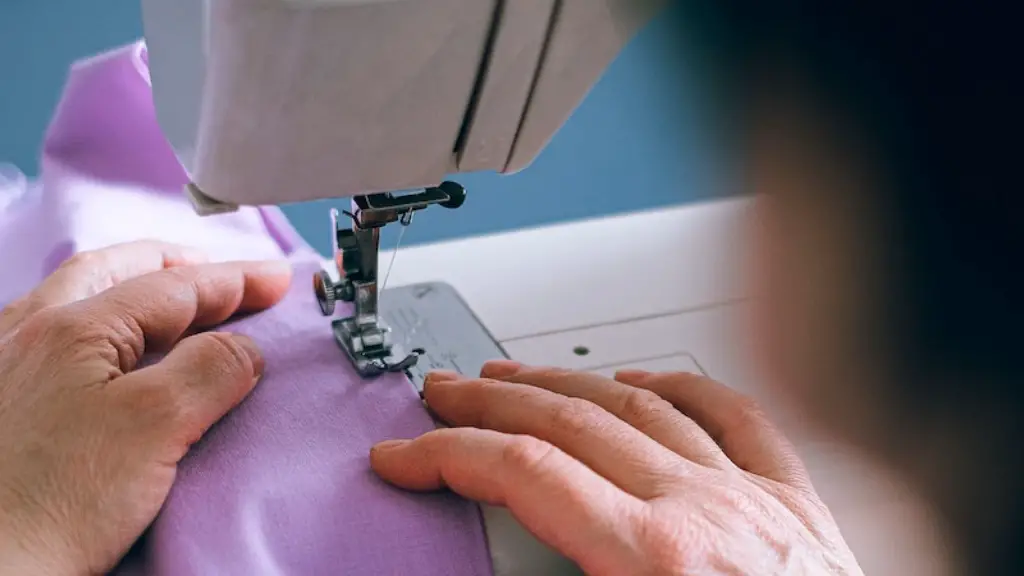
Now that everything is ready, it’s time to create the stitch on the sewing machine. Start off by positioning the fabric under the needle, ensuring that it is smooth and that the edges are lined up. Then, hold the two pieces of fabric together and lower the presser foot. Use the foot pedal to slowly guide the fabric under the needle, making sure that the stitches are evenly spaced.
Continue sewing until it is time to tie off the stitch. Depending on the type of stitch you are using, this could be at the start, the end, or somewhere in the middle of the stitch line. Once the last stitch is sewn, pause the machine and keep your hands steady.
Tying Off the Stitch
To tie off the stitch, you will need to hand-tie the thread at either end. Firstly, thread the needle with the same thread used to create the stitch. Then, place the needle through the back of the fabric, close to the end of the last stitch, and pull the thread completely through.
After that, wrap the thread twice over the base of the needle, then pull it tight. The next step is to move the thread to the reverse side of the fabric and put it through the loop twice more. Then, just pull the thread tight and snip off any excess thread with scissors before taking a few steps back to admire your handywork.
Understanding Different Stitches
Different stitches require different techniques when tying off the ends. A running stitch, for example, creates simple straight lines with short, evenly spaced stitches which can be easily tied off by making a loop and pulling it together twice. Zig-zag stitches, on the other hand, need a slightly different technique, as these stitches are thicker and won’t be able to be tied off with loops. Instead, the thread needs to be passed through the last stitch on the reverse side a few times before finishing with a secure knot.
It is also important to note that some stitches such as a stitch for attaching zippers or buttons need to be tied off manually, rather than on the sewing machine. This is usually done by hand-tying the opposite side with a tight knot and secreting the knot into the fabric so that it is invisible. As such, these are often the most aesthetically pleasing stitches.
Areas of Difficulty
There are certain instances where tying off a stitch can be more difficult than normal. If the fabric is thin or thinning, it may be hard to thread the needle properly through the fabric. Tight spaces such as around small seams or areas with lots of folds can also make it difficult to create an even line of stitching. In cases like this, it is best to take your time, as any mistakes may result in an unprofessional-looking final product.
Another area where extra care needs to be taken is when sewing on delicate fabrics or fabrics with intricate designs. These materials require special methods which are designed to prevent damage to the fabric or design. For example, when tying off the stitching on lace, it is important to use a hand-sewing needle and to tie the thread in multiple directions in order to increase the security of the tie-off.
Keeping Everything Tidy
Tying off a stitch with a sewing machine is not a difficult task but it does require patience and precision. As with any task in the world of sewing, tidiness is key. Whenever possible, keep any extra thread from tying off the stitch in a safe place, as it can be reused for other projects or tasks. It is also a good idea to lightly press the stitches around the tie-off area with an iron, as this will help to make the work look more professional.
Finally, when sewing is finished and the project is complete, it is important to check over the entire garment for any missed or undone stitches. This will ensure that the garment is kept in perfect condition, giving it a longer life and more use.
Care and Maintenance
No matter what type of sewing machine is being used, proper care and regular maintenance is essential. Many modern machines come equipped with built-in cleaning functions, including brush and vacuum cleaning, which should be used regularly. It is also important to inspect the machine for any signs of wear and tear and pay special attention to oiling and lubricating the machine and its parts. This will help to ensure the longevity of the machine and keep it running smoothly.
As with any skill, practice makes perfect when it comes to tying off a stitch with a sewing machine. Start off with basic projects and build up as you gain more experience and confidence. Eventually you will be able to tie off a stitch without even thinking about it.
Troubleshooting
No matter how experienced a sewer is, there may come a time when unexpected problems occur. One of the most common sewing machine problems is thread bunching or looping. This usually occurs due to an incorrect thread tension setting, and can be quickly fixed by readjusting the tension dial. If the thread still continues to bunch up, then it is likely that the machine is not threaded correctly and the thread needs to be re-threaded in order to continue.
Another issue which may arise is if the machine starts to skip stitches or makes a clicking sound when sewing. This is usually caused by the needle not being properly placed in the needle plate, or if the needle has become loose or damaged. It is important to replace any damaged needles as soon as possible in order to continue stitching safely and securely.
Saving Time When Sewing
Any experienced sewer knows that time is of the essence when it comes to completing projects. To save time when tying off a stitch, it is important to use the correct thread and the correct type of stitch for the fabric. Doing so will make the tie-off process much quicker and require less manual labour. It is also helpful to make sure the sewing machine is set up correctly, as this will allow for the stitches to be done in one go without the need for break time.
In addition, it is a good idea to invest in an automatic needle threader, as this will reduce the need to manually thread the needle. Finally, sewing machines can be speeded up or slowed down depending on the type of fabric being used. It’s important to practice techniques such as these, as they will all help to save time when tying off a stitch.
