Threading The Machine
The Kenmore 385 sewing machine is often a first machine of choice for beginners. It comes with all the features necessary to help aspiring sewers complete the perfect project. Despite being an incredibly versatile tool for a varied range of skills and sewing types, there are a few steps that need to be taken to ensure that it preparing the machine for use is done correctly.
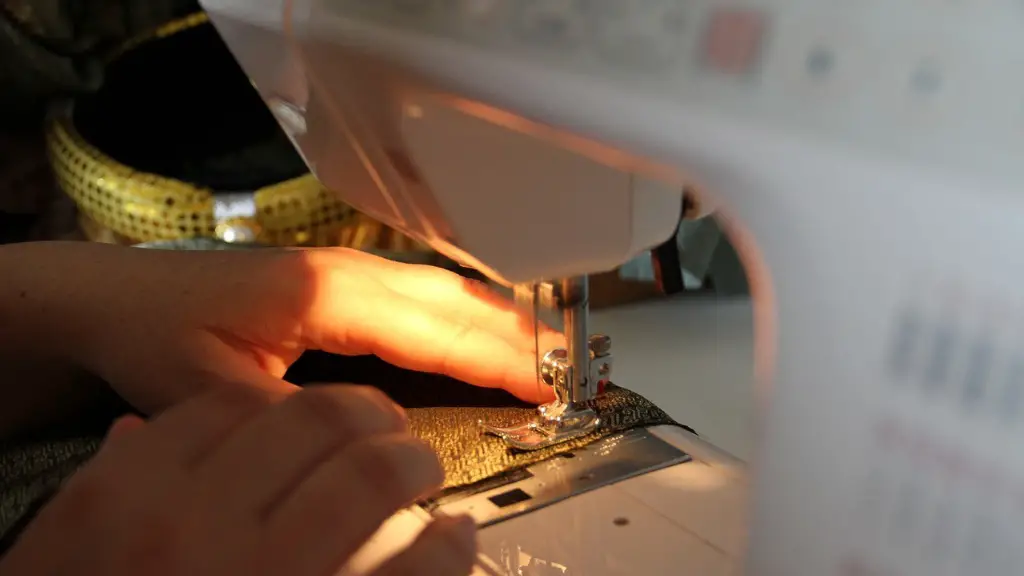
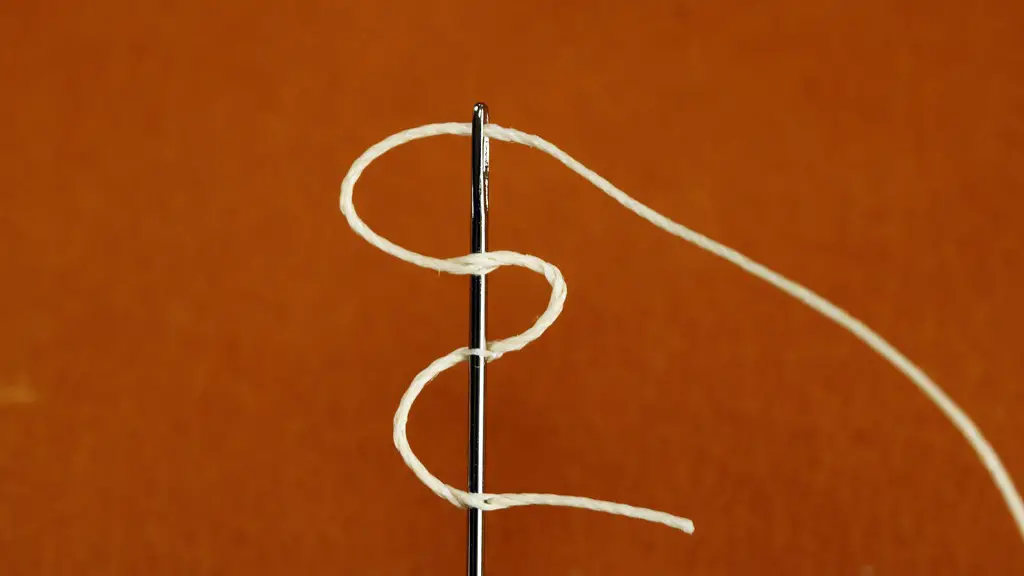
The first step of setting up the Kenmore385 model is to thread the machine. This can sometimes be an intimidating process for beginners due to the complexity of the machine, however with a careful and methodical approach it can be a relatively stress free task. Start by raising the presser foot and loosening the needle. Then, beginning with the spool of thread, turn the hand wheel anti-clockwise to raise the needle. After the needle is in the highest position, unwind the tread from the thread spool until it comes out of the slit in the bobbin winder and passes through the thread guide on the top of the machine. Pull the thread down until it reaches the take-up lever. Continuing with the top of the machine, thread the left and right thread paths to the corresponding eyelets, and from there over the tension discs. Once these have been threaded, slide the thread through the needle from front to back before passing it into the needle.
Winding The Bobbin
Now the top of the machine is threaded it is time to move onto winding the bobbin. Begin by selecting the right bobbin for your machine, as some bobbins can be too thick or too thin. Place the bobbin on to the bobbin winding spindle, making sure the bobbin is turned in the same direction as the example printed on the machine itself. This can be confusing as sometimes sewing machines opposite directions. Once the bobbin is in place, turn the hand wheel until the thread is able to be looped around the bobbin itself, before turning on the electric bobbin winder switch. As the bobbin winds up, make sure the bobbin is firmly pressed against the magnet; this helps to keep the thread securely in place.
Threading The Bobbin
With the bobbin fully wound the next step is to thread the bobbin. You may have noticed the slide plate on the front of the machine; this must be pulled out to access the bobbin. Beware that some Kenmore 385 models require the presser foot to be engaged for the slide plate to slide out. Place the bobbin into the machine itself, making sure it sits in the correct position. Thread the bobbin by turning the hand wheel in an anti-clockwise direction, and making sure the thread passes through the tension discs located in the bobbin holder. With the bobbin now threaded and the cover of the bobbin holder closed, the top thread should pull the bottom thread up through the machine, resulting in a successful threading of the bobbin.
Upper Thread Adjustment
Now the Bobbin is threaded and in place, the upper thread must be adjusted in order to ensure a tight, secure and neat stitch. To do this, ensure the tension control is set to the middle of 0-9. Pull the lever to raise the presser foot and turn the hand wheel clockwise. As the needle brings the threads in, adjust the tension by turning the tension control knob on the front of the machine.
Selecting The Stitch
Having adjusted the upper thread tension and inserted the bobbin and secure it in the machine, the next step is to select stitch type and length. To do this locate the stitch selector knob and find a suitable pattern that works for the project at hand. Refer to the manual if any questions arise as to what each stitch is best suited for. Generally speaking, the wider the stitch, the more decorative and the more narrow the stitch the more practical. After this has been decided the stitch length can be selected.
Choosing The Needle and Foot Presser
To begin a project the right needle and foot presser are important. Select them based on the project and fabric being used – stretch fabrics require different needles in comparison to cotton ones. Ensure whichever needle is chosen is compatible with the machine and the fabric, it helps to refer to the manual here. After this, select the presser foot – ensure it is correctly in place and the presser foot lever is in the down position.
Clean The Machine For Maintenance
In order for the machine to remain in excellent condition it’s important to clean out the machine on a regular basis. Removing the dust and lint build-up not only helps the machine from becoming clogged and overheated, but it also helps extends the life of the machine. Start by unplugging the machine to prevent any danger. Remove the needle plate, bobbin case and other parts by unscrewing them. After this, use a small brush or vacuum to clean away any lint or dust build-up. A specialized cleaner can also be used on more stubborn patches.
Maintenance and Troubleshooting
By keeping on top of the maintenance of the Kenmore 385, it will last a lot longer than an unkempt machine. Change the needle after every 10 hours of sewing, and use actual sewing machine oil only – this applies to the machine and the bobbin case. If any issues arise such as the machine becoming jammed, it is important to remain calm and refer to the manual. Common problems such as not picking up the bobbin thread can usually be solved with a little troubleshooting – check the presser foot is down, there is no dust build up, the needle is not bent and the bobbin thread is threaded correctly. If all these looks correct, the threading may have become loose or tangled.
Using Additional Features
Although it is relatively basic compared to more advanced models, the Kenmore 385 sewing machine comes with a range of additional features beneficial for the user. This includes an adjustable presser foot, extra accessories, an LED light and a hidden storage compartment. All these features can enhance the user experience; for example the hidden compartment can be used for organizing notions or bobbins. It is worth taking the time to familiarize yourself with all the features as it can enhance the quality of the projects.
Replacing Accessories
When it comes to conducting services on the Kenmore385 such as replacing accessories, it’s important to refer to the manual. Depending on the accessory being replaced, it could normally be done with no issue; for example, when replacing the presser foot or zipper foot the instructions are usually quite straightforward. But when it comes to replacing other complicated pieces such as serpentine cams it’s best to leave this to a professional.
Personalizing the Machine
Keeping the Kenmore 385 in good working condition isn’t only as much about functionality as it is about personalizing the machine. Replacing accessories, using the additional features and making it a comfortable workspace is key to experiencing maximal results. Padding the surface of the machine can prevent fatigue and blisters, whilst changing the presser foot can add some flair to the surface area. Aside from this, adding some floral or patterned fabric over the dust cover or painting the machine to match other projects or favourite colours, are all fun ways of making the machine feel your own.
Storing and Traveling With The Machine
The Kenmore385 is quite a weighty machine, tipping the scales at around 20 pounds. That’s why it is important to find the best way to store or transport the machine. Firstly, when storing the machine, make sure the power source and all accessories are removed. Secondly, traveling with the machine can be done in a variety of ways. Investing in a wheeled hardcover trolley is ideal; if not, wrapping and padding the machine before placing it in a box half full with newspaper or bubble-wrap is a good way to keep it safe. Lastly, using a cover can add another layer of protection and keep dust away.


