Getting to Know the Kenmore Sewing Machine
The first and most important step before using a Kenmore sewing machine is familiarizing yourself with its layout and functions. There are different varieties of Kenmore machines, with each featuring its own set of features and capabilities, so it is important to determine which model you have and familiarize yourself with its basic components, settings, and functions. Your machine may include an instruction manual that provides detailed information about its design and proper usage.
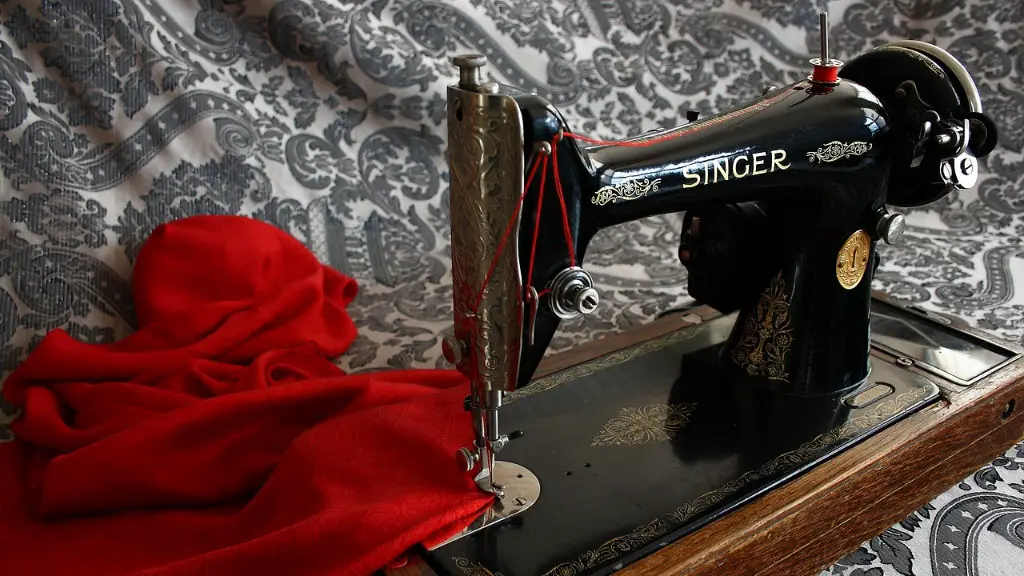
A few essential components common to most Kenmore machines include the bobbin and bobbin-winder, power switch, needle, tension dial, foot pedal, and arm cover. To start, locate and become acquainted with the components listed above, as this will help ensure that your machine is operating correctly.
Setting Up the Machine
Setting up your Kenmore sewing machine is relatively simple and straightforward. Start by plugging the power cord into a power outlet and ensuring the power switch is set to “On”. Now it is time to prepare the bobbin and bobbin-winder. Begin by winding the thread around the bobbin-winder in a counterclockwise direction for a few seconds, or until the bobbin is full. Then, attach the bobbin to the bobbin holder and drop the bobbin into the case. Secure the lid to the bobbin case, and the machine is ready to go.
Threading the Machine
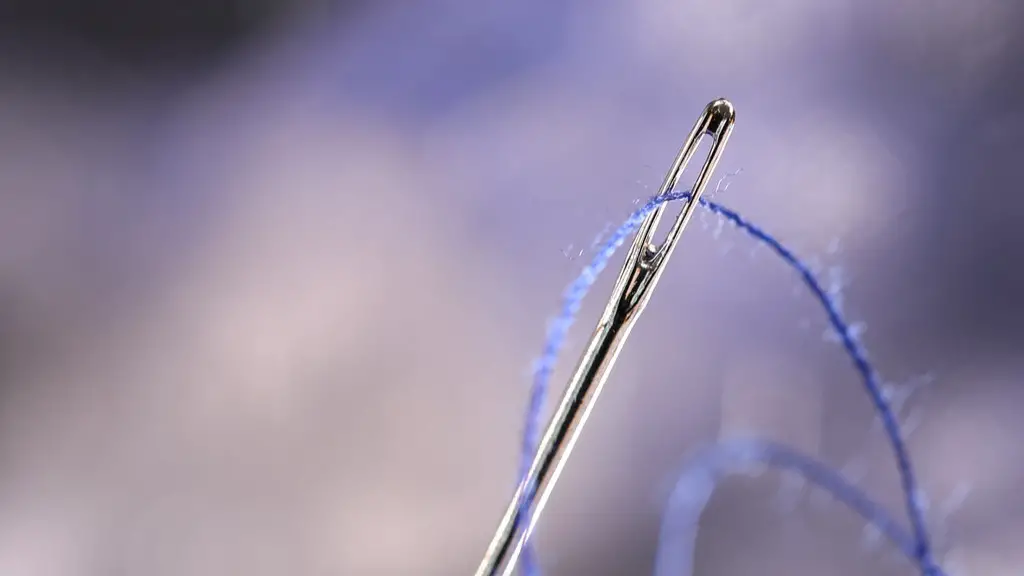
The next step is threading the machine. Start by threading the spool of thread onto the spool pin and guiding the thread through the tension disk, then to the take-up lever. Next, thread the needle with an up-and-down motion, and ensure that the upper thread has been grasped by the take-up lever as this will make sewing easier. To prevent the thread from loosening, tie a knot at the end of the thread, then trim the excess material.
Selecting Fabrics and Matching Threads
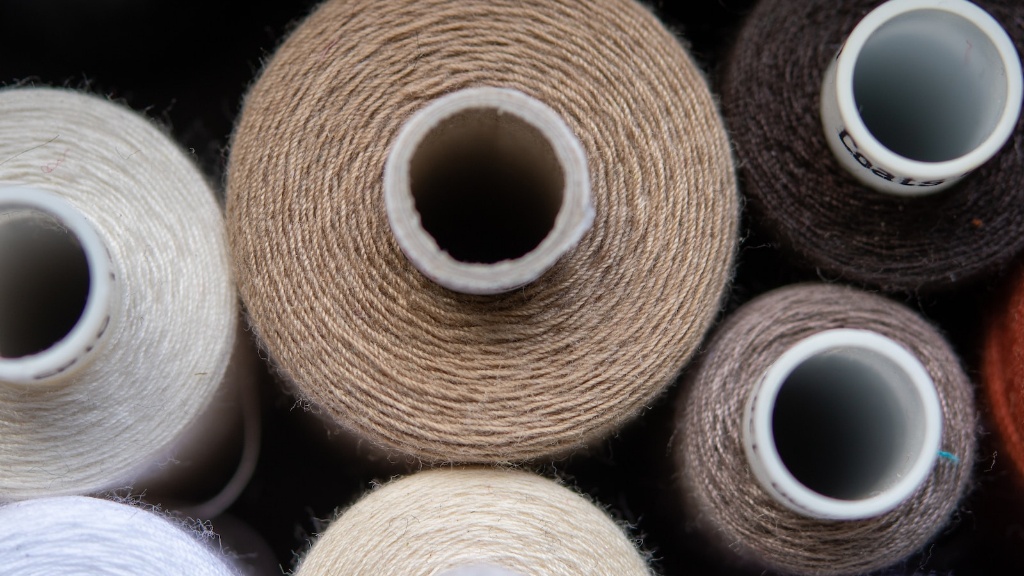
When selecting the right fabric and thread for a project, it is important to keep in mind that the quality of the thread and fabric should be suitable for the project. Choosing a fabric weight and texture that is compatible with the project and the thread size, type, and color is essential. Precisely measuring the fabric and making sure that it is adequately stretched on the sewing machine are both important factors to consider as well.
Sewing Straight Stitches
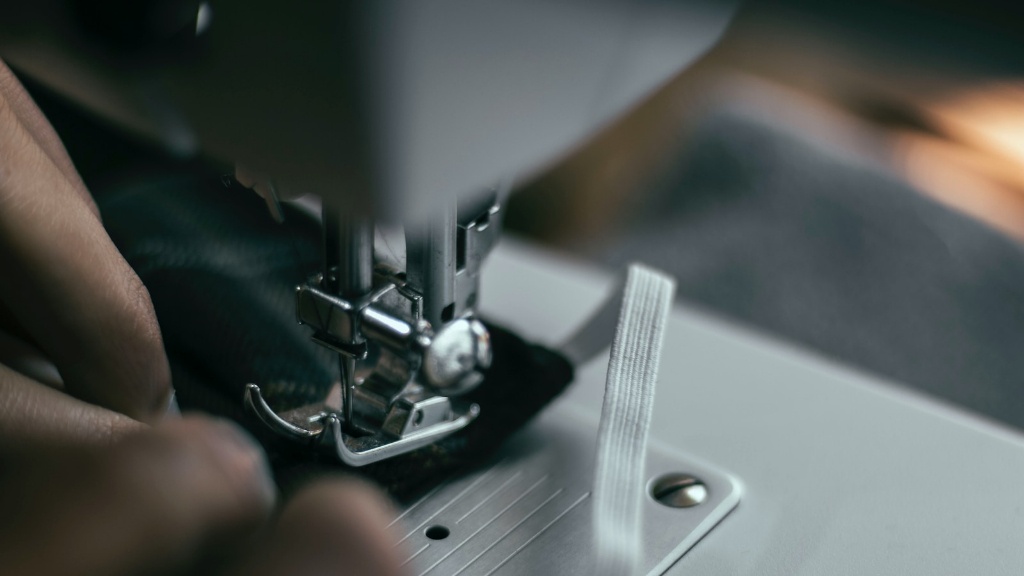
Using a Kenmore sewing machine is like painting a picture without the colors. All projects start with a simple straight stitch, which is critical for a finished product that is professional-looking. To begin sewing straight stitches, use a reverse stitch to anchor the thread and start the end of the fabric, and then proceed with a forward stitch. To ensure that the stitches are even, use the machine’s adjustable stitch length knob, and make sure to replace the needle when it starts to blunt.
Using Buttonhole Attachments
Buttonhole attachments are perfect for adding decorative buttons and patterns to your materials, and to use them you must start by positioning the zigzag foot onto the needle assembly. Then, secure the attachment by using the lever on the back of the foot and release the presser foot. Once the attachment is in place, you are ready to start creating buttonholes. Before beginning, it is important to make sure that the fabric is secure, as this will help ensure the buttonholes sew correctly.
Installing and Attaching Seams
Finally, when you are ready to sew seams, use the correct needle, thread, and adjust the machine’s tension according to material’s thickness. Start by laying the fabric right side up, then secure one side of the seam by sewing back and forth and locking the stitches. Once the thread is secure, attach the rest of the seam and press the foot pedal to start the machine and begin sewing.
Expanding Skills with Sewing Projects
Once you become familiar with the sewing machine, you can explore other sewing techniques, such as zigzagging, embroidery, and monograms. Try out different material and thread colours, or purchase kits to experiment with different types of fabrics. You may even attempt to make clothing, accessories, and quilts. With the Kenmore Sewing Machine, you can let your creativity run wild.
Keeping Your Machine Maintained
As you continue to use the machine, remember to periodically check the machine’s tension settings. This will help ensure that the fabric is properly secured and prevent any potential stitching problems. It is also important to regularly clean your Kenmore sewing machine by wiping down the interior and exterior of the machine with a damp cloth. Additionally, always refer to the instruction manual that came with your machine, as it will provide detailed maintenance and safety precautions.
Storing Your Sewing Machine
When you are finished sewing, be sure to properly store the Kenmore sewing machine. Unplug the machine, then dust off the interior or use the attachments provided with the machine. Additionally, the internal parts of the machine need to be frequently lubricated with sewing machine oil, and make sure to properly secure the machine with a felt cover to help guard against dirt, debris, and other items.
Conclusion
The Kenmore sewing machine is a great tool for any sewing enthusiast. With patience and practice, you can easily navigate the various components of the machine and start projects with confidence. A little knowledge and the right supplies go a long way when it comes to taking on any size sewing project.


