Introduction
Sewing machines have been around for centuries. They are a great way to make clothing, curtains, upholstery, bags and other household items. Sewing machines can be very expensive, but the Singer brand is known for its affordability and quality. Singer sewing machines have been used by both experienced and novice sewers for years.
When taking on a project with a Singer sewing machine, there are several important factors to consider. Knowing how to use a Singer sewing machine safely, efficiently, and productively is important for any project. This article will explain how to use a Singer sewing machine, including the basics, special features, and what to look out for while using the machine.
The Basics
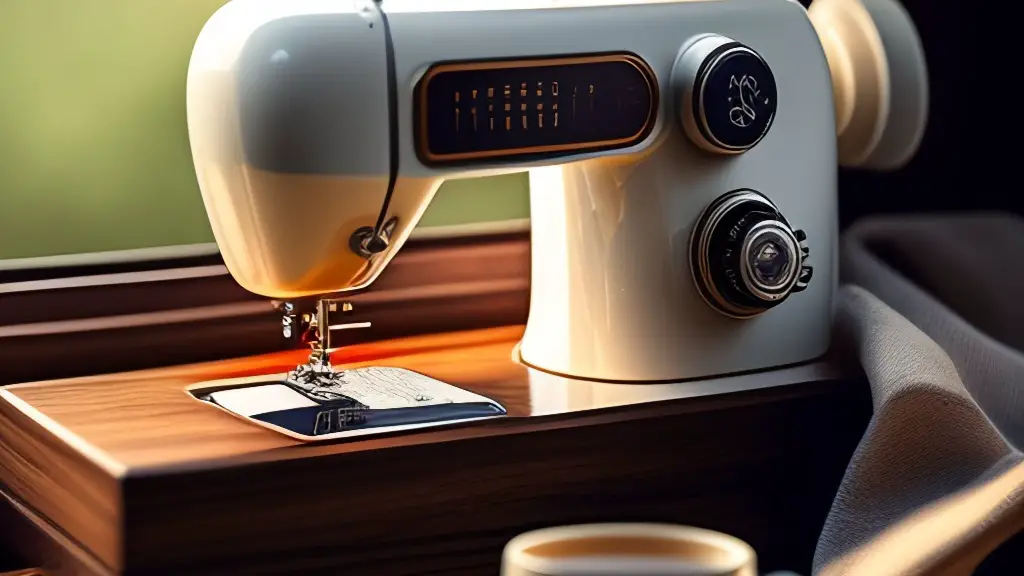
The first step to using a Singer sewing machine is to get to know the parts. All sewing machines are not created equal so it is important to familiarize yourself with the model you are working on. On most Singer sewing machines, the most important switch is the “stitch length” control, which allows the user to adjust the length of each stitch. Other important parts include the needle, presser foot, bobbin, bobbin case, thread tension, and needle plate.
Once the parts of the machine have been identified, the next step is to set up the machine. Depending on the type of sewing machine and the type of stitch, the machine may need to be threaded in a specific order. Make sure that all parts are in the right places and that the thread is going through the bobbin and bobbin case correctly.
Special Features
Singer sewing machines come with different stitch patterns and special settings for different fabrics. Many modern machines come with a computerized control panel that allows users to select the stitch pattern, stitch length, thread tension, and more. Most Singer machines also have a variety of specialty settings such as quilting, embroidery, and monogramming.
What to Watch Out For
When using a Singer sewing machine, it is important to be mindful of the fabric being sewn. Different fabrics require different settings, such as stitch length and thread tension. Make sure that all settings are correct before beginning to sew.
In addition, sewers should be aware of the needle. Singer sewing machines may require specific needles depending on the fabric. If the wrong needle is used, it can damage the fabric or break the needle.
Troubleshooting
Finding and fixing sewing machine issues can be tricky. The first step is to identify the problem. This can often be done by examining the fabric or thread. If the fabric is stretched, the tension may be too tight. If the fabric is puckering, the tension may be too loose.
If the issue is not with the fabric or thread, the issue may be with the machine itself. This can be difficult to diagnose as there are a number of parts that can malfunction. It is best to consult the user manual for troubleshooting tips before taking the machine apart.
Maintenance
Maintaining a Singer sewing machine is important for prolonging its life and functionality. Regular maintenance includes cleaning the machine, oiling the parts, changing the needle, and tightening the belt. It is important to refer to the user manual for instructions on how to properly clean and maintain the machine.
Safety
Safety must always be taken into consideration when using a Singer sewing machine. Always unplug the machine before making any adjustments or cleaning the area around the machine. Make sure that all parts are in the right places and that the needle is not bent or broken before sewing. Finally, make sure that fingers are away from the needle at all times.
Additional Tips
Using a Singer sewing machine is a great way to create beautiful projects. Having a few additional tips can help sewers take their projects to the next level.
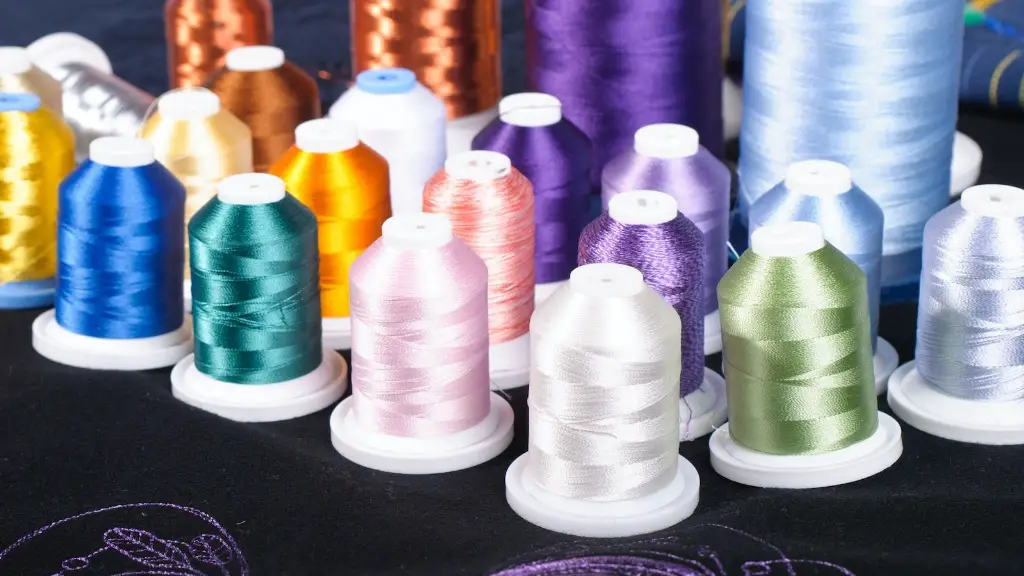
One way to ensure a quality project is to use the correct fabric and thread. Different fabrics require different needles and different threads. This can make a big difference in the outcome of the project.
Another tip is to practice. Sewing machines are complicated machines and it can take some time to get used to the various settings. Make sure to practice on scraps or inexpensive fabric before completing a large project.
Advanced Projects
Once sewers are comfortable with the basics of a Singer sewing machine, they can start tackling more advanced projects. For instance, sewers can make curtains, quilts, or upholstery. These projects involve manipulating multiple layers of fabric and using different settings.
It is important to take the time to understand the principles behind certain stitches and patterns. For instance, quilting involves layering multiple pieces of fabric together and stitching them in a specific pattern. Understanding how this works is essential for creating a quality project.
Interfacing
Interfacing is a great way to make certain parts of a garment more durable and shapely. Singer sewing machines come with a variety of presser feet for inserting interfacing. It is important to understand how to use this feature correctly to avoid stretching or distorting the fabric.
Interfacing can also be used to create fun, complex designs. By manipulating the stitch settings and interfacing pieces, sewers can create intricate designs with ease.
Tacking
Tacking is an easy way to temporarily attach two pieces of fabric together. This can be used to keep pieces aligned while sewing or when creating inside and outside corners.
Tacking is easy to do on a Singer sewing machine. By adjusting the stitch length, sewers can create a line of stitching that will hold the fabric together without being too visible. This can be done with most stitch patterns, though the best results are found with a zigzag stitch.
Masks
Masks are a great way to make a garment unique and eye-catching. Singer sewing machines come with a wide range of foot attachments for creating masks.
The most common type of mask is the patchwork mask. This mask is created by layering small pieces of fabric together and stitching them together. Adjusting the tension, stitching length, and stitch pattern can help create a unique design.
Masks can also be created with applique techniques or with embroidery patterns. These techniques involve sewing fabric or thread onto a base fabric to create designs. Singer sewing machines come with decorative stitching, allowing sewers to create intricate and intricate embroidery designs with ease.
Darning
Darning is a great way to repair and reinforce garments and fabric. On a Singer sewing machine, the darning feature usually involves lowering the presser foot and then slowly moving the fabric in a circular or elliptical pattern.
The darning needle should be set to the tightest tension possible to avoid skipping stitches. It is also important to use an appropriate thread for the fabric. Using a contrasting color thread can make the repair more visible and help to reinforce the fabric.
Closing Seams
Once the project is finished, the last step is to close the seams. Singer sewing machines come with a variety of stitch patterns for closing seams, including zigzag and overcast.
It is important to use a stitch that will not strain the fabric or be too visible from the outside. The ideal stitch length is based on the type of fabric and the amount of stretch.
By following these tips and familiarizing oneself with the machine and its settings, anyone can create beautiful projects with a Singer sewing machine. After some practice, sewers will be able to confidently and accurately sew any project with a Singer sewing machine.


