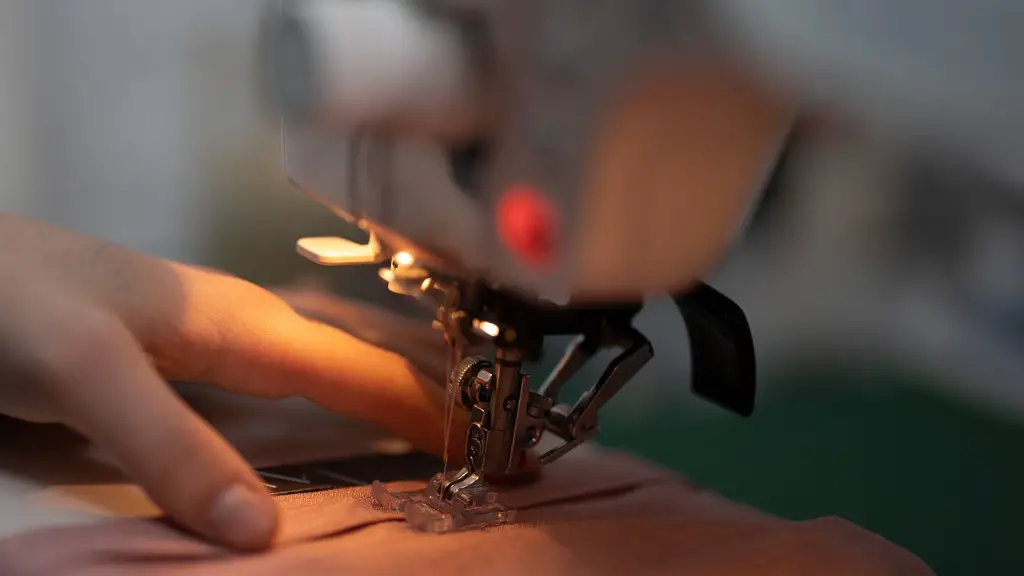
Singer is one of the oldest and most well-known names in sewing machines, and for good reason. With a wide variety of models to choose from, Singer sewing machines offer plenty of features and options for all of your sewing needs. Whether you’re a beginner just starting to learn the basics of sewing, or a more advanced seamstress looking for more versatility when it comes to projects, Singer sewing machines can provide you with the capabilities you’re looking for.
Although each Singer sewing machine is unique in its own right, they all feature several specific commonalities. All Singer machines are equipped with a lever or knob to release the bobbin, a reverse switch, the feed dogs, and tension adjustment mechanism. Most models will allow you to adjust the speed of the machine, and some have knobs that control the type of stitch selection you want for the project.
In order to get started using your Singer sewing machine, the first step is to wind the bobbin. Different models will have slight variations in how this process is done, so it’s important to consult the manual (or internet) to get an understanding for your specific machine. After the bobbin is appropriately wound and inserted into the slot, the next step is to adjust the tension. Singer machines generally feature a small wheel on the side or a knob on the top that can be used to adjust the tension, depending on the model you own.
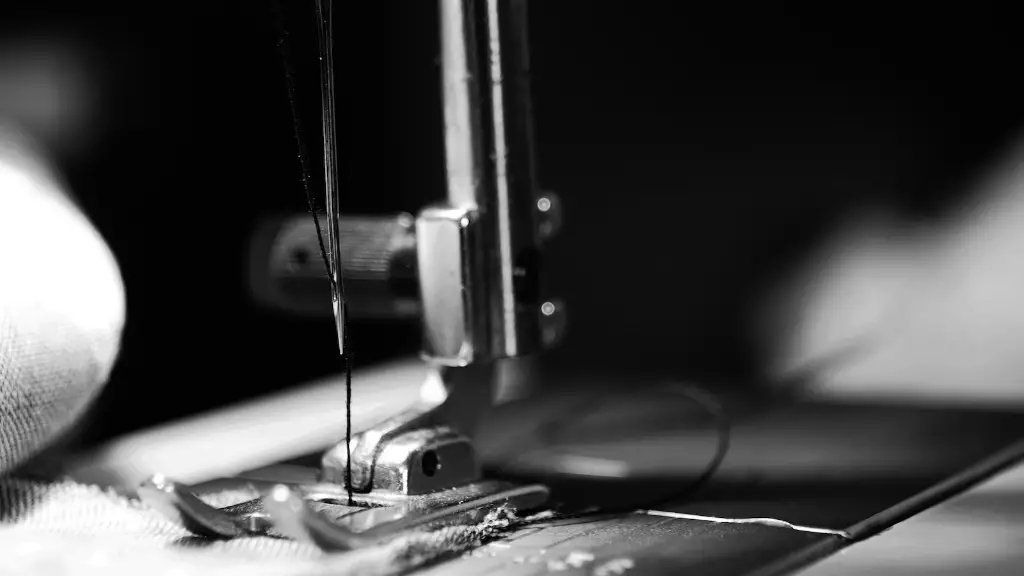
Once you’ve familiarized yourself with your machine and adjusted the settings, it’s time to begin stitching. To start the machine, press the foot pedal once to engage the needle. From there, slowly press the pedal down until the needle and bobbin are moving together. When you reach the end of your fabric, press the reverse button to create a secure lock-stitch at the end of each line.
Sewing machines have been around for centuries, and the Singer name is one of the oldest and most respected in the industry. With their functionality, thorough instruction manuals, and wide selection of models, Singer sewing machines can help anyone from the beginner to the experienced seamstress take their projects to the next level.
Advanced Sewing Techniques
Most Singer sewing machines feature built-in stitches like a straight line, zig-zag, and an option to create buttonholes. All of these modified stitches can be used to make more complex projects like clothing and upholstery, but there are also some other techniques that can be used to take your sewing game to the next level.
Stretch stitches are a great landing stitch, as they allow you to use the fabric’s tension and elasticity to try and create a more even top and bottom, creating the perfect seam. Blanket stitch is also a great option for clothing and interior décor projects, as it’s a reinforced stitch designed to provide added comfort and security to the fabric.
One other technique to explore is topstitching. This is a stitch that is designed to perform a decorative finish to the clothing item or piece. Not only does this stitching method look great, but it also helps to hold the fabric in place and prevents it from shifting over time.
Caring for your Singer Sewing Machine
Just like with any mechanical device, the proper maintenance and care of your Singer sewing machine is important to ensure it works properly and lasts for years to come. As soon as you finish a project, unplug the machine and take the bobbin out of its slot. This will help to avoid tension buildup in the system and will help keep your machine running smoothly.
It is also important to make sure you regularly clean the sewing area, as dust and debris can build up over time and affect the functionality of the machine. Also, make sure to keep the feed dog and tension knobs clean and clear to avoid build-up and malfunction over time. And be sure to regularly lubricate your machine with a thread lubricant to make sure the needle and feed dog run smoothly.
Putting it all Together
Once you’ve got the basics of your Singer sewing machine down, it’s time to put it all together. Whether you’re using a Singer sewing machine for sewing projects, clothing items, quilt pieces, or any other fabric-based project, the best way to get started is to practice and get comfortable with your machine.
It is important to pick the right fabric for your projects. Start with lighter fabrics like cotton and silk to get the hang of sewing and the mechanics of your Singer sewing machine before moving on to more intricate pieces with thicker fabrics such as leather or velvet.
Once you’ve mastered the basics, try creating something from scratch. With a Singer sewing machine, you can make anything from a simple dress to an entire quilt. Have fun with the creative process and explore all that Singer sewing machines have to offer.
Tips and Tricks for Using Singer Sewing Machines
When getting started with a Singer sewing machine, there are few tips and tricks you should keep in mind. Always read the instruction manual and make sure you understand the specifics of your model. As previously mentioned, practice with lighter fabrics before attempting more difficult pieces.
It is also important to practice patience and take your time when it comes to sewing. Trying to rush can often result in more mistakes. Keep things simple at first and gradually work towards more complex designs and patterns.
When you’re sewing, always make sure you’re using the proper needle size for the type of fabric you’re using. Using the wrong needle can lead to puckers and uneven seams. Finally, make sure to keep track of your tension and stitch size, as both of these can drastically affect the quality of your work.
Troubleshooting Common Problems
Singer sewing machines are reliable and sturdy, but even the best machines can sometimes have issues. If you’re having trouble with your machine, always make sure to double check the basics first. Make sure you’re using the proper needle, and that you’ve threaded all the components properly.
If your machine is still having issues, consult the manual to troubleshoot more serious problems. Common issues that can be caused by improper threading or tension include skipped stitches and uneven seams. Additionally, be sure to check the feed dog and the tension adjuster to make sure they’re both working properly.
If you’re still having issues, there are plenty of online resources and forums dedicated to Singer sewing machine troubleshooting and help. Don’t hesitate to reach out for assistance if you’re still having problems with your machine.
Conclusion
Singer sewing machines have been around for centuries, and for good reason. With so much versatility and capability, Singer machines are the perfect tool for any sewing project. From adjustable settings, to built-in stitches, and a wide selection of models to choose from, Singer sewing machines have it all. So get out there and get stitching!
