Thread the Machine and Bobbin
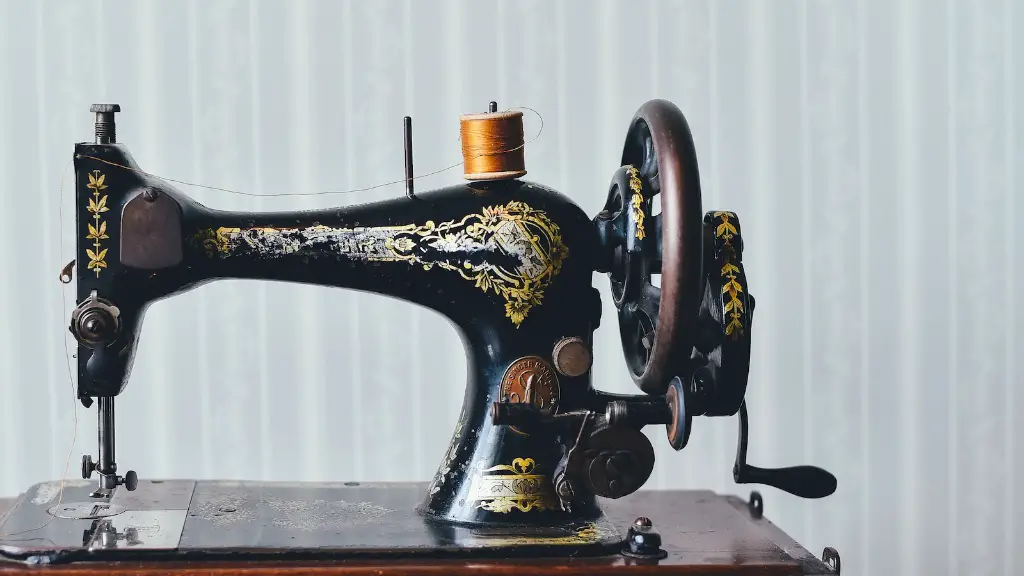
In order to use your Singer sewing machine, the first step is to thread the machine and bobbin. Start by locating the bobbin in the bobbin case. Make sure the thread is coming off the bobbin in a counterclockwise manner, as this will ensure it correctly will come off the bobbin as you sew. Insert the bobbin case back into the sewing machine. Now the upper threading needs to be completed.
To do this, start on the left side of the machine towards the back. Make sure the thread is coming from the spool and being directed towards the tension discs. Then catch the thread and gently pull it underneath the top tension discs and pass it through the top guide on the front. To finish the process, pull the needle thread through the needle.
Select the Appropriate Foot
To begin sewing, select the appropriate foot and attach it to the machine. Singer sewing machines come with three presser feet – a zipper foot, a straight stitch foot and a buttonhole foot. It’s usual to install a straight stitch foot to start. Unless you are pressing a particular design or item, this is the general foot of choice.
Start Sewing
Now that the bobbin, upper thread and the foot have been loaded and selected, it’s time to start sewing. Place the fabric under the foot and lower the needle. Begin by pressing the pedal to start the machine eventually finding the right speed and pressure best suited for you. Use the guiding lines printed on the machine to determine the best path and direction for the stitching as you go. Continue this process until the desired outcome is reached.
Reverse Stitching and Changing Threads
Some of the basic features of the Singer sewing machine include the ability to reverse stitch and to change threads. For example, if you are sewing two pieces of fabric together, you are able to stop the machine at the end of a seam and reverse stitch to anchor it securely. To change threads, simply pull the needle thread and cut it, place the spool onto the thread holder, and feed the same thread into the tension discs and guides, keeping the pattern consistent.
Remove the Fabric from the Machine
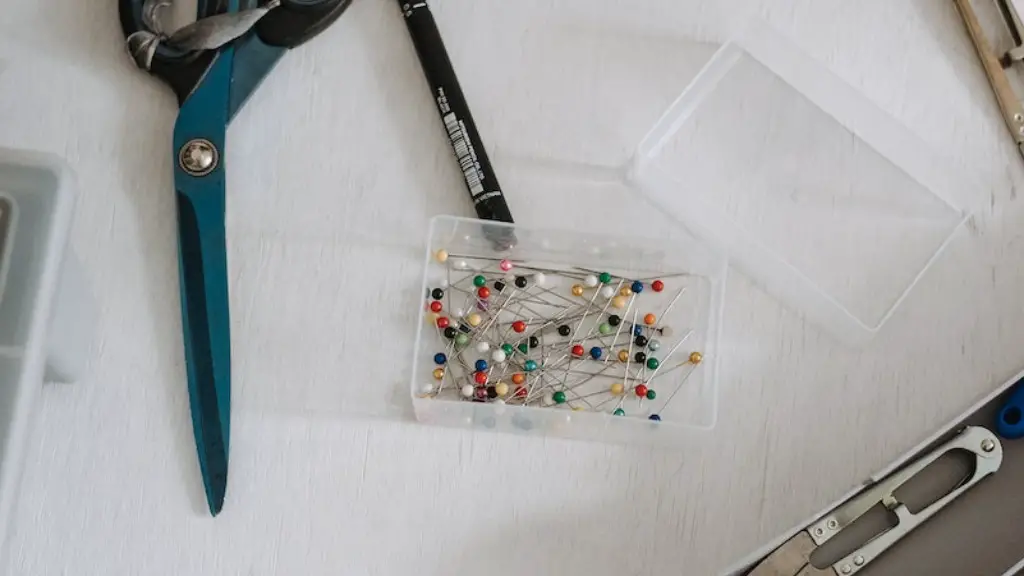
Once the task is complete, remove the fabric from the machine and cut off the dangling threads. If necessary, use your needlework scissors to trim any excess fabric. If you are unsure of how to remove the fabric from the machine, refer to your Singer machine’s manual for more detailed instructions.
Cleaning and Maintenance
Taking proper care of your Singer sewing machine is important in order to gauge the most productivity and efficiency from it as possible. To start, make sure to surface clean it after every project, removing any fabric remnants and grime that can make it difficult to work with. Then, routinely oil the internal moving parts of the machine to ensure smooth and comprehensive operation.
Troubleshooting Problems
In the event of a problem, it is important to first take the time to identify what the problem actually is before attempting to fix it. If it is a minor thread jam or clogged bobbin, the manual that comes with the Singer sewing machine usually has a troubleshooting section to assist. If not, there are also many tutorials online on website such as YouTube, that can help you out in a pinch.
Choose the Right Needles and Accessories
Singer sewing machines come with a wide range of needles and accessories for you to choose from. Start by selecting the appropriate needle for the fabric type you are using – typically an 80/12 for lightweight fabrics, a 90/14 for medium weight fabrics, and a 100/16 for heavyweight fabrics. Make sure you also have the correct machine accessories, such as machine needles, measuring tapes, seam rippers and scissors, to assist in creating precise stitches.
Understand the Variety of Stitching Functions
Singer sewing machines allow users to produce a variety of stitching functions. It is important to explore the various functions the machine can perform to understand the possibilities of what can be achieved. Classic stitches include straight stitch, reverse stitch, overcast stitch, topstitching, and blind hem. With the right attachments, Singer sewers can also produce buttonholes, zipper insertions, decorative edges and more.
Practice Saves Time
Though sewing can seem intimidating at first, practice and skill both come with time. Start off with smaller projects to develop your techniques gradually. Read over your instruction manual for guidance and remember that using the correct tools and techniques can save time and energy in the end. Even experienced sewers can benefit from brushing up on their technique from time to time.
Take Precautions with Overlocking Safety
The final safety precaution to keep in mind when using a Singer sewing machine is to avoid the risk of overlocking. Ensure the foot control does not become entangled in the fabric or other items you are sewing, as this can cause pieces to collide and break or cause injury. Stay focused and alert to any risks you may encounter while working at the machine.


