Overview
Singer Sewing Machines have been around for over 150 years, and due to their long-lasting construction and durable parts, many of these machines are still in use today. Though modern technology has made sewing machines increasingly simpler and easier to use, many prefer the old-fashioned art of using an antique Singer Sewing Machine. To help those looking to dust off their Singer and begin sewing, here you’ll find tips on how to get started.
Preparing Your Machine
When you’re ready to begin working with your old Singer Sewing Machine, there are some steps you should take first. Before operating the machine, make sure that it is still in good working condition, as these antique machines are delicate and will require some setup before they can be used.
You should first begin by cleaning off any built-up grime or dust. In addition, you should also inspect the power cord and make sure it has no exposed wires. If you notice any frayed or exposed wiring, you should replace the power cord immediately.
Next, make sure you’ve oiled any moving or operating parts. This will help ensure that your machine is running smoothly and without issue. Lastly, test the machine to make sure it works. Once it’s running normally, you’re ready to begin sewing.
Threading the Bobbin
Bobbin threading is an essential step to any sewing project. Threading the bobbin properly ensures that your fabric is properly secured and that you’re producing stitches of a high-quality. Threading the bobbin can be a bit tricky depending on your machine, so it’s important to pay attention and make sure you’re doing it correctly.
First, insert the bobbin and make sure it’s spooled correctly. This means that the thread should be coming off the bobbin in a clockwise direction. Next, draw the thread up through the tension disc and lay it across the top of the machine. Lastly, take it back through the bobbin case and press the lever to ensure it’s secured.
When the bobbin is fully threaded and you’ve checked that it’s running smoothly, you can begin to thread the machine.
Threading the Machine
Threading the machine is a particular skill that should be looked into before hand, as it can be a bit overwhelming at first. First, take a needle and thread it with the thread that you wish to use for your project. Next, draw the thread up through the thread guide, making sure that it is wrapped around the tension disc several times.
Once the thread guide is through the front of the machine, draw it up towards the loop and then down through the presser foot. Carefully pull the thread through and once more, draw it up above the needle and pull it completely through.
Now the machine is ready to sew!
Beginning to Sew
Before beginning any sewing project, it’s important to ensure that your fabric is secure. Start by securing the fabric with a few pins so that it doesn’t move when you begin to sew, and make sure you practice with some scrap fabric before you begin your final product.
Once you’ve secured the fabric beneath the presser foot, you’re ready to begin sewing. To get started, press the foot pedal on the machine and then slowly and steadily guide the fabric through the machine. When you reach the end of the stitch, stop the machine and raise the presser foot.
Once you’re content with the stitch, you can begin to remove the fabric from the back of the machine.
Maintenance of Your Singer Sewing Machine
In order to ensure that your Singer Sewing Machine runs as smoothly as possible, it’s important to keep up with maintenance. Make sure to clean and oil the machine after every use and make sure to inspect any fraying or damaged parts. In addition, if you notice any broken parts, make sure to attempt to repair them immediately or if it seems too complex for you to do yourself, find a professional to perform the repairs.
It’s important to note that in order to keep your Singer Sewing Machine in optimal condition, you should only use Singer brand needles and always make sure to read any necessary instructions before attempting to sew.
Using the Right Accessories
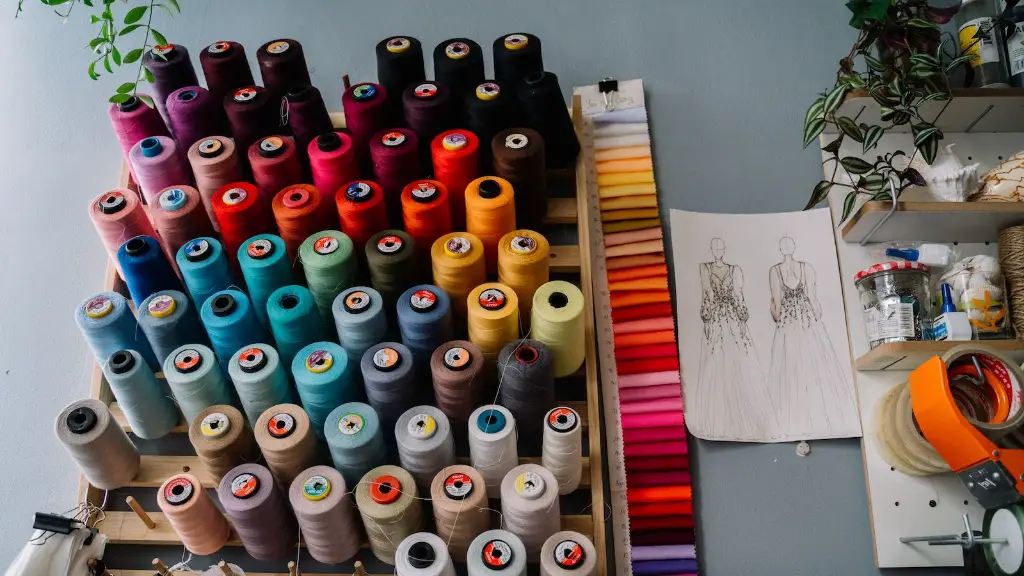
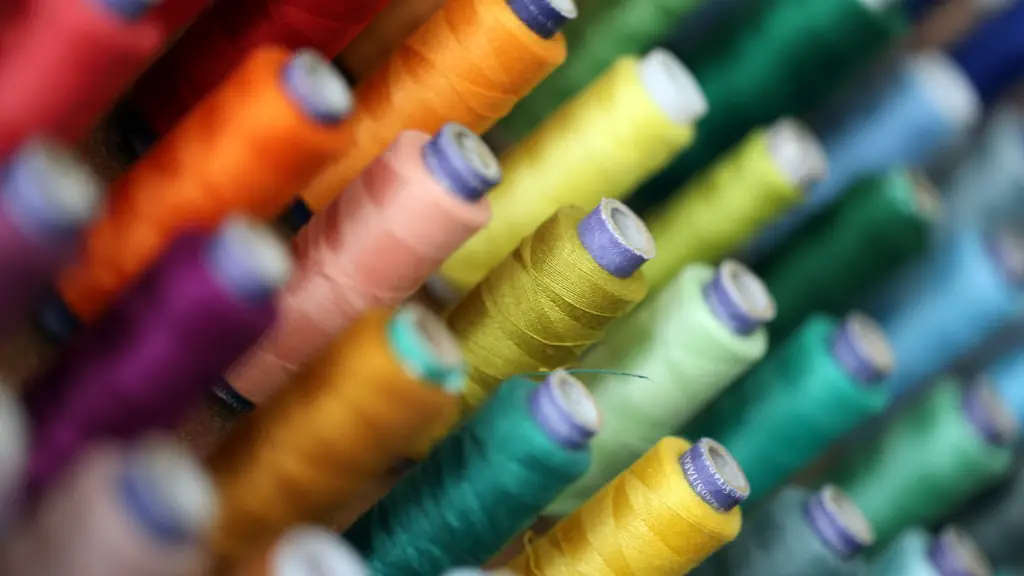
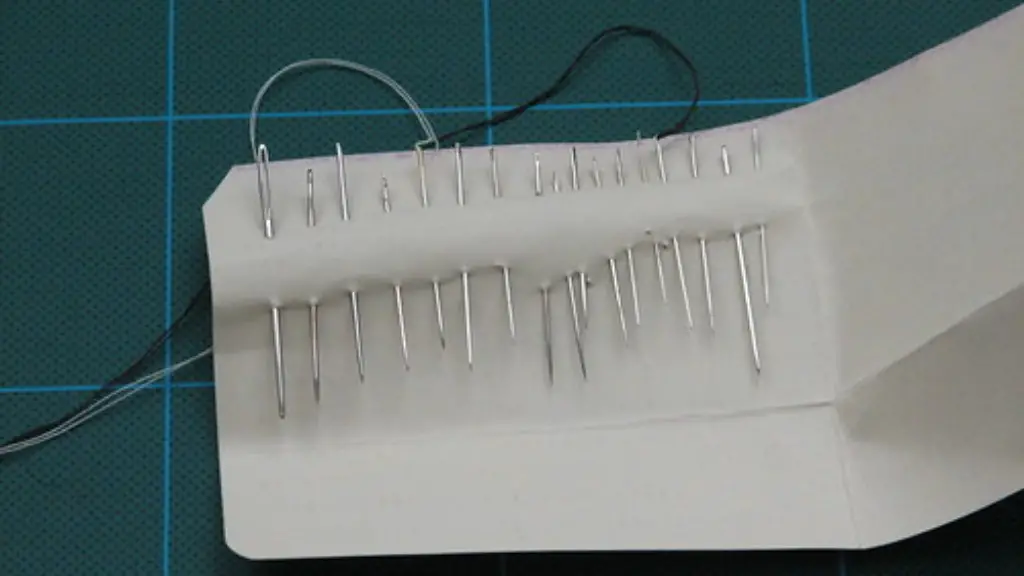
When it comes to antique Singer Sewing Machines, the right accessories are essential. To get the best possible results, you’ll need to make sure that you’re using the right needles and thread for the type of fabric you’re working with.
The thinner the fabric is, the thinner the needle should be. Additionally, make sure you’re aware of the types of stitches you’re making with your Singer, as some fabrics require special stitches or need to be reinforced in order to secure the fabric.
Finally, make sure to use the proper attachments or accessories for any specialized projects. These can be anything from zigzag stitches or quilting attachments, so make sure to research the type of project you’re attempting in order to utilize the proper accessories.
Learning the Basics
Learning the basics of using your antique Singer Sewing Machine is the best way to ensure that your projects turn out properly. Spend some time getting to know your machine and practice on scrap fabrics until you understand how the machine works.
Once you’ve learned the basics, you can move onto more complex projects. Keep in mind that the antique Singer Sewing Machines require patience and practice, but by utilizing the tips outlined here you’re sure to get the most out of your machine.
Troubleshooting
One of the most common problems that come up when dealing with antique Singer Sewing Machines is thread knotting or bunched fabric. If this happens, it’s important to inspect the tension and make sure that it is balanced correctly for the type of fabric you’re sewing.
Some machines can be overwhelmed if the tension isn’t set correctly, as the fabric can be too thick for the machine to handle. If this is the case, try to choose fabrics that aren’t too heavy or bulky and make sure to practice adjusting the tension if you’re working with a thicker fabric.
If the thread continues to knot or the fabric begins to bunch, try using the wider stitch setting on the machine to allow the fabric to move more freely. Additionally, you may wish to completely rethread the machine if the problem persists.
Keep Learning
In order to continue to get the most out of your antique Singer Sewing Machine, it’s important to stay up to date on the latest techniques, tools, and trends. Check out online forums, read how-to books, and take classes if you can. There are many resources available to those interested in sewing, even if they’re just beginning their journey.
Additionally, taking a few minutes to care for your machine regularly will help it last longer and can greatly improve the quality of the projects you put together. It’s also a great idea to purchase a spare parts kit or to invest in a spare Singer Sewing Machine. In this way, if one machine is having trouble, you’ll have a back-up that’s ready to go.
Sewing Projects
The main reason people buy Singer Sewing Machines is because of their ability to create beautiful, timeless pieces. Once you’ve practiced with some scrap fabric and learned the basics of how your machine works, you can begin making bigger and better projects.
From clothing items to quilts and even upholstery, your Singer Sewing Machine is capable of so much. Start off small with a few simple projects, like a pillow or a bag. As your skills improve, you can move onto more complex projects.
No matter what you’re creating, having the right supplies is essential. Make sure to invest in high-quality fabric and thread to ensure that your projects look their best. Additionally, have a few additional accessories or tools handy in case you need them.
Conclusion
While anyone can learn to use a Singer Sewing Machine, it takes patience, practice, and dedication to get the most out of it. This guide provides the basics to get you started, but much of the skill and art of sewing requires self-guided practice and careful study. When learning how to use your Singer Sewing Machine, keep in mind that this is a personal journey, taking the time to learn and appreciate the tradition and art of sewing.


