How to Work a Sewing Machine
Knowing how to use a sewing machine can come in handy in a number of situations. Perhaps you’re making a costume for a school production, a patchwork quilt for a special family member, or curtains for your living room. All of these projects require the use of a sewing machine and the more familiar you are with the machine and how it works, the easier your projects will be to complete. Here we discuss the basics of sewing and how to use a sewing machine.
Supplies Needed
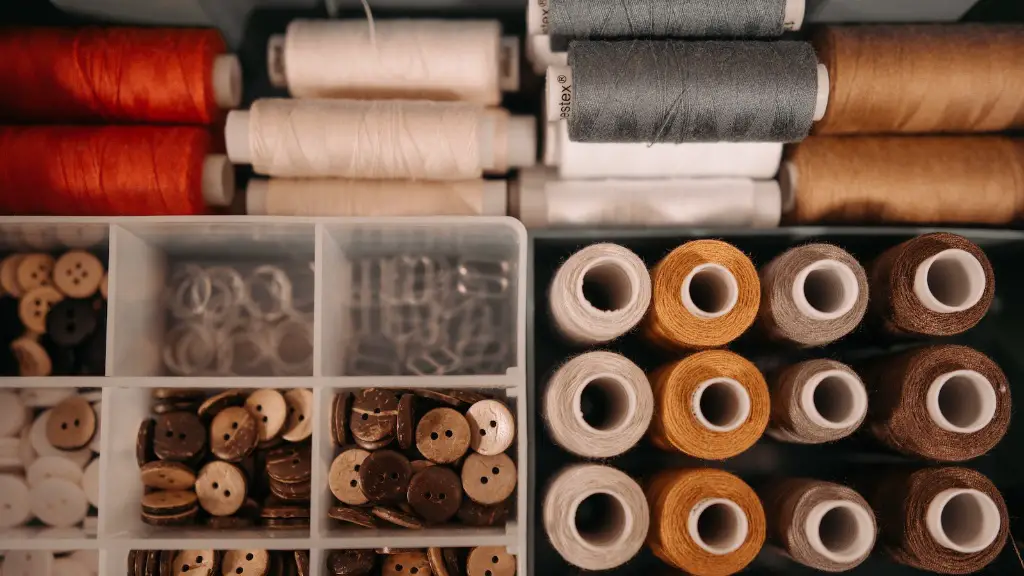
Before you can begin to learn how to use a sewing machine, it’s important that you have all the necessary supplies. This includes a machine and all its accessories, such as an instruction manual, sewing needles, thread, scissors, pins and chalk or fabric marking pen. You’ll also want to make sure the machine is threaded properly and the needle is seated correctly. Once you have gathered all the necessary supplies, you can begin to learn how to use a sewing machine.
Learning the Basics
Learning how to sew using a sewing machine involves several familiar processes. First, you must select the appropriate fabric for the project. Make sure it’s washed and pressed to avoid shrinkage later. Place the fabric on a flat surface, arranging it to the desired size of the finished project. If the fabric has a pattern, make sure it is facing the right way. Next, use the pins and chalk or fabric marking pen to mark the pattern pieces onto the fabric.
When you’re ready to begin sewing, set the stitch type on the sewing machine. The machine will likely come with a general instruction manual for the different kinds of stitches that can be created. This can vary depending on the model and the sophistication of the machine. For the most basic stitches, such as a straight stitch or zigzag stitch, a general instruction manual should suffice. Once you’ve determined which stitch to use, modify the settings to ensure the stitching size and width are correct. This can also be done using the instruction manual.
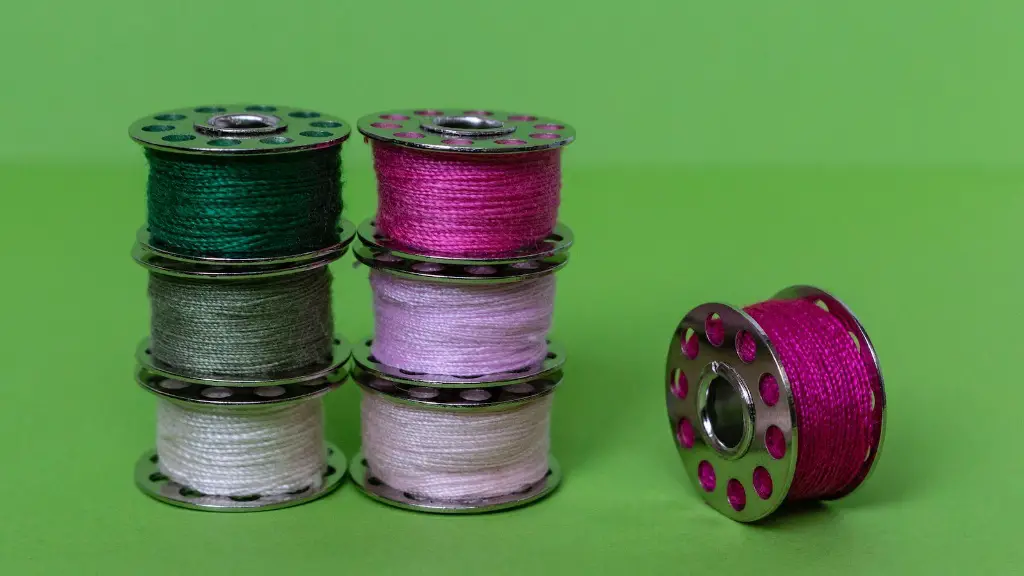
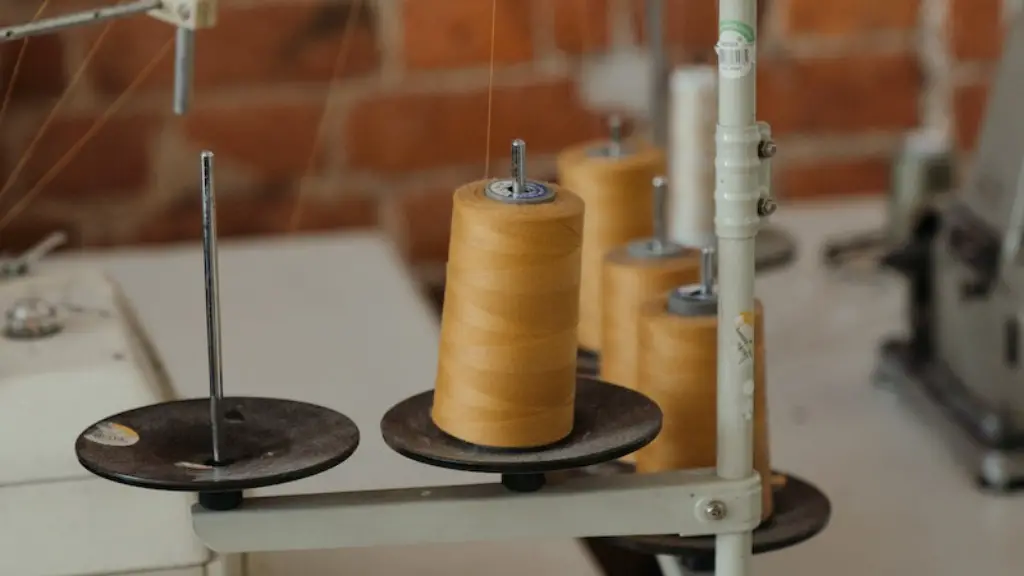
Before threading the needle, make sure the stitch width and length settings are to your desired specifications. Now it’s time to thread up the machine. Follow the diagrams in the instruction manual to thread up the machine. Start threading at the spool pin and make sure the bobbin is securely in the shuttle, where it will remain until it’s time to change it.
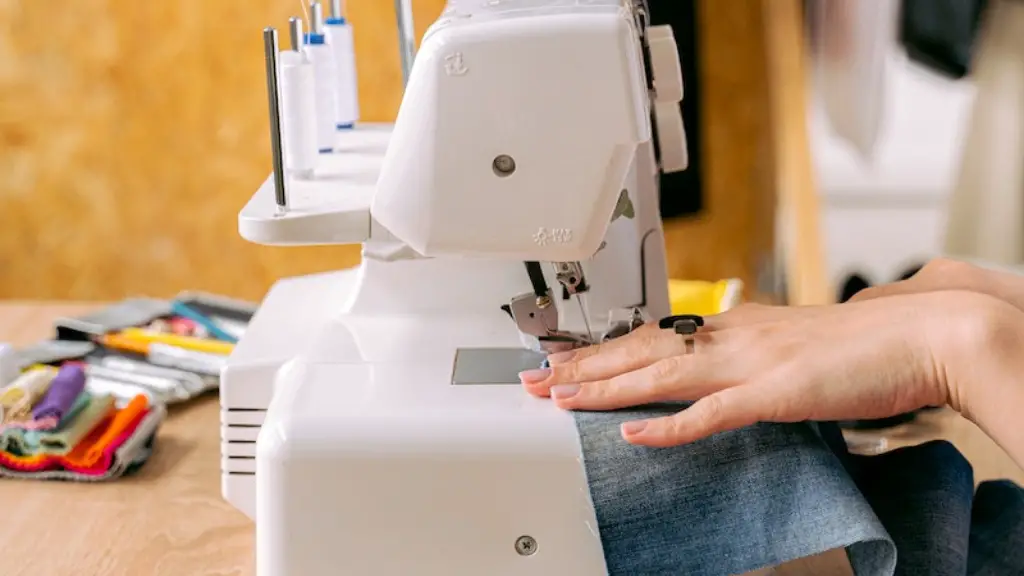
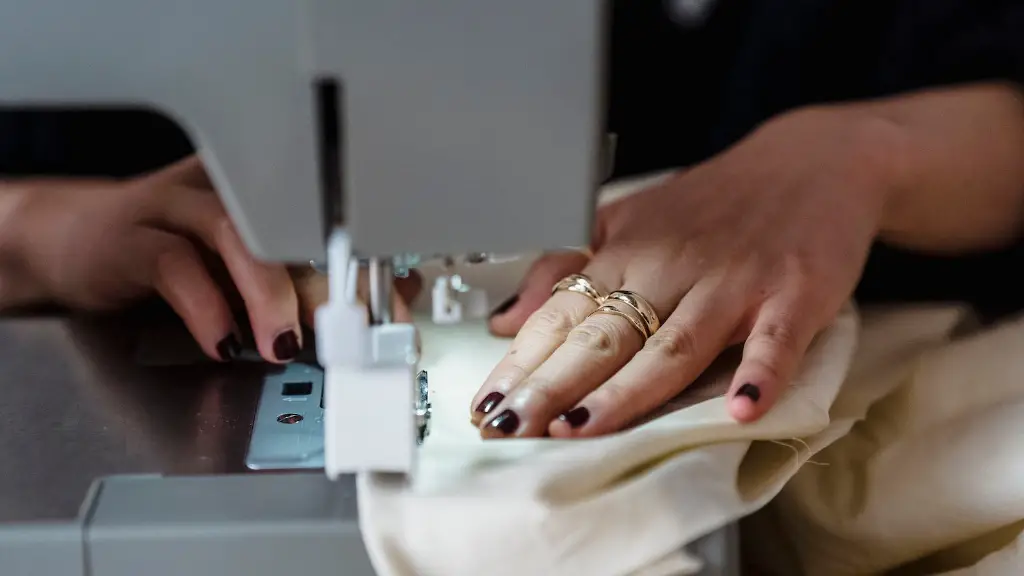
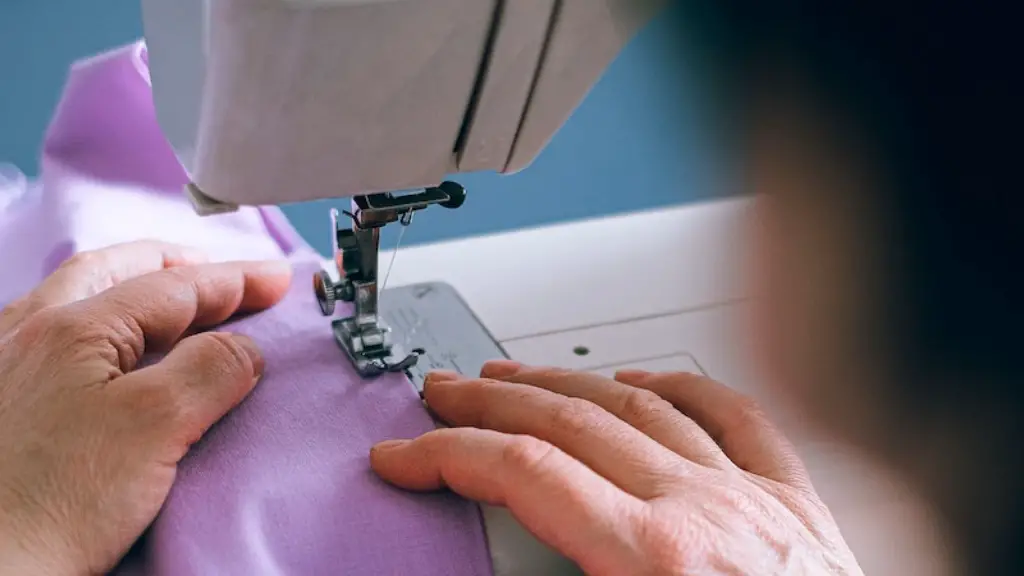
When you’re ready to sew, start by placing the fabric under the needle. Hold the edges of the fabric steady as you begin stitching. Remember to backstitch at the start and end of the stitch line. You’ll need to make sure the needle is straight and that your stitching lines are even. If you have questions about stitches, consult the instruction manual or a sewing machine dealer for advice and assistance.
Stitching and Joining
The stitches you use will depend on the project you are working on. For instance, for a garment you’ll want to use a thicker and tighter stitch that won’t come undone. For hemming, you may want to choose a smaller and more delicate stitch that can create a neat, finished look. In addition, you may want to consider using the machine to join pieces of fabric together. To do this, use an overlock stitch or a simple stitch that helps to secure the fabric pieces.
For seams, the stitching should be done with the wrong sides of the fabric facing each other. Use a seam guide on the machine to help ensure that the seam allowance is correct. After stitching, you should make sure that the seam allowances are neat by trimming off any extra fabric. This allows you to create clean, even seams. While stitching, don’t forget to ensure the edges of the fabric are held taut so that the stitching lines remain even.
Press and Finish
Finishing a project is just as important as the stitching process. Before pressing the fabric, it’s important to check the seams to ensure they are strong and secure. Once this is done, you can use a press cloth and iron to press the fabric and make sure it is neat and wrinkle-free. Pressing the fabric ensures that all the stitching lines remain neat and in place.
If you want to give your fabric a professional finish, you may want to consider using finishing techniques such as hemming and fringe-making. To complete these techniques, use the appropriate presser foot on the machine and follow the instructions in the instruction manual. Hemming is a great way to give any project a polished, professional finish. Once you’ve finished your project, it’s a good idea to check all the seams one last time to ensure they are strong and secure.
Cleaning and Storing the Machine
After you’ve completed a project, it’s important to clean and store the machine properly. This will help to ensure that the sewing machine is in good working condition for future projects. Unplug the machine and use a brush and vacuum to remove any lint and debris from the machine, bobbin case, throat plate and needle. Make sure to check the bobbin case for lint or thread that may be stuck in the mechanism and clear this out as needed. Wipe any remaining dirt and lint off the machine with a damp cloth, being careful not to saturate the machine.
Once the machine has been cleaned, replace the needle with a new one and rethread the bobbin and upper thread spool. Put the machine away in a cool, dry place, away from dust and dirt. That way it will be in good condition when you need to use it again.
Advanced Sewing Techniques
Once you have mastered the basics of how to use a sewing machine, you may want to consider taking your skills to the next level by learning some more advanced techniques such as inserting zippers, creating bags and buttons, or making lace. Many of these advanced techniques require more advanced machines. If you don’t have access to these machines, you may opt to take a sewing machine course or workshop at your local fabric store or craft store.
Sewing Machine Maintenance
Regular maintenance is an important part of keeping your sewing machine in good working condition. This involves regularly checking the needles and hooks to make sure they are not bent or worn. If the needle is bent, replace it with a new one. You should also check the tension on the thread and ensure it is at the correct setting. This can be done using the instruction manual as a guide.
In addition, it is important to regularly lubricate the sewing machine to ensure its proper functioning. Consult the instruction manual or a sewing machine dealer for advice on how to properly lubricate the machine. In general, the manual will suggest the correct type of lubricant to use and the frequency of lubrication. By following the manufacturer’s instructions, you can ensure that your sewing machine is well maintained and can remain in good condition for years to come.
Safety Guidelines
It is important to be aware of the safety guidelines when working with a sewing machine. Always be sure to unplug the machine when you are not using it. Never attempt to move the machine while it is operating. Also, make sure the machine is away from any heat sources as this can damage the machinery and cause injuries. Finally, always supervise any people under the age of 8 who are using the sewing machine. These safety guidelines can help keep you safe when working with your sewing machine.
Using Patterns and Templates
When you’re ready to embark on a project, you can use a pattern or template to help guide you. Patterns and templates provide detailed instructions and measurements that can be used to create the desired project. Make sure to read through the instructions before beginning the project. Additionally, use a fabric marking pen or chalk to transfer the pieces to the fabric before beginning the stitching. This can help ensure the pieces are cut out to the proper size and shape.
Using patterns and templates can help you create projects much more quickly and easily. They can be used to make clothing, bags, pillows, and more. Patterns are the best way to learn new techniques and they can provide inspiration for future projects. Using patterns and templates can help save time and ensure that your project turns out as planned.
Using Embellishments
Embellishments are a great way to spice up any project. They can be used to create a personalized touch and can help to add interest to any project. Embellishments can include ribbons, beads, sequins, buttons, appliques, and more. Make sure to use the proper tools for attaching embellishments, such as a needle and thread for hand-sewing, or a special presser foot for the machine. When attaching embellishments, make sure to only use light-weight materials that won’t damage the machine.
Embellishments can help to take any project from ordinary to extraordinary. They can add a unique touch to any project and help to make it stand out. By following the proper techniques, you can easily add embellishments to any project to create a truly personalized piece.
