Material Requirements
Leather is a challenging material to sew on a Brother sewing machine or any other sewing machine for that matter. It often requires heavy duty needles and strong poly-core thread. Leather is a heavier material and may require an industrial pressure foot to sew correctly and avoid needle breakage.
A leather needle will be necessary to penetrate the leather and an appropriate size needle appropriate for the weight of material to avoid skipped stitches. Round point industrial needles are recommended for leather and should be regularly changed.
A Teflon coated foot or a spring-action pressure foot will help to move the leather through the machine without sticking. For the best results use a foot specifically designed for sewing leather. These special presser feet have a non-stick coating and help create smooth consistent stitches in leather materials.
Thread Necessary for Sewing Leather
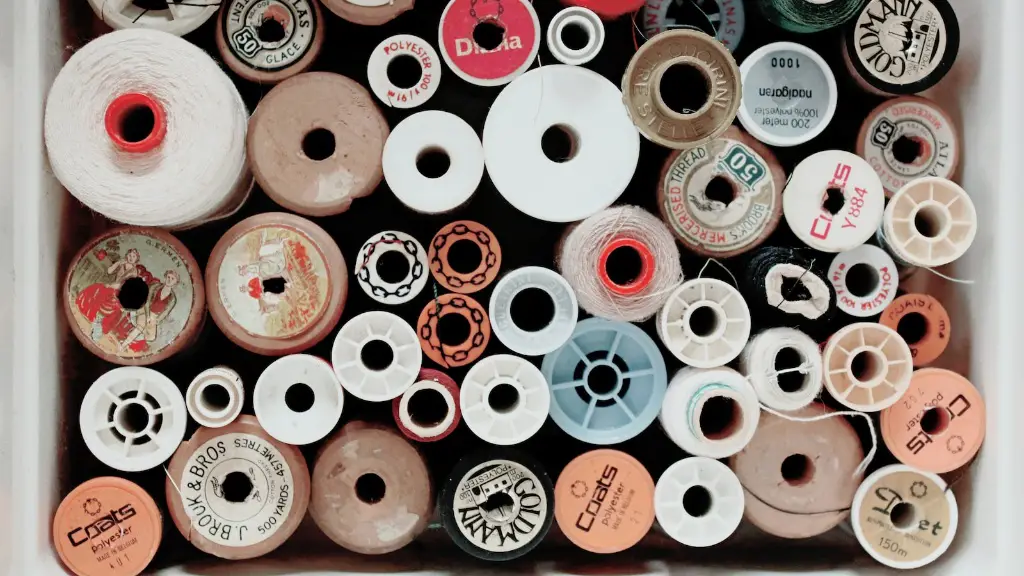
Deciding what type of thread to use when sewing leather is of paramount important. A strong thread will be necessary that can withstand pulling and movement. There are some requirements that need to be noted when selecting an appropriate thread for leather.
Poly-core thread is recommended as this type of thread does not stretch and can withstand abrasion and oils. Nylon thread and cotton threads for woven fabrics won’t work for sewing leather. No matter what thread is chosen, the best stitch length for leather is 6-8 stitches per inch.
When selecting thread for leather it is important to take the color into consideration. Most thread comes in a large selection of colors, so finding a thread of the same color as the leather will be a great match. If a contrasting effect is desired, then choose a thread that is different from the color of the leather. This will help create a thread that looks attractive and stands out against the backdrop of the leather.
Tips to Ensure a Smooth Sewing Experience
To ensure a successful stitching when sewing leather it is important to select the right machine settings. Select a stitch length of between 6-8 stitches per inch. The tension should be set to a medium setting or a setting that works with the material.
For a longer lasting stitch, a wider stitch width helps to provide better locking of the threads in the leather. Leather is thick, so it will require more tension, however, additional needle thread tension can cause unpleasant puckering on the underside of the sewing.
The stitching speed should be slightly adjusted when sewing leather as most Brother machines are set at a speed of too fast for this material. Leather is a challenging material and it is better to take your time when sewing to avoid any mishaps.
Additional Necessary Equipment
When sewing leather on a Brother sewing machine it is important to ensure that all of the necessary equipment is available. An open arm presser foot works best when using this type of material. Also, a waxed thread is necessary that is designed for working with leather and other thick materials. Waxed thread will help provide a tight and firm grip to the material.
The appropriate type of leather also has to be taken into account when sewing on a Brother sewing machine. Sewing vegetable tanned leather is always a safe bet and it is important to note that this type of leather is easier to work with than other types of leather.
Beginners should Avoid Certain Leathers
For beginner sewers, it is important to avoid certain types of leathers such as exotic hides, ultra-suede and velvet. These types of leathers require a specialized presser foot and more advanced techniques that may be too challenging for some.
Micro-suede is a good option for beginners because its thin nature is easier to sew through and allows the use of a standard presser foot. This type of leather is often used to make lightweight items like purses and wallets.
Protecting the Machine While Sewing Leather
Leather is an unforgiving material and it can easily clog up a Brother sewing machine. When sewing leather, it is essential to have available a lint brush and a brush made specifically for removing bits of dried leather that may clog up the area around the needle.
It is also a must to have extra needles and bobbins available to avoid any sewing delays due to a malfunctioning needle or a threaded bobbin. As with any other type of fabric, it is also a good idea to install a needle plate guard to protect the machine from any stitches unravelling or any unintentional snags.
Maintenance is Essential
Leather is a difficult material to sew and as previously discussed, requires specific materials, needles and thread. In addition to that, it is important to regularly maintain and clean the machine after each stitching session.
Leather bits and pieces can easily enter the machine and clog the mechanisms. Regular cleaning of the machine will ensure that nothing gets built up in the area around the needle or in the bobbin.
Leather is a challenging material to sew but with the right preparation, materials and maintenance, a Brother sewing machine can be used to sew leather. Though it is a complicated material, it can also be very rewarding. Taking the time to prepare and to be aware of the challenges will help to make a successful piece of leather work.
Setting the Appropriate Stitch Length
When sewing leather it’s important to use the correct stitch length. As a general guideline, use 4-6 stitches per inch for decorative or ornamental work, 5-7 stitches per inch for upholstery, and 6-9 stitches per inch for heavy, thick leathers.
When sewing leather it’s important to ensure that each stitch penetrates deep enough into the leather to ensure strong, secure stitching. If the stitch length is too long, the leather can rip and fray. If it’s too short, the stitches will be too tight and they won’t be able to expand and contract with the movement of the leather, which can cause the stitching to fail.
It is important to test the stitch to ensure that the stitch length is not too tight. If there are puckers around the stitches and threads, then the stitch length needs to be adjusted and re-tested.
Replacing a Needle for Sewing Leather
When sewing leather it is essential to have an appropriate and robust needle. A strong needle such as a leather needle or a ballpoint needle will be necessary to penetrate and stitch the leather without causing any damage. Leather needles should be replaced regularly, as they will wear down over time.
It is also necessary to ensure that any broken needles are removed by using a hand-held needle threader. A broken needle can cause skipped stitches and jams, which can be difficult to remove and can result in damage to the leather.
Sewing the Seam Allowance
Once the main stitch is completed, it is important to sew the seam allowance. To do this, it is best to start in the middle of the seam and move toward the end. Start at the end and work your way toward the middle. Sewing in this direction helps to ensure a uniform tension and helps to prevent puckered seams.
Once the seam allowance is stitched, it is important to use a specialty seam roller to ensure that the seam allowance is properly secured and that the stitch is not visible on the finished piece. The seam roller will also help to press and flatten the seam and make the stitching look neat and professional.
Stabilizing the Leather with an Interfacing
When sewing leather, it is also important to stabilize the material with an interfacing. This will help to prevent the leather from stretching and giving an uneven edge. An iron-on fusible interfacing is often used as this will provide a smooth, even surface to sew on.
The interfacing will also help to prevent the leather from absorbing any liquids. This is particularly important if the leather is being sewn for outdoor or active use. The interfacing will not only help to provide stability but also to protect the leather from moisture.
Top-Stitching for Durability
Top-stitching is one of the best ways to secure a seam on leather. Top-stitching not only ensures a strong, secure seam but it also adds to the overall look of the leather. It is important to not rush when top-stitching and to take the time to ensure that each stitch is properly secured.
The best way to top-stitch is to use a slightly longer stitch length than the main stitch length. This will help ensure that the top-stitching is properly secured and that the stitches won’t pull or unravel over time.
When top-stitching heavy leather, it is important to use a heavy-duty needle and presser foot as this will help prevent skipped stitches and needle breakage. It is also important to avoid back-stitching when top-stitching as this can cause the leather to buckle and cause disruptions in the stitching.
