Parts of a Mini Sewing Machine
The mini sewing machine has become increasingly popular in recent years due to its compact size, affordability and convenience. It is ideal for a variety of different uses, from quick repairs to professional-level projects. Despite its miniature size, the mini sewing machine features all the same basic parts as a full-size sewing machine. However, its small size means that the parts can be difficult to identify and might be less user-friendly for newcomers than larger models. Before you can begin to thread a mini sewing machine, it is important to understand the different types of parts and how they interact.
Presser Foot
The presser foot, also known as a pressure foot, is a small metal or plastic part located at the bottom of the machine, below the needle and thread. It is designed to press the fabric against the bed of the machine as it is being stitched, which helps the needle move through the fabric with ease. The presser foot can be raised or lowered to accommodate different kinds of fabric, and the opening in the middle of the foot allows the thread to pass through.
Bobbin
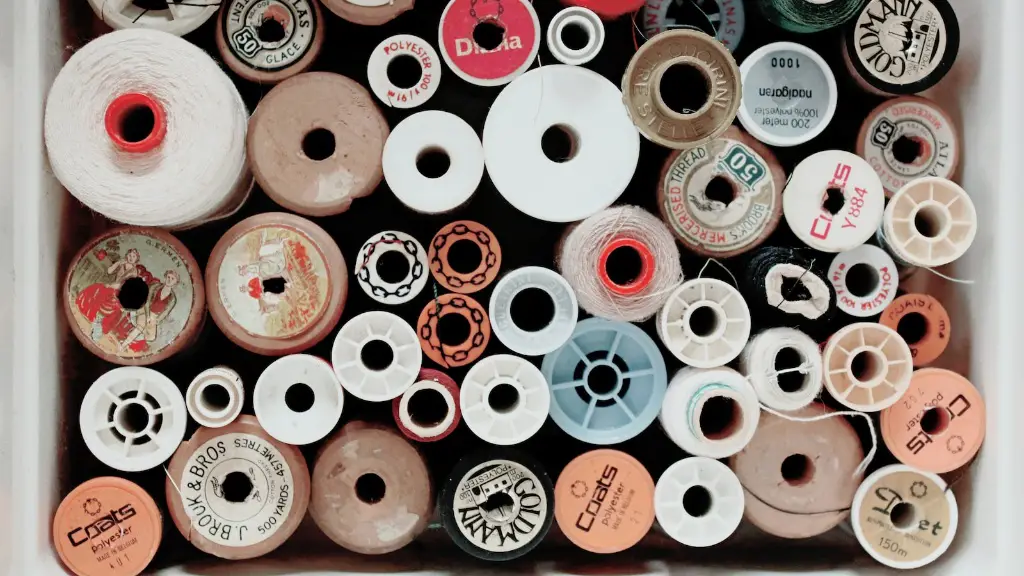
The bobbin, sometimes referred to as a spool, is a small, circular piece of plastic or metal typically located beneath the needle. This is where the bobbin thread, a separate thread that provides the base for the stitch, comes from. The bobbin is held in place by a bobbin case and needs to be loaded with thread before it can be used in the machine. Once the thread is loaded, the bobbin can be placed in the machine, usually near the needle.
Needle
The needle is the most recognizable part of the mini sewing machine. It is a long and thin object with a pointed end that is inserted into the fabric and stitches through it. Typically, the needle is located at the top of the machine, where it is moved in an up and down motion that creates the stitches on the fabric. A wide variety of different sized needles can be used, depending on the type of fabric and stitch being created.
Spool Pin
The spool pin is a narrow metal pin located at the top and back of the mini sewing machine. It is used to hold the spool of thread for the top thread, the thread being used for the stitch. The spool pin can be secured to either side of the machine, and it typically has a stopper to help the thread stay in place and not unravel. Sometimes a spool pin is not necessary, as a spool of thread can be held in the machine without it.
Thread Guide
The thread guide is a small metal bar or plate that helps guide the thread as it winds its way through the machine. It is located directly beneath the spool pin, and it helps keep the thread in place while winding through the machine. The thread can then be guided to the needle and presser foot to create the desired stitch.
Take Up Lever
The take up lever is a small metal lever that is located beside the needle and is used to move the needle up and down. It is held in place by the tension lever and helps create the tension needed to produce the right stitch. It is important to ensure the take up lever is adjusted correctly for the correct stitch tension.
Stitch Selector
The stitch selector is a crucial element of the mini sewing machine that allows the user to choose from different types of stitches. This usually looks like a knob or switch and allows the user to select from a variety of pre-programmed stitches. The stitch selector is usually located near the spool pin and can be used to create a variety of different seam styles.
Proper Threading Procedure for a Mini Sewing Machine
Now that the parts of the mini sewing machine have been identified, it is time to learn how to properly thread it. The process of threading a mini sewing machine is quite similar to larger machines but is more intricate due to its small size. The following steps should be followed to ensure the machine is properly threaded and ready to use.
Step 1: Wind the Bobbin
The first step is to wind the bobbin, which involves attaching the spool of thread to the spool pin and winding it around the bobbin. Once the bobbin is full, it can be placed in the bobbin case and inserted into the machine.
Step 2: Thread the Needle
The second step is to thread the needle. Most mini sewing machines come with a built-in threader, which is used to draw the thread through the needle’s eye. Once the thread is through the needle, it can be pulled through the tension disc and the thread guide.
Step 3: Adjust the Tension
The third step is to adjust the tension of the thread. The tension of the thread is adjusted by turning the tension dial located on the side of the machine. The tension should be adjusted so that the thread is tight enough to produce the desired stitch without breaking.
Step 4: Place the Fabric
The fourth step is to place the fabric underneath the machine’s presser foot. The fabric should be placed with the wrong side facing up so that the design will appear on the right side when the stitch is completed.
Step 5: Start Sewing
Finally, it is time to begin the stitching process. The presser foot should be lifted before the needle is lowered, and the fabric should be fed gradually beneath the presser foot to create the desired stitch. The stitch can be adjusted if necessary, and once the stitch is complete, the needle can be raised and the fabric removed.
Comparison of Mini and Full-Size Sewing Machines
In order to understand the differences between a mini sewing machine and a full-size sewing machine, it is necessary to take a closer look at their components. Mini sewing machines are typically smaller and more lightweight than their full-size counterparts, and the majority of them do not require a foot pedal for operation. They also feature a simpler stitch selector and have fewer stitch options. However, some mini sewing machines do have the same features as a full-size machine, such as variable stitch settings, bobbin winders, and automatic thread cutters.
In terms of performance, there is a slight difference between mini and full-size sewing machines. Mini sewing machines generally have a shorter foot and do not provide as much fabric support, which can make them slightly more difficult to use for beginners. Furthermore, mini sewing machines are typically capable of producing only one or two layers of fabric at a time, whereas full-size machines can typically handle up to four layers of fabric.
Advantages and Disadvantages of Mini Sewing Machines
When it comes to the advantages and disadvantages of mini sewing machines, there are some important factors to consider. One of the main advantages of a mini sewing machine is its portability, which makes them great for taking to sewing classes, sewing clubs, and other sewing related events. Additionally, they are easy to use and require minimal setup, which makes them appealing to beginner sewers. Furthermore, mini sewing machines are generally less expensive than full-size machines, which makes them more accessible for those on a budget.
On the other hand, there are some distinct disadvantages to mini sewing machines. As previously mentioned, their short foot can make it more difficult for beginners to use the machine, and their smaller size makes them less suitable for larger pieces of fabric or thick materials. In addition, mini sewing machines typically have a smaller selection of stitches and do not feature as many advanced controls as full-size machines.
Maintenance and Troubleshooting for Mini Sewing Machines
As with any sewing machine, it is important to take proper care of your mini sewing machine in order to ensure it is in good working condition. Regular maintenance of the machine includes cleaning the bobbin area, lint buildup, and checking moving parts for wear and tear. If your machine is not working properly, there are a few simple troubleshooting steps that can be taken. First, make sure the machine is properly threaded and that the needle is correctly installed. If the machine is still not working, it might be time to check the motor and power cord. Additionally, it is important to note that some mini sewing machines are prone to overheating, so it is important to wait for the machine to cool down before resuming your project.
Tips for Choosing a Mini Sewing Machine
When choosing a mini sewing machine, it is important to keep a few key things in mind. First, be sure to look for a machine that is easy to use and comes with detailed instructions. Second, consider the type of projects you will be working on and how often you plan to use the machine. Many mini sewing machines are designed for lighter fabrics and shorter projects, so it is important to consider the types of materials you will be working with before making a purchase. Finally, be sure to research the warranty and customer service options offered by the manufacturer in the event that your machine needs servicing.
Conclusion
Threading a mini sewing machine can be tricky due to its small size, but with some patience and practice it can be done. It is important to become familiar with the different parts of the machine and to have a basic understanding of the threading process. Additionally, there are a few key factors to consider when choosing a mini sewing machine, and regular maintenance is important to ensure it remains in good working condition. With the right information and the right machine, anyone can learn how to thread a mini sewing machine.
