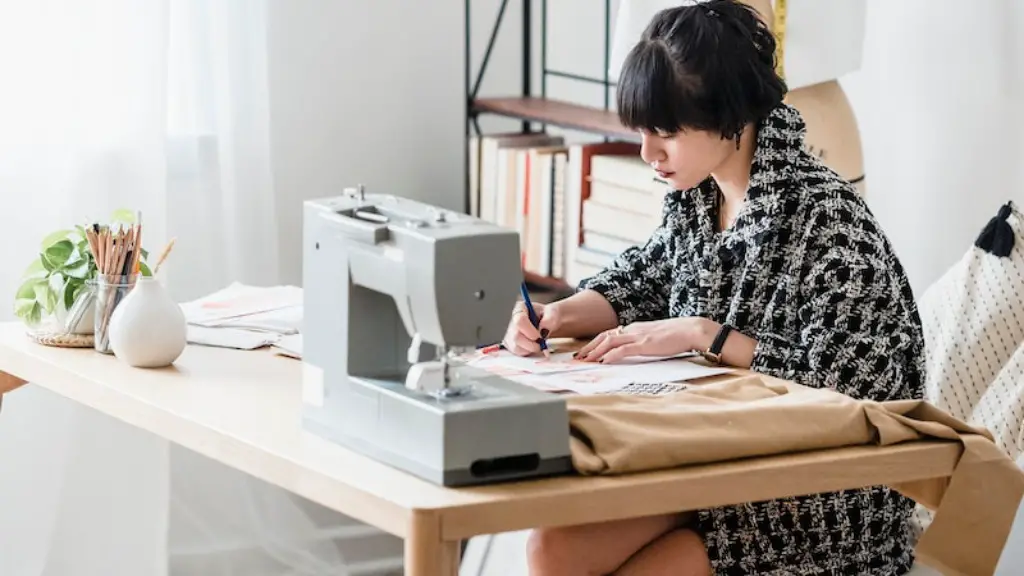
How to Sew Straight Line with Sewing Machine
Sewing machines can be tricky and frustrating to use, especially if you’ve never used one before. Straight lines are one of the most basic elements of sewing, and being able to sew them perfectly is essential for creating professional-looking garments and other projects. Knowing the basics of how to use a sewing machine to sew a straight line will make your projects stand out and give you confidence when attempting more challenging sewing tasks.
To sew a perfect straight line with a sewing machine, you’ll need to make sure the machine is well-oiled and the bobbin is wound properly. Then, adjust the settings on the machine so that the needle is the appropriate height and the foot pressure is correct. You’ll also want to mark the exact line that you want to sew on the fabric, as this will make it easier to keep the stitches in a straight line. Once you’ve made sure that everything is set up correctly, you’re ready to start stitching.
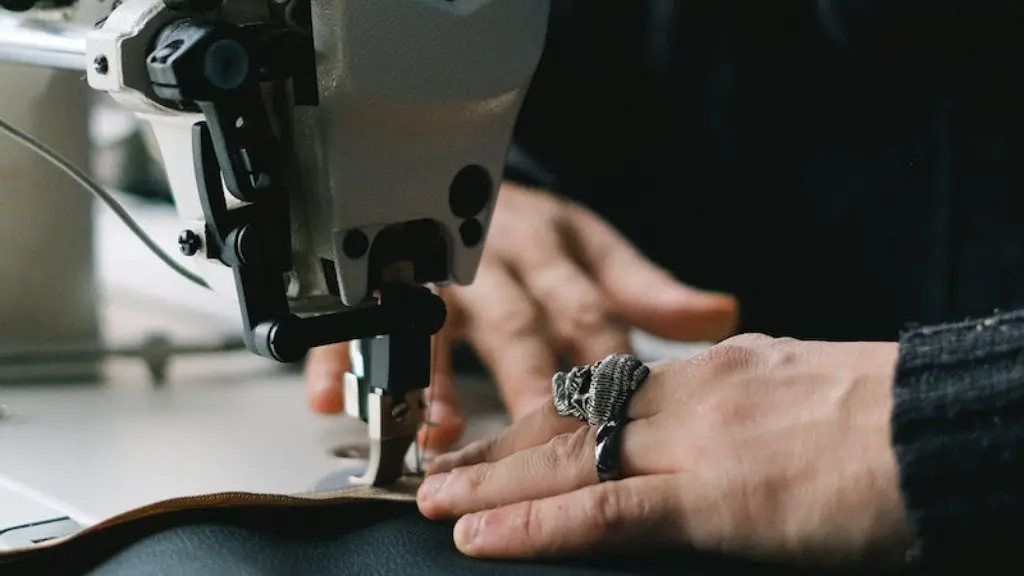
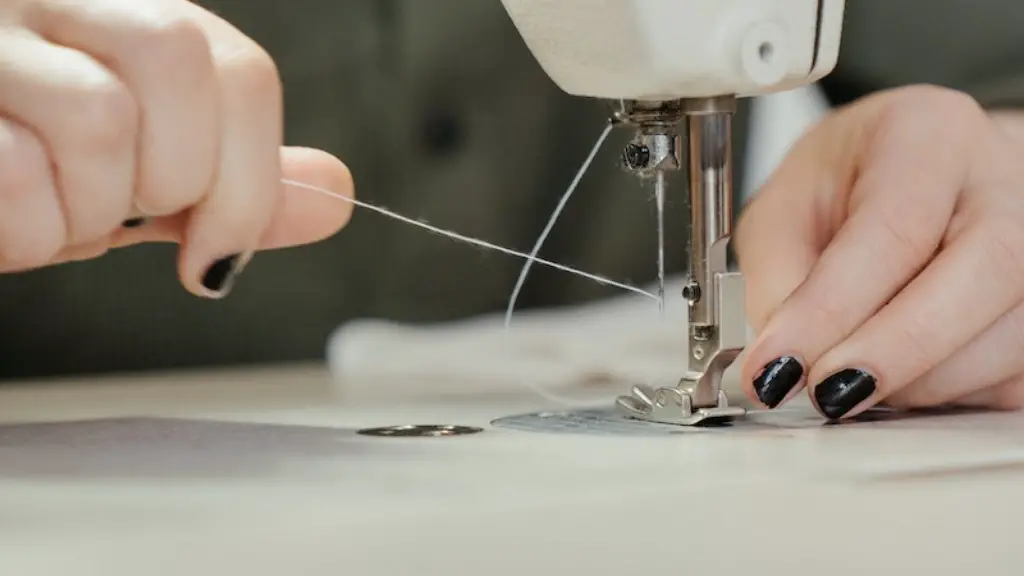
Begin by positioning the fabric beneath the presser foot and lower the foot down onto the fabric. Then, adjust the speed of the machine to a moderate and steady speed. Pull the fabric towards you, and as it moves, guide the fabric along the marked line with your fingers. This will ensure that your stitches stay even and straight. If the fabric begins to wobble, stop and reposition the fabric, and continue sewing in a steady motion. When you reach the end of the line, raise the presser foot and turn the fabric in the opposite direction, then lower the foot and begin stitching in the new direction.
To ensure that your stitches stay even and consistent, it’s important to make sure that your hands are steady and that the fabric is lined up perfectly. Additionally, make sure that you don’t go too fast or slow, as this can cause the stitches to become uneven. When you’ve reached the end of the line, raise the foot and cut the thread, then tie off the knot.
By following these steps, you’ll be able to sew perfect straight lines with a sewing machine. Although it may take some practice to master this skill, it’s an essential component of successful garments and other sewing projects. With a bit of patience and practice, you’ll be sewing perfect lines in no time.
Using Different Stitches for Different Fabrics
Depending on the fabric and the type of stitching you need to do, you may want to choose a different stitch, as different fabrics and kinds of stitching may require different settings on the sewing machine. For example, thick fabrics tend to require a longer stitch length and a heavier presser foot pressure, while lightweight fabrics may need a lighter stitch length and a lighter presser foot pressure. Whenever you’re sewing a fabric for the first time, be sure to do a test stitch to make sure that you’ve adjusted the settings correctly.
In addition to changing the settings, you may want to use a different type of thread. For instance, some fabrics may require a special type of thread, such as a heavier or lighter thread than usual. Additionally, some fabrics may require the use of a “bullet” stitch, which is basically a type of stitch made with a straight line and two or three tiny stitches at the end of the line. Be sure to check the label on the fabric or the pattern instructions to see if a special type of stitch is necessary.
Finally, when sewing fabrics with special textures or features, such as velvet or pleats, you may need to use a special foot on your machine. These feet are designed to help you sew delicate fabrics or textures, so be sure to look for a foot that is designed specifically for that kind of sewing.
How to Correct Mistakes
No matter how experienced you are at sewing, mistakes are inevitable. Thankfully, there are several methods you can use to correct any mistakes you make. One of the simplest ways to fix a mistake is to simply unpick the stitches and start over, but this isn’t always possible. If you can’t unpick the stitches, you can use a seam ripper to carefully cut out the stitches and then use fabric glue to hold the fabric together while you start sewing again. It’s important to remember, however, that this method isn’t always reliable, so it’s best to practice unpicking before you have to do it for real.
Another option is to use a darning stitch to re-sew the seam. For this method, you’ll need to take out the stitches and use thread that matches the fabric to sew back in the line. This can be time-consuming but is often a better option than gluing, as it will be more reliable. However, this method is best used for small mistakes, as it can be difficult to get the stitches to blend in.
Finally, in some cases, it may be possible to use an invisible stitch to hide the mistake. This is best done with a matching thread, and you may need to practice the stitch before you attempt to use it to correct a mistake.
How to Make Your Own Seam Allowance Guides
If you’d like to make sure that your seams are perfectly straight and consistent, it’s a good idea to make your own seam allowance guides. These will help you make sure the seam allowance is the same all the way along the line, which will help the seams look neater and more professional. To make your own guides, measure and mark the seam allowance on a piece of paper, then attach it to your fabric with pins. This will give you a guide to follow, so you know that your seam allowance is always the same all the way along the line.
Once the guide is in place, you can use it to sew perfectly straight seam allowances. This may take some practice, as it may feel uncomfortable to concentrate on keeping the stitches in line. With patience, however, it will soon become second nature, and you’ll be able to sew straight seam allowances with ease.
In addition to using a paper guide, you can also use a quilting ruler to help you sew a straight line. This is especially helpful when sewing on a curved line, as it will hold the fabric steady while you sew and make sure that the seam allowance is always the same.
Practice Makes Perfect
Like any other skill, sewing straight lines with a sewing machine takes practice. Once you understand the basics of how to set up the machine and adjust the settings, it’s important to spend time practicing and perfecting this skill. In addition to sewing straight lines, practice sewing curves, darts and other basic stitches, as this will help you become more comfortable with the machine and learn to control it more skillfully.
It also helps to practice with different fabrics and threads. As mentioned earlier, each fabric requires different settings and stitches, so it’s a good idea to get familiar with how different fabrics react to the machine. This way, you’ll be prepared for any type of fabric or thread you may encounter when working on a project.
Finally, if you’re having trouble with a particular stitch or fabric, don’t be afraid to ask for help. Sewing can be tricky and intimidating at first, so you’ll probably need some guidance to get the results you want. With the help of a more experienced sewer, you’ll soon be able to master any kind of stitch, from straight lines to more complex stitches.
Conclusion
Sewing perfect straight lines with a sewing machine isn’t as difficult as it seems. With a few basic tips, a bit of practice and the right tools, you’ll be able to sew professional-looking seams with ease. So take your time, experiment with different fabrics and threads, and you’ll soon be able to sew straight lines with ease.
