Materials
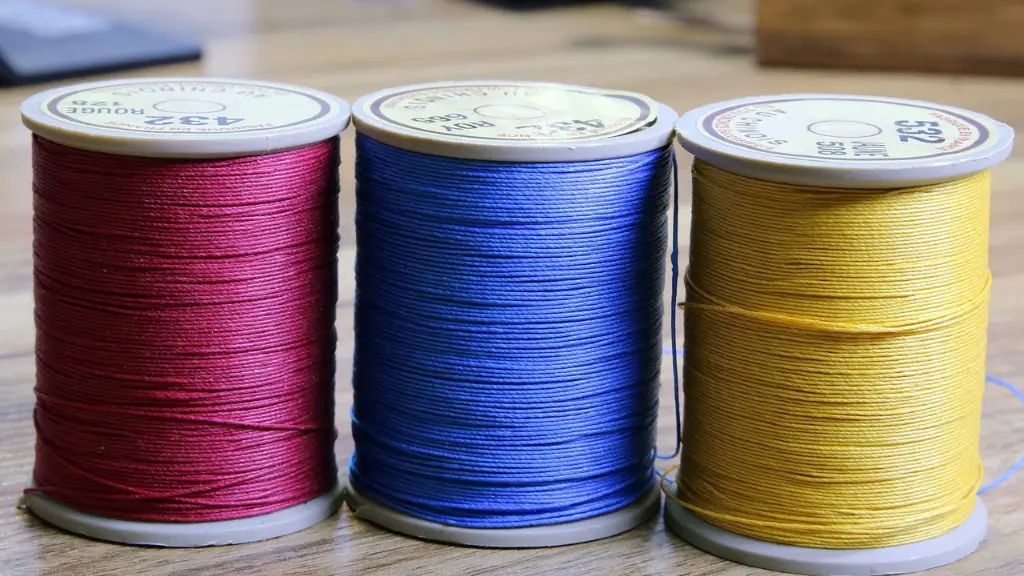
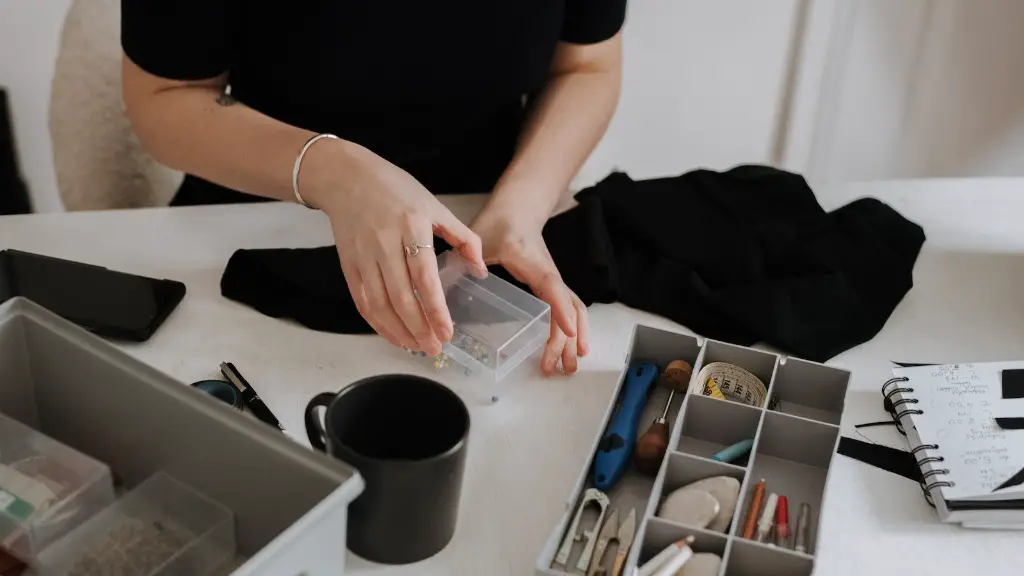
So, you may be asking yourself, “Can I sew velcro on with a sewing machine?” The answer is yes. Before you get started, however, it helps to understand the materials you’ll be working with. The main material necessary for attaching velcro to fabric is, of course, velcro. Fortunately, velcro comes in many different varieties and makes, so selecting the right kind for your project won’t be too difficult. As you shop around, be sure to look for varieties that are both high quality and cost-effective. In addition to the velcro, you’ll also need a strong and sturdy thread that matches the color of your fabric, along with a needle that’s large enough to penetrate the velcro.
Selection of the fabric itself is critical to a successful velcro attachment. The fabric should be thick enough to last through multiple uses. Depending on the type of material, you may need to back the velcro with a layer of interfacing for additional stability on thinner varieties. Additionally, it’s important that the velcro be sewn on securely and cannot be pulled off the fabric by hand. So, you may need to reinforce the stitching by backstitching at the beginning and end of each stitch. To ensure a secure attachment, hand-stitching the velcro in addition to sewing it with a machine is recommended.
Preparing the Fabric Surface
Before beginning the sewing process, it’s important to prep the fabric surface. This helps to ensure that the velcro will stay securely attached. You can use an iron or steam to quickly flatten and remove any wrinkles from the fabric. It might also help to make sure that the fabric is dirt- and lint-free. As you move forward, avoid stretching or distorting the fabric while working to keep it flat and smooth.
Trimming the edges of the fabric may also be necessary before the velcro can be attached. Make sure to only use a sharp, high-quality fabric scissors to make sure that the edges of the fabric are cut cleanly and evenly. This will also help to create a finished look that is more aesthetically pleasing.
Choosing a Sewing Machine Needle
When it comes to sewing velcro on to fabric, it’s important to use the right type of needle. A traditional universal needle just won’t do; instead, a thicker, heavier-duty needle will be necessary. The thick velcro you’ll be working with requires a needle with a sharp, strong point. This will help to prevent fraying of the fabric and minimize chances of the needle breaking. In addition, you’ll want to select a needle size and type that’s appropriate for the type of fabric and thread you’re using.
Another consideration is needle position. For this particular task, the needle needs to be inserted with the point facing down, towards the velcro, in order to penetrate the velcro more easily and to reduce needle breakage. As you’re stitching, it’s important to do so slowly and with care; if you sew too quickly, you risk breaking the needle and causing permanent damage to the fabric.
Applying the Velcro
When it’s time to apply the velcro, begin by positioning the two sides of the velcro (the hook side and the loop side) on the fabric. Make sure the fabric is lined up straight and that the two pieces of velcro are evenly placed. If necessary, you can use pins to secure the velcro in place. Once you’ve laid out the velcro and pinned it down, you can begin to sew.
When sewing the velcro, it’s important to use a slightly longer stitch length, so that the stitches are small enough that they won’t pull out easily but long enough that the velcro doesn’t get distorted as you pull it through the needle. As you stitch, sew around the entire perimeter of the velcro and cross back over the same path to create an X pattern. This will make sure that the velcro is extra secure and will last for a long time.
Sewing on Mixed Fabric Combinations
When sewing velcro on to a combination of different fabrics, like multiple layers of fabric or one layer of velcro and one layer of fabric, special techniques may be necessary. When using a multi-layered material, the layers should always be placed face up; stitching through multiple layers of fabric at once increases the risk of needle breakage. When sewing through one layer of fabric and one layer of velcro, it’s important to manually move the Velcro through the needle at a slow pace to avoid any potential damage.
Another technique that can be used is the triple-stitch technique. This involves sewing the velcro on three times in the same location with a slightly increased stitch length each time. This ensures that the velcro is well-secured to the fabric, and the increased stitch length prevents any permanent damage to the fabric or the velcro.
Different Sewing Machine Setting for Velcro
For optimal results when sewing velcro on with a sewing machine, you may need to make adjustments to the machine’s settings. If your sewing machine has options for adjusting stitch size and tension, use them to make sure the stitches are not too tight and that the fabric is not being pulled through the needle. It’s important to make sure that the stitch remains even across the entire length of the velcro to ensure a secure attachment.
If your sewing machine has a reverse sewing option, you should also make use of this feature. Reverse sewing is a great way to reinforce the velcro attachment and make sure that it lasts. As you back stitch, make sure to increase the stitch length slightly. This will ensure that your stitches are evenly distributed and will not pull out over time.
Using the Sewing Machine Foot
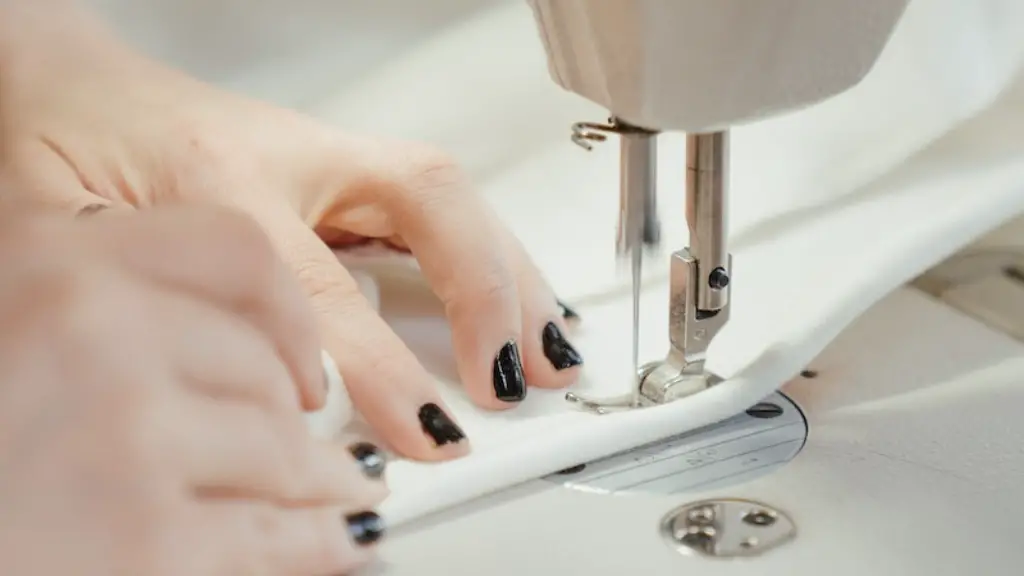
In most cases, the best way to sew on velcro is by using the sewing machine foot. This is the best way to evenly spread the fabric and press it firmly against the velcro to ensure a secure attachment. Select the appropriate foot for your specific sewing machine and attach it. Then, as you sew, make sure to move the fabric frequently so that it doesn’t become jammed or distorted by the foot.
In some cases, you can also adjust the sewing machine foot in order to accommodate thick fabric or velcro. Many modern sewing machines feature adjustable feet, which allow you to place the fabric closer or farther away from the needle for a more precise stitch. Additionally, many adjustable feet are also equipped with pressure-adjustable pads that help to keep the same amount of pressure applied to the fabric throughout the sewing process.
Final Touches
Once the stitching is complete, you should inspect the fabric and make sure that the stitching is secure. If necessary, you may need to touch up the stitching by hand to make sure that the velcro is securely attached to the fabric. Additionally, it may help to use a fabric glue or adhesive to reinforce the velcro attachment. This will help keep the velcro secure and prevent your work from unraveling or coming undone over time.
After all of the sewing is complete, it’s time to give the fabric a good press with an iron. This will help to flatten out all of the stitches and make sure that the velcro is firmly secured to the fabric. You can also use a steamer to press the fabric, but be careful not to shrink or distort the fabric in the process.
Using Stabilizers
Using a stabilizer may be necessary in some cases. When using heavier-weight fabrics or working in multiple layers, a stabilizer is often needed to keep the fabric in place. A stabilizer will help to keep the stitches even and secure and prevent the fabric from shifting or distorting. There are a few different kinds of stabilizers to choose from depending on the type of fabric you’re working with. And, if in doubt, you can always consult with a professional or refer to product packaging for more information on which type of stabilizer is best for your specific project.
Once the stabilizer is applied, you can begin to sew the velcro to the fabric. As you sew, make sure to move the fabric frequently to prevent slipping and ensure the stitches are even and secure. Additionally, be sure to use the correct needle, stitch length, and machine settings to get the best possible results.
Conclusion
To summarize, sewing velcro on to fabric can be done with a sewing machine. While it may be an intimidating task, with careful preparation and the right tools, you can achieve great results. Be sure to select high-quality materials and the appropriate needle size and machine settings, and don’t forget to backstitch and press the fabric to secure the velcro. Additionally, be sure to make use of stabilizers if necessary and inspect your stitches to make sure all the velcro is attached securely. With the right preparation and technique, you can easily and securely attach velcro to your projects for a professional, lasting finish.
