The Basics of How to Put Thread in a Sewing Machine
Sewing machines are vital tools for dressmaking, tailoring and other needlework disciplines, but they are only as useful as the person programming them. Knowing how to thread a sewing machine correctly is the key to successful sewing, since the wrong threading can lead to bad tension and a lot of frustration.
There are a few basic steps and tips that any new operator should take note of when putting thread into a sewing machine. Firstly, you should make sure you have the right type of thread and the right type of needle. Different fabric, seams and stitches require different threads, needles and tensions. This can be a complex subject, but luckily there are resources online and in your sewing machine manual that can provide specific recommendations for your particular machine.
It is always best to use the same thread for the entire seam—regardless of whether it is cotton, polyester or silk thread. To being, take the spool of thread and place it onto the spool pin near the top of the machine. Once the spool is in place, you can begin winding it around all the other parts of the sewing machine that are needed to thread the machine.
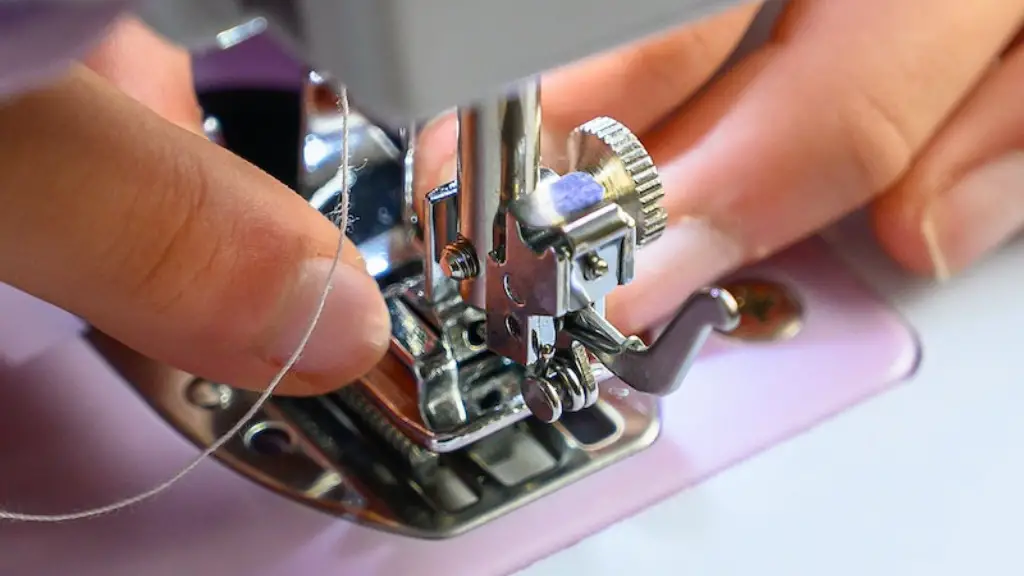
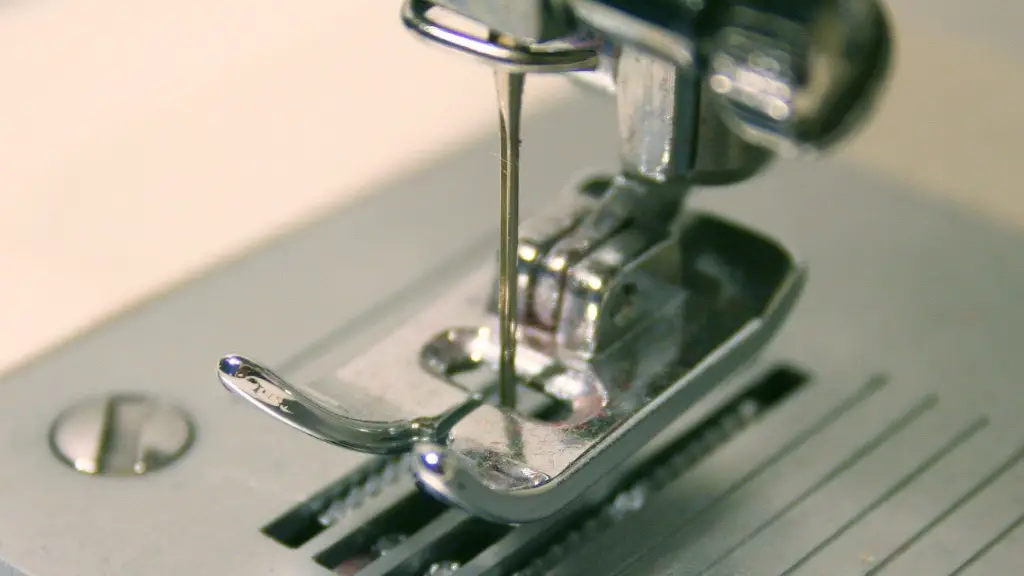
On the right of the machine, there is a small plastic holder that houses the thread. It’s a neat little system of three small, round objects that keeps your thread in place. This holder helps guide the thread from the spool to the needle. To properly guide the thread, firstly fit the thread through a tension disc on the top of the machine, followed by the take-up lever. Guide the thread through the eye of the needle, from left to right, then fit it through another tension disc at the lower portion of the machine.
For the most part, these general steps will work for any type of sewing machine. However, some machines will have additional features that require additional steps. Head to your sewing machine manual and consult the diagrams carefully if you ever have any doubts.
Bringing Together the Thread and Bobbin
Once the main thread is ready to go, you can begin putting the bobbin thread into place. This is a secondary thread that provides an additional layer of thread to your seams. This thread is placed at the bottom of the sewing machine, and it is used as a base thread around which the main thread will loop and create the stitch.
Firstly, use the small lever or knob at the front of the machine to open the door or hatch at the bottom of the machine. This is where the bobbin case will fit. Place the bobbin into the case, ensuring that the thread is coming off the bobbin in a counterclockwise motion. Some models may require you to turn the bobbin around—consult your sewing machine manual for the details.
Once the bobbin is in place, you can start threading. Pull the bobbin thread from the bobbin case, and make sure it comes out at the top of the machine. You can then pull a few inches of the thread and make sure it’s sitting evenly. Then, pull the main thread from the needle and make sure they are both coming out of the needle together.
When the ribbon threads have been brought together, it’s time to make sure that they are firmly in place. To do this, hold the threads behind the fabric and press the foot pedal. This will do a few things, including pulling the ribbon threads into the fabric and locking the stitch in place.
Additional Tips and Resources
Once your thread is in the desired position and you are confident that the stitch is tightened, you can release the foot pedal and begin sewing. It is common to make mistakes on your first few attempts at sewing, so take your time and be patient until you get the hang of it.
It can be very helpful to watch video tutorials or take a class when learning how to use your machine. Most sewing machine retailers and fabric stores often offer classes on how to use a sewing machine, which can be invaluable for novice sewing hobbyists. There are also many useful books and websites dedicated to machine sewing, so do your research and you’ll be stitching in no time.
Testing Your Stitching
Once you have assembled the thread correctly in the sewing machine, it’s important to check your stitching before putting your fabric in. You don’t have to sew an entire swatch of cloth to test it; simply put your foot pedal down and run the machine for 10-15 stitches. This will give you an idea of the tension and if your threads are pulling too tight or too loose. If so, you can easily adjust the tension on the machine until the stitch looks correct.
At this point, you can also check the needle and thread for any signs of a break or snag. If there is, discard the thread and start again. Once everything looks perfect, you can start sewing on your fabric.
Using Different Types of Thread
In addition to the basics of machine sewing, it is also worth noting that there are many different types of thread. You can purchase threads made from natural fibers such as cotton or linen, as well as synthetic threads such as polyester or rayon. Although these threads may look the same, they each have their own properties and characteristics, and they require different types of needles and tension settings. Therefore, it is important to check your sewing machine manual for specific instructions on how to thread these different types of thread.
Re-threading Your Machine
When you are finished sewing, it is very important to re-thread the machine. This will keep the thread from becoming tangled and ensure that the stitching on your next project won’t be affected. To re-thread the machine, remove the thread from each of the spools, tension discs and levers and then rewind your spool in the same way as before.
Additionally, after every sewing project, it is best practice to oil your machine as needed. Oiling will keep the machine running smoothly, so make sure to follow the directions in your sewing machine manual for potential oiling spots.
Changing Needles and Thread
Lastly, if you are dealing with multiple pieces of fabric and types of thread, it is important to remember to change your needle and thread. By using the same thread and needle on all of your projects, you can guarantee that your seams are strong, uniform, and consistent. Using a needle of the correct size for the fabric will also prevent the thread from braking or splitting and help to prevent skipped stitches.
Additional Safety Checks
Before each and every sewing project, make sure to check the needle and presser foot for any signs of wear or damage. It’s also a good idea to check the power cord for any signs of fraying or wear and tear and to double-check all the settings on the machine to ensure that they are still correct.
Finally, another important step when learning how to sew is to familiarise yourself with the emergency stop button on your machine. This will enable you to stop the machine if you feel something is wrong or you need to take a break. Learning the emergency stop button can be a quick, simple step that can ensure the safety of all involved.
Conclusion
Overall, putting thread in a sewing machine is easier than it may seem at first, and with the right guidance and practice, anyone can become an expert seamstress in no time at all. To become comfortable with threading a machine, all it takes is a bit of practice and patience. With the steps outlined above, you can be sure that your threading will be correct and your stitches will look professional.
