Preparing the Singer Sewing Machine for Threading
Threading a Singer sewing machine is not complicated if you know the correct steps and prepare beforehand. Before threading any type of Singer machine, it’s important to make sure you begin with an empty bobbin and raise the presser foot. You need to load the bobbin case before the spool pin or needle, so those steps must come first. When following the instructions, be sure to refer to the diagrams that should be affixed to the machine. Depending on the model of your Singer machine, the instructions may vary slightly.
Threading the Bobbin Case
To begin threading the bobbin, place the bobbin on the bobbin winding spindle, pressing it in until it clicks in place. Then, fill the empty bobbin with the type of thread best suited for the sewing project you’re working on. To safely wind the bobbin, place the thread around the bobbin winding tension disc, which should be small disc located just below the spindle, and pull the thread up into the slot. Then, hold on to the end of the thread as you turn the handwheel to the right. The thread should be winding evenly onto the bobbin.
When the bobbin is full, cut the thread and press the reverse button or lever to stop the machine. Then push the bobbin winding spindle to the right and pull the bobbin away. Now the bobbin is ready to be inserted into the bobbin case.
Inserting the Bobbin Case
To insert the bobbin case, begin with the machine needle set to the highest position. Then, press the bobbin winding spindle to the left of the machine just until it stops and insert the bobbin case with the bobbin in it. You will know if it has been correctly inserted when you feel a slight resistance or click. It is important to double-check the bobbin case position to make sure it doesn’t move.
Threading the Needle
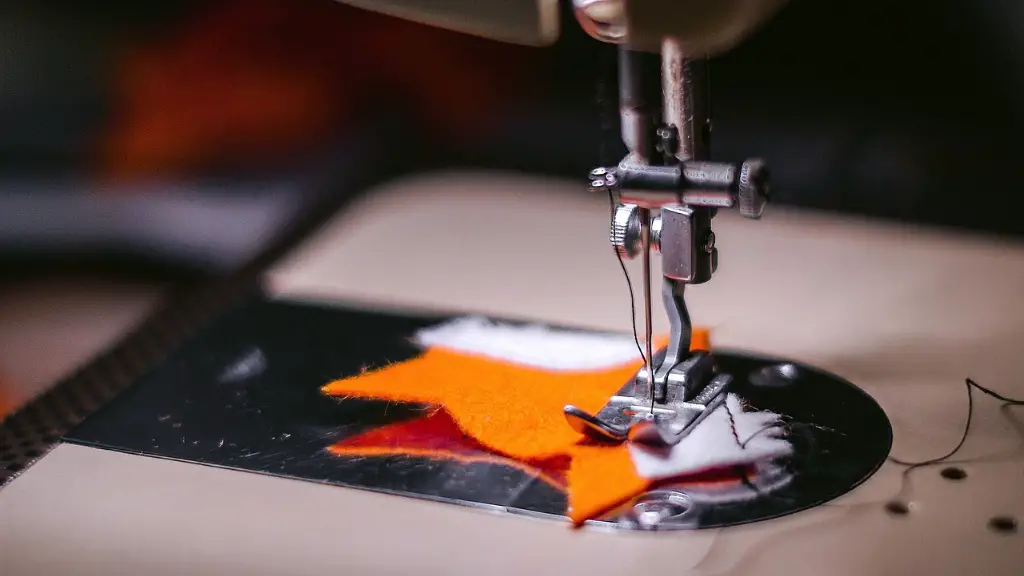
Start by removing the spool from its holder and thread the spool pin from the back to the front. Once the spool is in place, guide the thread with the thread guide just above the needle to keep it away from any sharp parts. Then pass the thread through the hole at the top of the needle and pull it until the end is hanging freely underneath the presser foot.
Threads of different weights and textile varieties should be setup differently. Thicker threads may require several wraps around the finger of the hand and finer threads, like silk, should be started between the thumb and index finger of the hand. Threads should always be pulled and not pushed into place. The thread will eventually be pulled up and through the loop of the needle and the thread lock will close and hold the thread secure.
Lift the Presser Foot and Check for a Knot or Loop
Finally, raise the needle thread spool the presser foot lever to lift the presser foot and then pull the upper thread a few inches so that it extends up from the needle. If everything is correct, you should feel a slight resistance and your thread will form a loop or a knot in the needle thread.
Proper Thread Tension
Now, your Singer machine is ready to begin sewing, but it’s important to check the thread tension before beginning. Check the tension on the underside of the presser foot by turning the tension regulator knob slightly to the right and move to the set number indicated, which will depend on the type of fabric you are stitching. It’s important to evenly adjust the tension throughout your sewing machine.
Stitching with the Singer Sewing Machine
Once the thread tension is set, place the project material under the presser foot and begin sewing at a moderate speed. While handling the fabric, make sure you keep it flat, tight and wrinkle-free, and remember to adjust the length and width of the stitch, according to the type of fabric and seam desired. After stitching the seams, it is advisable to knot the thread ends to prevent them from unraveling from the material.
Correct Threading Tips for Singer Sewing Machines
When threading a Singer sewing machine, it’s important to have patience and take your time. Consult the diagrams and be sure to raise the presser foot before threading the bobbin or needle. Threads of different weights and varieties should be set up differently, and the thread tension must be checked before stitching begins.
Installing New Needles and Regular Cleaning
When replacing a needle, raise the needle to its highest position, then use the screwdriver to remove the needle. Install the new needle so that the flat side is facing towards the back of the sewing machine. Be sure to adjust the needle threader accordingly. Additionally, it’s important to regularly clean and oil your Singer sewing machine in order to keep it in optimum condition. It’s also a good idea to consult a professional if any additional maintenance or repairs on the machine are needed.
Maximizing Sewing Machine Spaces and Safety Measures
To take full advantage of the features of your Singer sewing machine, make sure to keep your machine in a clean and uncluttered environment. This will enable you to take full advantage of all the features and functions your Singer sewing machine provides. Also, be sure to use protective gear, such as a thimble to protect your hand from the needle, when using your machine.
Monitoring Progress and Adjusting Singer Sewing Machine Features
To ensure the sewing process is going smoothly, it’s a good idea to monitor your progress by checking the tension of your stitches throughout the project. It’s also important to continually adjust features on the Singer machine, such as speed and tension control, when sewing intricate details.
Common Issues and Troubleshooting Tips
The most common issue is often incorrect threading, which can cause the stitch to unravel or the thread to become tangled. When this happens, simply rethread both the top and bottom of the machine and check the settings on the machine. It’s also a good idea to adjust the pressure on the presser foot, as this can cause the stitching to be too tight or too loose. Finally, always be sure to use the right needle size and type for the fabric type you’re sewing.
Rethreading and Breakages
If the thread breaks while stitching, be sure to trim the end of the thread before rethreading the machine. After trimming the thread end, begin rethreading the machine as described previously. If the thread continues to break, check the needle for damages, replace the bobbin case and adjust the thread tension accordingly.
Regular Maintenance
Overall, threading a Singer sewing machine should be a straightforward task if you follow the correct steps. As with all sewing machines, regular maintenance is important to ensure your machine is running efficiently. Each model of Singer comes with its own manual which provides guidance on how to properly maintain and store the machine between uses. Additionally, it’s important to inspect the machine’sbelt and other moving parts to ensure they are in good condition.
