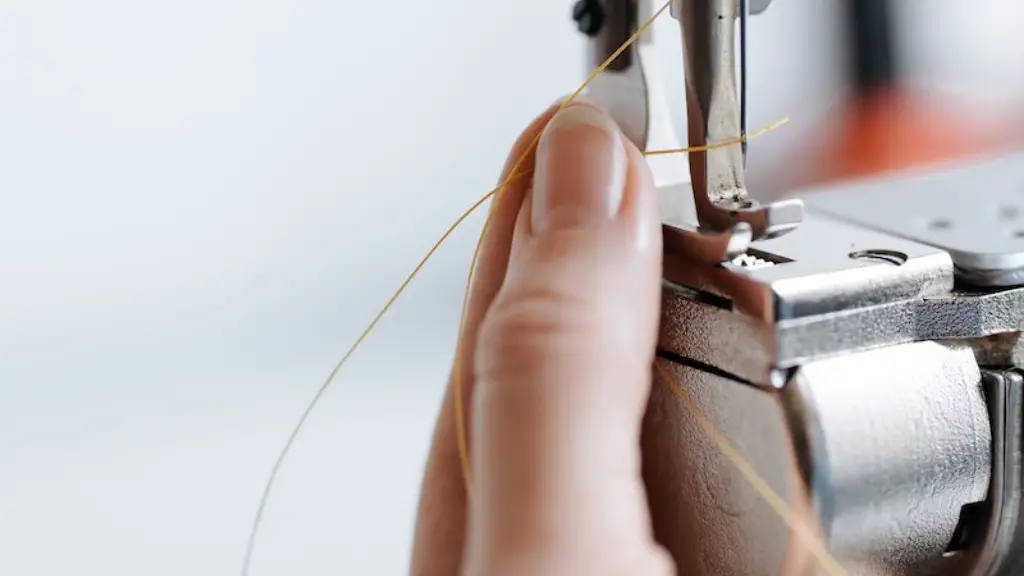
Curious about how to serge with a regular sewing machine? With a few nifty tips and tricks, it’s possible to use nearly any machine, including a regular sewing machine, to mimic the look of a factory serger. While it’s often easier to use a traditional serger for the job, it’s entirely possible to use a regular machine and specialty presser-feet to get the job done, making it a great option for crafters who might not have access to specialized machinery.
First, it’s important to have the right supplies. Assemble the tools necessary for a regular seam—sewing machine, presser foot, thread—but don’t forget to include a few extra supplies. Many crafters swear by the double needle. However, the lightning-bolt needle is also immensely popular for creating serged seams on regular machines because of its ability to easily create zig zag stitches.
An iron and pressing cloth can also come in handy for pressing serged seams, making them look even neater. For those looking for an even more specialized look, though, a flat-felled presser foot is the way to go, as it can add structure and strength to all the seams, just like a traditional serger.
Setting up the machine is the next step and is an essential part of the serging process. Adjust the tensions and threads according to the machine’s manual and thread the needles as usual. For best results, use two spools to double the thread and always thread the large spool first. It’s also critical to pan off for two spool threads, as this will help avoid tangling and make it easier to serge. Using dual tensions, a stitch length of 3mm and a zig zag width of 2.5mm, will also help ensure the finest serging results.
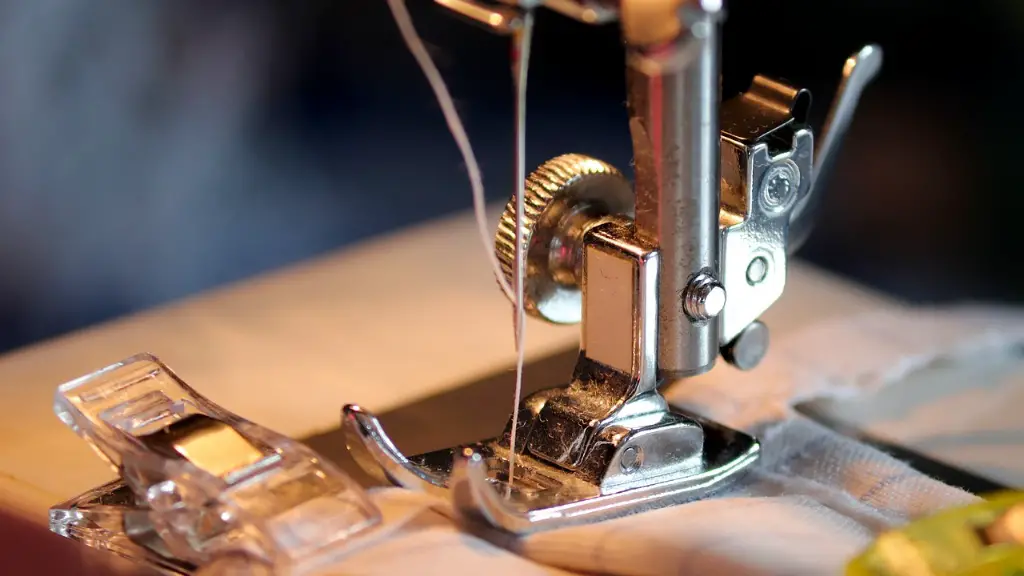
When finished, double-check that all the threading is as it should be. Snap on the appropriate specialty presser-foot and test stitch on a scrap of the fabric being used. Make sure the fabric is trimmed to the proper width before starting; otherwise the presser-foot may cause the fabric to stretch out. After the test stitch is complete, neaten the edges by folding the fabric under the presser-foot and sewing the seam.
Serging with a standard sewing machine can be time consuming and difficult, but with the right tools and techniques, any level of crafter can get the factory-made look they desire. Once simple pieces are created, it’s also a great way to experiment with more complex projects and level up sewing skills.
Presser Feet
Presser-feet can be a major game changer when serging with a regular machine. Many models of machine come with an overlock presser-foot preinstalled, and if not, they’re usually easy to purchase for an additional cost. It’s also possible to purchase an adjustable or snap-on foot, which will accommodate several different widths—a major plus for crafters.
Presser feet can also be used to help raise or lower the presser-foot, enabling the machine to run along the edges of thicker fabrics without bumping or trapping them in the mechanism. Plastic feet, such as the Zig Zag wheel foot or the Conversational (Cone) foot, are also great for achieving a factory-like serge look by making it easier to run along the edges of certain fabrics.
Stitching Techniques
Typically, the most difficult part of serging with a regular machine is the stitching technique. It’s necessary to manage the machine’s speed and rate of delivery while keeping up with the thread. With some practice and experimentation, though, it’s possible to learn how to properly stitch, making the entire process become easier.
It’s also a great idea to practice the serging process with different stitch and tension settings. Run a few test stitches on a scrap piece of fabric, then adjust the tension and test it again. This strategy can help identify the best settings for both the presser-foot and fabrics, making it possible to get the desired look and finish with minimal effort.
Troubleshooting
Every now and then, a crafter is going to run into knots and tangles when serging with a regular sewing machine. However, these knots can usually be quickly undone and rethreaded. To avoid tangles in the first place, it’s best to use two spool threads, as the double-threading will help reduce the tangled messes.
Double needles are also useful for this, as they help control the thread’s direction and lessen the chance of tangles. Once the machine is ready to go, avoid tugging the threads as this can lead to more knots. All in all, learning how to properly thread and use the machine will make it easier to avoid tangles and troubleshoot any issues that come up.
Finishing Techniques
The finishing technique used after the serging is complete is just as important as the serging itself. Selecting the correct thread for the fabric is essential. Lightweight fabrics will often require contrasting thread for a neat finish, while thicker fabrics might work better with matching thread for an invisible seam. Regardless of the fabric, it’s important to use sharp scissors to trim away any excess threads before moving on.
In some cases, it’s also necessary to press the seam. Ironing the fabric with a high-heat setting and steam can help flatten the stitch and give it a neat, finished touch. Some fabrics, like knits, can benefit from pressing with a pressing cloth, as this will ensure that the fabric won’t be damaged by direct contact with the iron.
Maintenance
The same regular maintenance of any other regular machine is necessary for those looking to serge with a regular machine. Replace worn presser-feet when needed, clean the machine and make sure it’s lubricated. Additionally, make sure the machine remains in good condition throughout the process. Check the belt and moving parts to ensure everything is in smooth working order, and take the time to address any minor issues that may occur.
In the end, learning how to serge with a regular sewing machine comes with a few initial bumps in the road. Once the techniques and techniques are experimentally mastered, though, it will be easier to create factory-like seams with a regular machine. With a few helpful tools and techniques, it’s possible to get the job done, making serging with a regular machine a great option for the crafty sewer.
