Introduction
Sewing machines are increasingly essential tools for people who love to make their own clothes, curtains, quilts, accessories and a variety of projects. Whether you are a beginner sewer or an expert seamstress, knowing how to properly use a sewing machine is a critical step in successful sewing. Getting to know your machine, and learning to use it in the right way, is essential if you want to get the best results every time. In this guide, we’ll take a look at the steps you need to take to use a sewing machine, from making sure the settings are correct to understanding the different parts of the machine and how they work.
Step One: Get to Know Your Machine
The first step to using a sewing machine is to get familiar with the machine and its parts. Knowing what each knob, lever, and button does on the machine will go a long way to helping you use it correctly. Most machines will have a manual that tells you what each part does, or you can research online for more detailed instructions.
If you’re a beginner, the best way to get to know your machine is to familiarize yourself with the most basic parts. These would be the thread guide, tension control, foot lever, bobbin winder, needle, and presser foot. Once you have an understanding of what each of these buttons and levers do, you can focus on adjusting the machine settings to suit your project.
Step Two: Choose Your Thread and Fabric
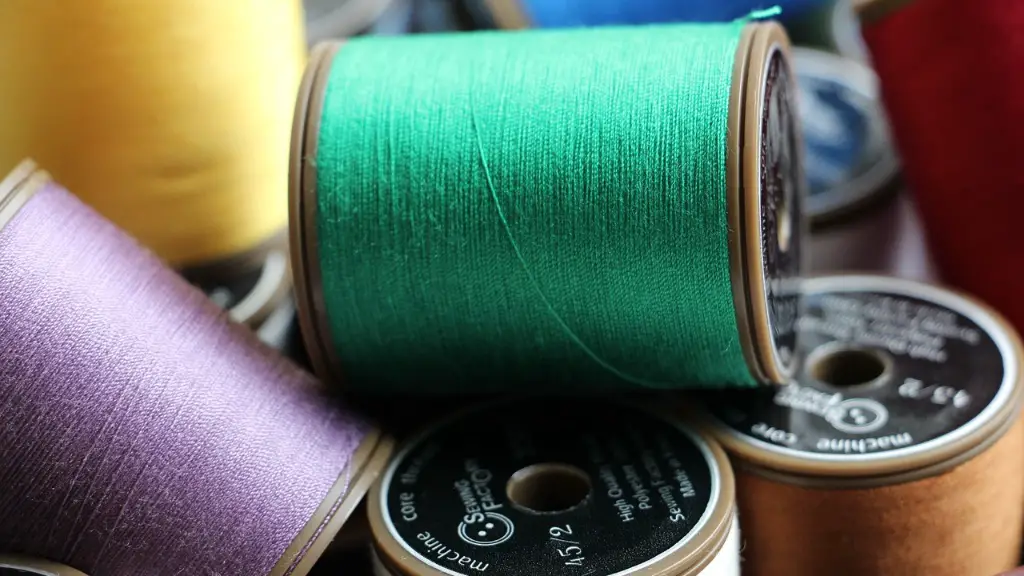
The type of fabric and thread you choose is important when sewing. Most fabrics will require different types of needles so it’s important to select the right needle for the job. Thin fabrics need thinner needles while thicker fabrics need thicker needles. As for thread, it’s best to select a thread that matches the color of your fabric.
It’s also important to make sure the thread you are using is suitable for the machine you are using. If you’re unsure, it’s best to consult the manual or do some research to ensure you’re using the right type. The last thing you want is to use a thread that’s too thick or too thin for the machine.
Step Three: Set Up The Machine
Once you have the right thread and needle for your project, it’s time to set up the machine correctly. Start by adjusting the tension dial until you get the tension that works for your project. Generally, a tension setting of 7 or 8 is ideal for most fabrics. Next, adjust the bobbin and needle by selecting the correct stitch length and width. Make sure the needle is secure and the correct height for the fabric. You can refer to your sewing machine manual if you’re unsure of how to set these settings.
Step Four: Load The Bobbin
The next step is to load the bobbin. To do this, first, loosen the bobbin and then thread the bobbin thread through the thread guide. After that, turn the bobbin winder until the bobbin is completely filled. Once you’ve filled the bobbin, secure the thread by pulling it taut and cutting the excess. Finally, replace the bobbin and make sure it’s put in the correct direction.
Step Five: Thread The Needle
After you’ve loaded the bobbin, it’s time to thread the needle. To do this, locate the thread guide, insert the thread from the spool, then thread it through the thread guide and back to the spool. Once you’ve pulled the thread through the thread guide, make sure to pull it through the slot in the needle, and then wind it once around the needle. Make sure the thread is secure and that you’ve cut off any excess thread.
Step Six: Get Ready to Sew
Once the needle is threaded, it’s time to wind the bobbin. To do this, press the foot pedal to turn the machine on and then wind the bobbin by pulling the thread around the bobbin’s thread guide. Once the bobbin is wound, replace the bobbin and secure the thread.
Now it’s time to ready the fabric. To do this, place the fabric under the needle, adjust the tension if necessary, and then lower the presser foot. Now, it’s time to start sewing!
Step Seven: Swing The Fabric
The last step to using a sewing machine is to swing the fabric. To do this, hold the fabric in your left hand and stead by with the right. Make sure the fabric is taught, then press the pedal and start stitching. As you go, push the fabric along and pull it so it is tight, making sure to keep the fabric in the shape you want it to be stitched in.
Once you’ve finished sewing, remove the fabric from the machine, tie off the thread and cut the excess. Congratulations – you’ve just successfully finished your first project with a sewing machine!
Maintenance
Regular maintenance and cleaning is essential to ensure your sewing machine remains in a good working condition. This includes cleaning the machine, and checking the needle, bobbin, tension and thread for any damage. If any parts of the machine are damaged or the settings are not correct, this can lead to unsatisfactory results and the need for repairs.
To clean the machine, first unplug the machine, then use a damp cloth to gently remove any lint or dirt. After that, wipe down the metal and plastic parts of the machine with a dry cloth. Finally, lubricate any metal parts, as needed, and replace any parts that are worn.
Troubleshooting
Sometimes, even when you’ve set up your machine correctly, you may experience problems. Common problems that occur when sewing can include the thread bunching up, skipping stitches, or the needle breaking.
If you’re experiencing these issues, it’s best to first refer to your manual and make sure the settings are correct. It’s also a good idea to check if the thread tension and needle are correct for the type of fabric you are using. If the problem persists, it may be time to take the machine for repairs.
Essential Accessories
Besides learning to use the machine, it’s also important to have the right accessories. Essential accessories for sewers include a measuring tape, scissors, thread snips, seam ripper, marking pen, and a portable sewing kit. Having all of these handy can help simplify the sewing process and ensure you’re producing the best results possible.
In addition, having a few extra supplies in your sewing arsenal can help you out in a pinch. Some helpful items to have on hand include sewing machine oil, spare needles, extra thread, and extra bobbins.
Conclusion
While it may seem daunting at first, learning to use a sewing machine can be easy once you take the time to get to know the settings and different parts of the machine. Following the steps discussed in this guide along with regular maintenance and troubleshooting can help ensure you’re getting the best results each time you sew. With the right setup and understanding, you’ll be creating garments and projects in no time!


