Thread winder and spool pin
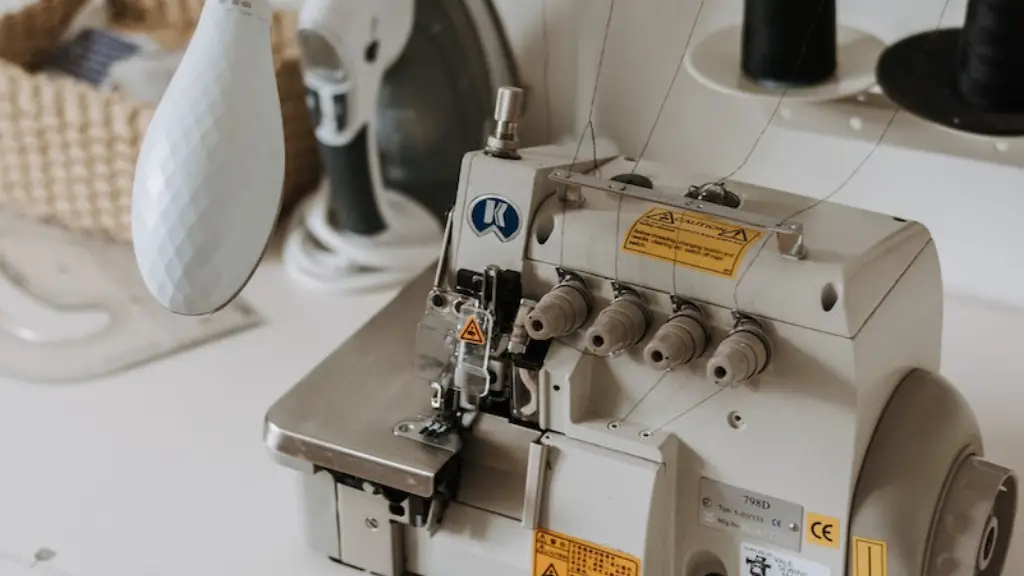
Threading a sewing machine can seem like an intimidating task but with the right resources and guidance, any beginner can easily thread a machine. Before threading the machine, you will want to make sure you have all the elements needed ready. These include the thread winder, thread spool, thread spool pin and the threads themselves. The thread winder helps to pull and guide the thread through the eye of the needle. The thread spool should be placed onto the spool pin, which is found on the top of the machine, to keep the thread in place.
Thread guides and tension discs
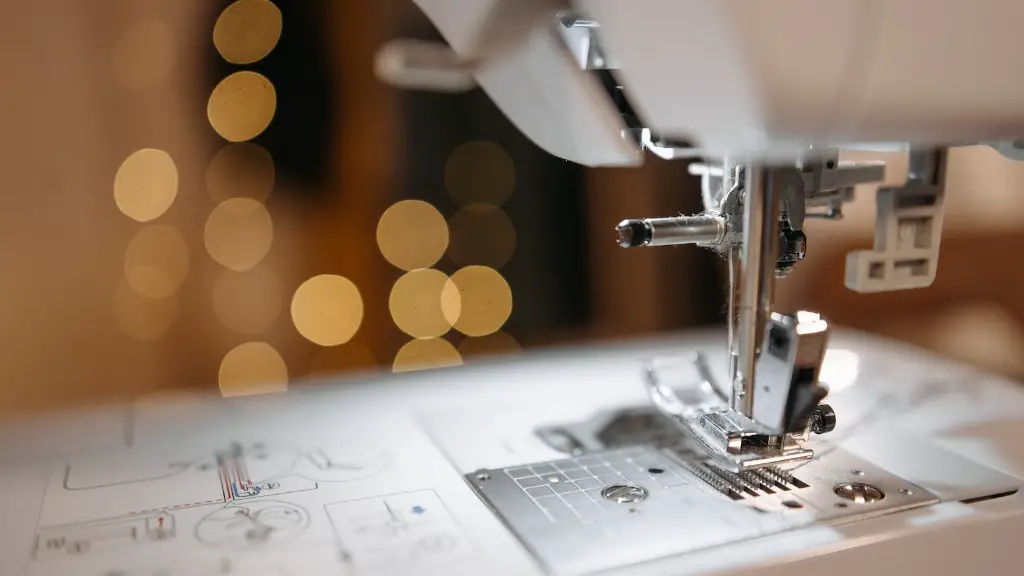
Moving along, the thread must pass through the various thread guides, which help to keep the thread in place while keeping the tension discs tight. The tension discs, which are usually placed at the front of the machine, help control the tension of the thread. As you pull it along, the tension discs will keep the thread in its proper place near the needle. Depending on the machine you have, this could take some trial and error to get it to the correct tightness.
The take-up lever
The next step is to pass the thread through the take-up lever, which is at the top of the machine. This will help to create a tension line for the thread which will then go onto the needle. When you place the thread through the take-up lever, make sure that the thread is directed up and away from the needle to ensure it stays in its proper position.
Through the threading guides
Once the thread has been passed through the take-up lever, it is ready to go through the threading guides. Each sewing machine has its own set of threading guides, some of which may be on the arm of the machine itself or may be located in the front. The easiest way to find them is to slowely raise the needle to its highest position and look for the eye of the needle.
Now the thread should be passed through the eye of the needle. This is done by first pulling the thread with the thread winder. Once the end of the thread is through the eye, hold the other end of the thread and pull it from the take-up lever, then threading it through the guides and the tension discs. Then, thread the needle from the bottom up and pull it up to the top.
Testing the thread
Once the thread is through the needle and through the guides, it’s time to test the machine to make sure everything is working properly. Place some fabric under the machine with the presser foot down. Lift the presser foot as you press down on the up-down button. Here, you should be able to pull the thread to make sure that it is in its correct position. Then you can start sewing after the machine is tested.
General Information
Every sewing machine has its own specifics when it comes to threading. Some machines will have a quick-threading guide where you can quickly thread the machine without having to go through each step. Before threading any machine, make sure to consult the manual or watch a tutorial as our instructions may not always be applicable to your machine.
Sewing Thread Types
When it comes to threading, there are a number of variables to keep in mind, such as type of sewing thread, length of sewing thread and needle size. Every machine is a little different, so it’s important to know what your machine can handle when it comes to each of these variables. Generally, thicker threads with higher tensile strength are able to endure more strain, while finer thread is ideal for delicate fabrics, where you’ll need it to be less visible.
Needle Position
Although not necessarily related to the threading process, the position of the needle is also important and can change the effectiveness of the stitching. Depending on the type of fabric, the needle should be aligned to the left or right, as well as in the middle. At places where the fabric is expected to give, the needle may need to be set to the left. The exact position will depend on the instructions from the manual and the type of fabric.
Application of Thread
At the end of threading your sewing machine, you are ready to start stitching. Begin by selecting the stitches, tension level, presser foot type and the number of layers you will be working with. Sew two to three test pieces to check the stitch quality before working on your project. If a few stitches seem loose or too tight, adjust the tension level and stitch strength, then repeat the test stitch.
Selecting the Thread
When it comes to selecting the right kind of thread, there is no one-size-fits-all answer, as it will depend on the project and type of fabric. Generally, a cotton or polyester thread will work well for most projects, but there are alternatives such as nylon and rayon that may be better suited to certain types of fabrics. However, some fabrics require a special type of thread, so it will be important to check the manufacturer’s instructions before using the thread.
Correct Threading
The key to successful threading of a sewing machine is practice and patience. After you have become comfortable and familiar with threading, you can rest assured that your sewing projects will proceed much more quickly and easily. In order to ensure the best results, make sure to double-check all the threads and guides prior to starting the test stitches to make sure everything is in its proper place.


