Explaining the Mechanics
Threading a Singer sewing machine requires some knowledge of the parts and how they work together to pass the thread through the machine. It might seem intimidating or difficult at first, but with a little practice and patience, it’s much easier than it appears. Understanding the basics of the machine’s operation can help to simplify the entire process.
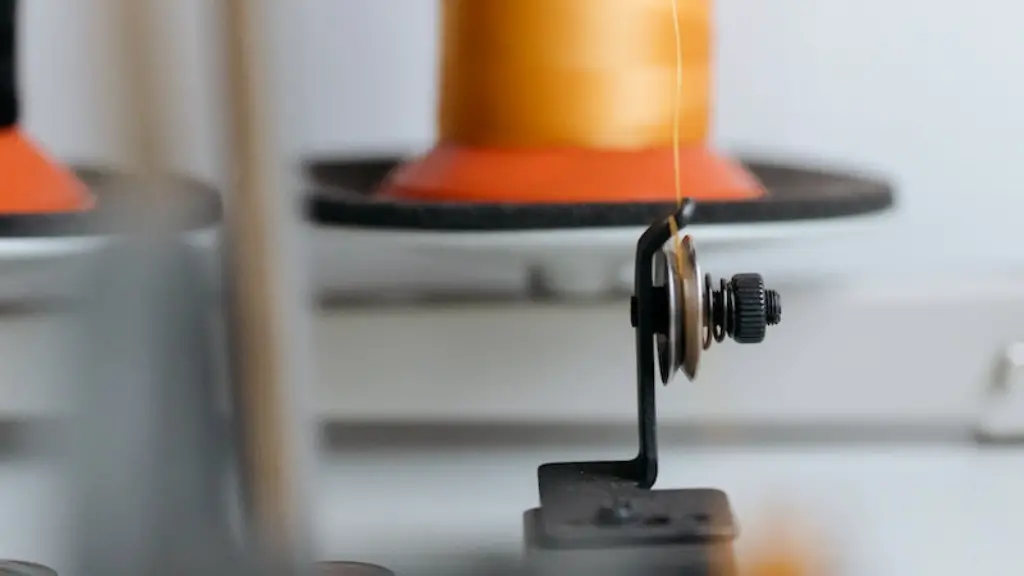
First, locate the thread take-up lever. It’s usually the highest arm or lever on the right side of the machine near the needle. Then locate the ladder-like thread guide on the needle bar. These threads should be between the spool pin and the thread guide. After that, find the thread tension disks and the screw-attached thread tension regulator. This regulates the tension and movement of the thread inside the machine.
Next, the needle must be threaded correctly. Start by finding the slot in the front of the needle. Insert the thread from the rear of the needle’s eye and then pull the thread through the slot and toward the front of the needle. Finally, check that the machine is in the bobbin-winding mode. This is so the bobbin thread can be taken up properly.
Bobbin Threading
Before you can thread a singer sewing machine, the bobbin must be threaded first. Locate the bobbin slot and insert the bobbin with its mechanism into the machine. Then take the machine thread and draw it up through the slot and over the tension disc of the bobbin-winding mechanism. Then draw the thread up to the top of the machine, which will start the bobbin winding mode. When the bobbin is filled, the bobbin-winding mechanism will be disengaged and you will lose the tension.
Remove the bobbin and cut the thread. Make sure the bobbin is inserted in the same direction as the thread was wound. Now check that the machine is back in normal sewing mode. Place the bobbin in the bobbin case and ensure it is positioned correctly. Then pull the thread through the slot at the top of the bobbin case on the outside of the machine.
Threading the Take-Up Lever
The next step is to thread the take-up lever. This is the part of the machine that moves the threads from the spool, through the threading routes, and eventually to the needle. Start by pulling the thread all the way to the top of the machine and then around the thread guide.
The thread should be in the position indicated by the arrows on the thread guide, usually right to left. Next, use the thread guide closest to the needle and wrap the thread around it. Continue wrapping the thread around the thread guide until the thread is snuggly in place. Then thread the needle by pulling the thread towards the front of the machine.
Threading the Needle
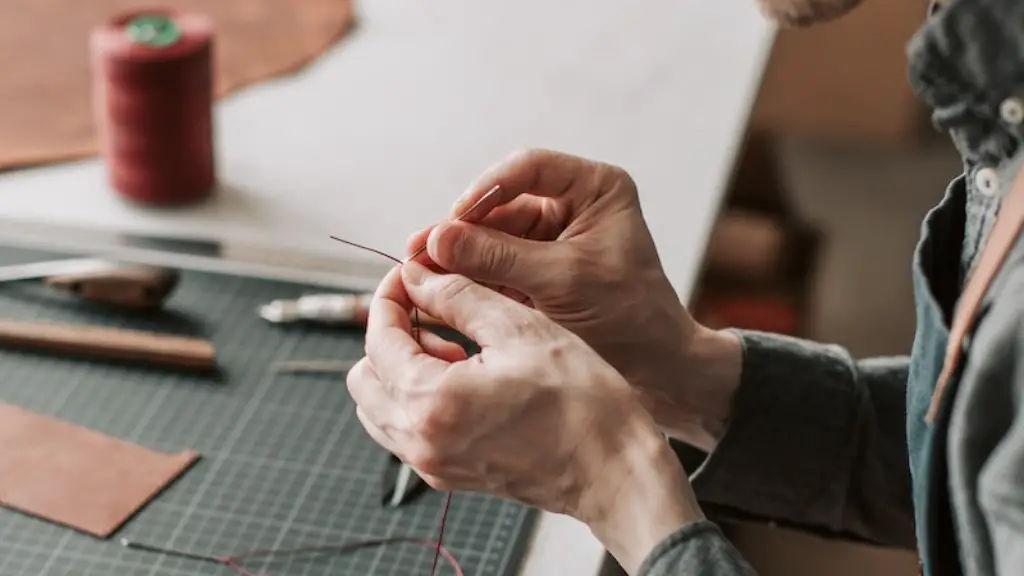
When threading the needle, start by inserting the thread into the narrow slot of the eye of the needle. Using your fingers, pull the thread through the slot, making sure it’s long enough to make an adequate loop. Make sure the thread is facing the right direction by looping it over the rear of the needle.
Once the thread is placed properly, pull it down and wrap it around the thread guide above the needle and then bring it back up to the thread take-up lever and through the guide at the bottom of the lever. Now, pull the thread back down to the needle and loop it around the needle until it’s snugly in place. Finally, pull the thread down to the underside of the machine and your machine is now threaded correctly.
Sewing with a Threaded Machine
When sewing with a threaded machine, make sure to watch for the needle hitting the thread guide and check for a good tension on the thread. Adjust the thread tension if needed. Also, always make sure the needle is in the highest position when threading the machine. This part of the threading process may require practice, so use scrap material until you become more experienced.
Another important thing to remember is to move the needle thread before starting to sew. Pull the needle thread out until it stops and then you can take a few small to moderate pulls as you start to sew. This helps avoid a tangled mess of thread at the beginning of the seam.
Maintaining the Machine
Maintaining a Singer sewing machine is important to ensure it continues to work at the highest level of performance. To prolong the life of the machine, regular cleaning and oiling is essential. Regular cleaning helps keep the working parts of the machine clean and free from dust, dirt and debris.
Oiling can help keep the machine running smoothly and reduce the risk of breakage. Most Singer machines have an oiling port on the side, which allows it to be easily and quickly oiled. If there is no oiling port, it is best to consult the manual or contact an authorized Singer service provider for guidance.
Troubleshooting
When it comes to troubleshooting, it is important to stay calm and take the necessary steps to investigate and resolve any issue with your Singer sewing machine. Begin by consulting the machine’s manual. Most machine issues can be resolved by following the instructions in the manual. If the manual does not provide a solution, contact a qualified Singer service provider for assistance.
Singer sewing machines are reliable and durable machines and with proper care, maintenance and troubleshooting techniques, you can ensure that your machine is performing to its highest standards for years to come.
Different Singer Models
Singer sewing machines come in a variety of models, each designed for a different type of user. From entry-level machines to industrial-grade models, there is a Singer model that is perfect for everyone. Most Singer models feature an adjustable tension knob to easily tailor the needle tension to the fabric you are sewing. Additionally, the adjustable presser foot can be tailored to different fabrics as well, giving you even more control over the stitch quality.
The advanced technology found in Singer machines also allows for a wide range of stitches. From basic straight or zigzag stitches to decorative, specialty and automated stitches, you can create virtually any type of stitch imaginable. Whether you are a beginner or experienced sewist, you are sure to find a Singer sewing machine that meets your needs.
Other Accessories
To maximize the potential of your sewing machine, you should invest in some quality accessories. Presser feet, needle plates and bobbins are essential for any sewer. Additionally, fabric markers, tweezers, seam rippers and shears are also essential accessories for many sewing projects. Finally, investing in some quality thread and needles can help ensure your sewing projects look professionally done.
Having the right accessories can help make the process of threading your Singer sewing machine much easier and more efficient. With the right tools and the right knowledge, you can easily master the process of threading your Singer sewing machine.
Time Saving Threading Tips
To save time when threading a Singer sewing machine, always make sure to cut the thread before winding a bobbin. Also, check the needle for any bits of thread before threading. This can help ensure that the needle does not snag or misalign the thread. When threading the take-up lever, make sure to use the thread guide closest to the needle. This will save time as it allows the thread to be wound on the lever quickly and accurately.
To finish the threading process, make sure to double check the tension and start sewing. This process may take some time to become familiar with, but practice will help you become more confident in threading your Singer sewing machine.
Conclusion
Ultimately, threading a Singer sewing machine is a relatively simple process once you understand the basics. Having the right tools and knowledge for the job can make all the difference. Following these tips and techniques can ensure that your machine is threaded correctly, your stitches look professional and your sewing projects look beautiful.
