Most Singer sewing machines utilize oil to keep their mechanized parts functioning properly. Sewing machines made by Singer require their owners to lubricate the moving parts at predetermined intervals with an appropriate type of oil. Sewing machine oil is an essential component of the sewing machine’s maintenance routine if you wish to avoid costly repairs in the future.
According to an article from Sewing Machines Plus, sewing machine oil, often referred to as lubricating oil, provides a protective coating for the parts of the machine that must move in order for it to function. This oil prevents tiny metal particles from building up, minimizing wear and tear on these components. The build-up of metal particles can cause the machine to eventually overheat and shut off because of an inoperable part.
The manufacturer’s manual recommends oiling the sewing machine at least once each year or anytime that it is serviced. This oiling should take place even if the machine has not been used recently. A machine that has not been used in several months may need more oil than one that has been used frequently.
When adding oil to a sewing machine, it is important to only use products specifically recommended for a sewing machine. Never use oil from a container that says automotive or grease that comes in a tube. Regular household oil may work in a pinch but it is not suggested as it will leave your machine sticky or gummy, or it may break down over time.
How you oil the machine is important as well. To begin, The Spruce Crafts suggests that you turn the machine off and unplug it, open the bobbin case and the hook and remove any caked on lint or dirt from the bobbin area using a small brush. Blowing out the area with compressed air is also an option. Once it’s clean, close the top of the machine again.
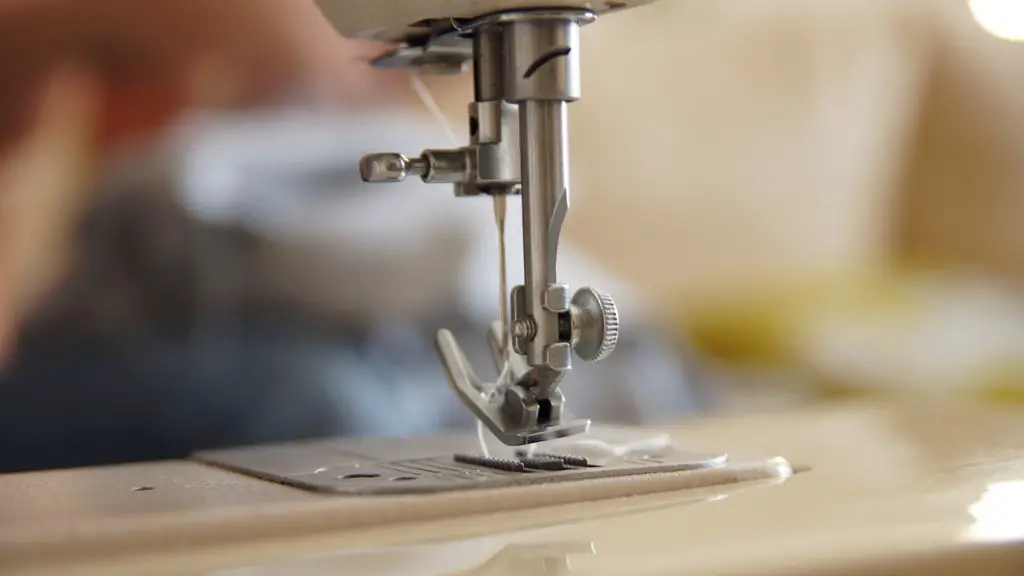
Next, locate the parts of the machine that require oil. According to Singer, these parts typically include the shuttle hook and/or hook race, the needle bar, the hook, and hook area beneath the needle, feed dog pivots, the rotor, the take-up lever and its shuttles, the feed dog and its mounting, the check spring, and the bottom of the presser foot lifter. Be sure to oil the hook race and hook first.
Applying Oil
After locating the different parts, you are ready to apply the oil. Take the sewing machine oil, and put one drop of oil onto each of the moving parts. Be careful not to put too much oil or your machine could become too greasy or even flooded with oil, which can damage the machine. After applying the oil, run the machine for a few seconds to let it work into the parts.
Repeat this process for any additional parts that need oil. Once you have finished with the oiling, run a few more stitches on a scrap piece of fabric to help move the oil around. After this, you can use a soft cloth to clean off any excess oil to prevent too much oil from buildup on the machine surfaces.
Oiling Tips
When oiling a sewing machine, here are a few tips to keep in mind:
- Be sure to use sewing machine oil or a light weight house hold oil.
- Always unplug your machine before oiling.
- Be sure to remove any lint or dirt from the machine before oiling.
- Always oil according to the Instruction Manual.
- Only use one drop of oil at each oiling point.
- Use a soft cloth to wipe away any excess oil.
The oiling process should take no more than a few minutes. However, it is important to make sure that the machine is well-oiled, as this will help ensure that it runs smoothly and avoids mechanical problems in the future.
Oiling Frequency
How often should your Singer sewing machine be oiled? It depends on the frequency of use. As a general rule of thumb, your machine should be oiled at least once a year if you sew frequently, or every two years if you don’t use it too often.
Also, you should oil your sewing machine anytime you move it or when you are having it serviced. Whenever a machine is moved, it may go through changes in altitude, temperature, and humidity. If a machine is moved from a dry, dusty climate, it will most likely need more frequent oiling to avoid wear and tear on its mechanical parts.
Final Check
Once you have oiled the machine, it is a good idea to make a few test stitches to ensure that all of the mechanical parts are moving smoothly. If everything checks out, you are finished! Be sure to save the receipt, as it is always smart to keep track of all of your machines maintenance.
Troubleshooting Problems
If you find that your machine is still not running properly after oiling, there may be an underlying issue with the machine that needs attention. You may need to contact the manufacturer or a professional technician to inspect or repair the machine.
In some cases, the problem may be a result of too much oil. If this is the case, you should use a soft cloth to clean away any excess oil on the parts of the machine. You will also need to consult the instruction manual to make sure that you have not applied too much oil anywhere.
Conclusion
Oiling your Singer sewing machine is an important part of maintenance and care. It helps to extend the life of the machine and keep it running smoothly. With a few simple steps and a bit of patience, you can add oil to your sewing machine easily and quickly.


