Troubleshooting Basics
Whether you are a beginner or expert sewer, an understanding of adjusting your machine’s bottom tension is essential. Tension adjustment is one of the most basic, but perhaps most important of troubleshooting steps for a sewing machine. Generally, for a sewing machine to perform properly, the bottom thread tension should neither be too loose nor too tight depending on the type of fabric you’re using. If the thread tension is too tight, it can cause puckering of the fabric and offensively tight stitches on the underside. If the thread tension is too loose, the stitches of the top layer will be loose or become invisible on the underside.
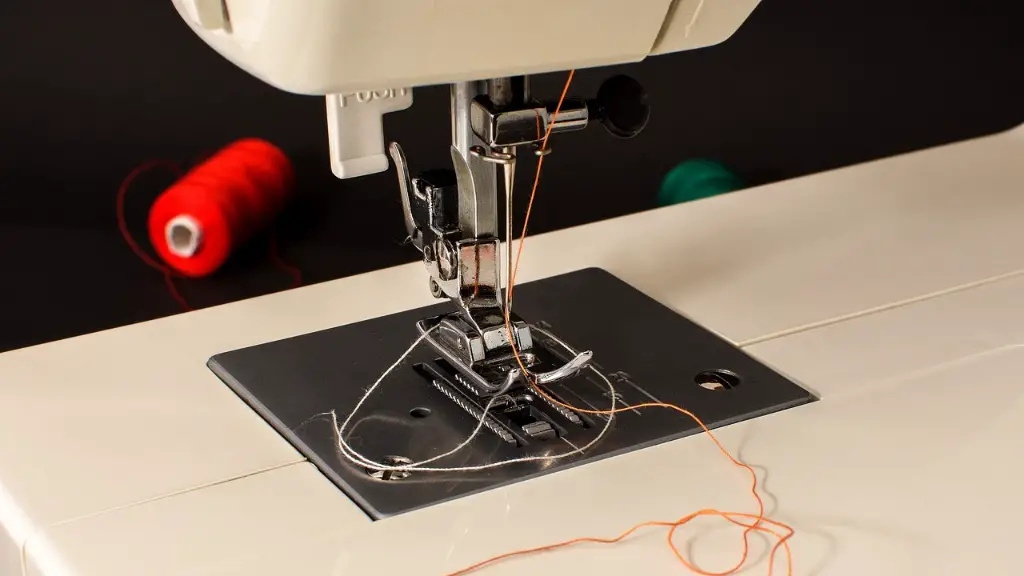
Fortunately, it isn’t difficult to adjust the tension of your sewing machine. The bobbin is usually located on the front of the machine and to adjust the tension you will need to turn the small knob located at the front right side of the head. Each machine is different, but for most machines this knob is set to 5. If the tension is loosened, you will have to turn the knob towards the left and you will have to turn towards the right is the tension needs to be tightened.
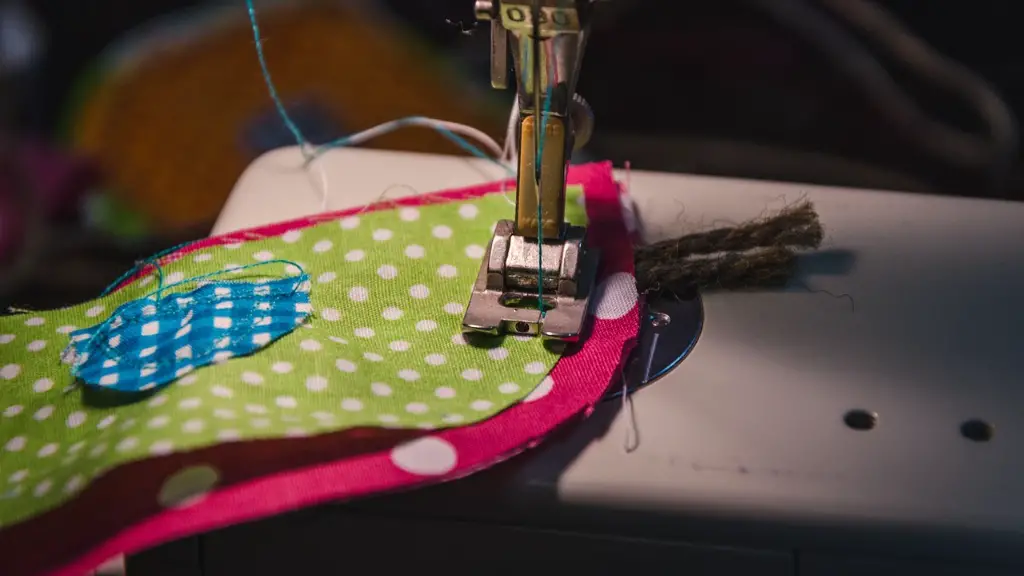
In order to check if you have the tension correctly set, you can place a white, unlined fabric under the presser foot and then sew several lines of stitches. If the thread is correctly tensioned, the bobbin stitches should merge into the layer of fabric shown on the top layer. If the bobbin stitches are looping on either side of the fabric, you should loosen the tension of the bobbin thread. However, if you see tight little square knots on the underside, then you should tighten the tension.
Adjusting the Needle Adjustment Screw
Apart from adjusting the bottom tension, you can also adjust the needle adjustment screw. The needle adjustment screw is designed to correct timing problems and can be located at the right side of the machine at the base of needle. Tightening this screw will cause the needle to enter the machine earlier while loosening the screw causes the needle to enter the machine later. You should play around and experiment with the timing until you get the desired result.
If you find yourself needing extra help and are ready to get a professional to service your sewing machine, make sure you take the time to do your research. Look for experienced and reputable sewing machine repair services that offer support and come highly recommended. It is always best to hire someone who has a great reputation and plenty of experience in dealing with sewing machines.
Checking and Replacing the Needle
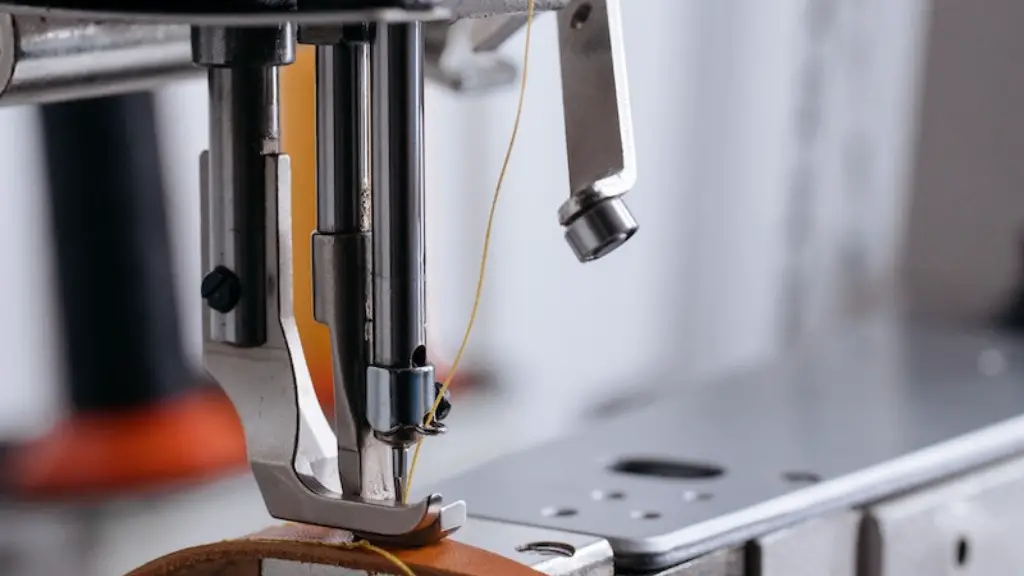
The needle is the most important part of any sewing machine, as without it, there can be no stitch. You should always make sure that your needle is the correct size and of good quality for the job you are about to do. Replace the needle for every new project you take up and make sure it is always clean, sharp and properly aligned.
If the needle feels rough, as when you scratched your fingernail over it, it is time to replace it. If the needle is bent or has a visible burr it should be immediately replaced. Sewing can be a difficult task if you are using inappropriate needles or needles in poor condition.
Repair Services
If you cannot troubleshoot the problem by adjusting the tension and maintaining your machine adequately, you may need to consider taking your sewing machine to a professional repair center. A professional repair service can deal with any issues such as strange rattling or clicking noises while you are sewing, or if the motor or motor control board needs replacing.
Another important thing to consider when repairing mechanical sewing machines is the cost of repairing compared to what a new machine will cost. If you are using an old machine, for certain repair services, it may be a better option to get a new one. Doing a bit of research can be a good idea and help you save a considerable amount of money in the long run.
Lubrication
For proper maintenance, it is essential to oil and lubricate your machine regularly. The tension of your machine is also connected to lubrication, as a well-oiled machine works with more accuracy. If the tension is running too tight, lubricating the mechanism can often help to lessen the effect. You should always make sure to use the correct oil for your machine and avoid using generic oil which could offend the operation or cause damage to the machine.
To lubricate your machine, start by turning the hand wheel until the needle is in its highest position. Then, lift the needle plate and put oil in all moving parts, or attach an oil container to the oiling hole. To ensure proper flow of oil, turn the hand wheel several sets and repeat this process again to make sure all the oil points are lubricated.
Check the Settings
When adjusting the tension, it is best to keep a few things in mind. Firstly, be mindful of the setting on your machine. If the differential feed settings on your machine are not adjusted correctly, it can cause problems with the tension. Also, if your machine settings such as the stitch length and width are adjusted wrongly, it can affect the tension.
In summary, you should pay extra attention to the tension when sewing. Trying a few simple tinkers to adjust the tension may help in fixing the problem. However, if the problem doesn’t seem to be going away, it may be best to leave it to the experts and do your research before hiring a professional repair service.
Producing Sample Stitches
Producing sample stitches is a good way to check and make sure that the tension is balanced with the needle size and the fabric you are using. To create multiple sample stitches to try and strike the tension balance, make sure the needle is in its highest position, lower the presser foot and create several sample stitches. If you get the desired stitch, you can rest assured that the tension is balanced.
To test the balance of tension for certain fabrics and lighter weight fabrics, use one ply of each thread in the bobbin and top thread. This will cancel out the influence of the second ply in the upper thread and ensure an even tension.
Extra Tips
Sometimes you may come across a situation where you have to adjust your machine’s tension to suit a particular fabric or thread you are using. Setting the tension to the correct level requires a bit of experimentation. You can start with adjusting the tension to the mid level and then make very small twists of the knob until you get the desired results.
If you are having problems with skipping stitches, check the needle. Sometimes when the needle becomes rounded or dull, it creates tension problems, resulting in the threads breaking often or the needle skipping stitches. Lastly, always use quality thread in your machine and make sure to inspect the thread for kinks or knots, as this can lead to tension and stitch problems.


