How To Adjust Sewing Machine Tension
Understanding the basics of how a sewing machine works is essential to be able to make the best use of it when sewing and to avoid potential problems. A sewing machine is composed by two basic parts: the top part of the machine and the bottom part of the machine where the feed dogs move, and the tensions situated in the bobbin case. The tensions of the upper thread, just like the tensions of the lower thread, play an important role in the perfect implementation of your projects.
When teaching about sewing machine tension, the basics start with machine tension settings. Different machines may have slightly different settings, but generally, there should be a tension knob that lets you dial in the tightness of the thread. Sewing machine tension is affected by many factors, such as the type of fabric, type of thread, and structural details of the machine. If the fabrics being sewn are particularly thick or heavy, it may require higher stitch tension.
To figure out the correct machine tension setting, start by testing the settings that come with the machine. Test the upper and lower threads on sample fabrics and make sure they are even on both sides. If they are not even, they can be adjusted with the tension knobs on the machine. If the tension is too high, the upper thread will be pulled down, and if it is too low, the upper thread might be too loose above the fabric. To check if the tension is right, look for a few stitches in the same spot on your test cloth and compare the top and bottom threads. If the top thread forms a loop, the tension is too loose. If it pulls too much fabric, the tension is too high.
If the thread is looping, it needs to be tightened; the same goes for if the threads are not even. Where the tension needs to be adjusted is a dial with numbers ranging from 1-6 or 1-9 (depending on the type of sewing machine) that can be turned to the left or to the right (clockwise for less tension and counter-clockwise for more tension). Similar to tuning a guitar, it is best to adjust just a little bit at a time, and then testing the results. It is important to use the same thread and fabric each time while adjusting the tension.
To check the lower thread tension, remove the bobbin case and use your finger to activate the tension disc. If the feeling is loose, tension should be adjusted using a tiny flathead screwdriver. The upper thread tension should also be checked and adjusted if necessary. If either thread tensions are too tight, knots can form in the threads and it will be difficult to pass the thread under the presser foot. The key is to have the tension loose enough for the needle and thread to move freely.
Depending on the design of the sewing machine, finding the tension knobs on the machine can be difficult and in some machines, it might even be hidden. The manual for the machine can be a big help, as it can contain diagrams that are extremely useful to find the tension knobs. Another tip, if the bobbin casing needs to be removed, use an applique scissors or tweezers to avoid damaging the fabric if it gets stuck to the bottom. Once you have mastered the machine tension, you can now confidently sew fabrics of different weights and textures, create beautiful projects and enjoy using your sewing machine.
Thread Types
The type of thread used is a major factor when adjusting sewing machine tension. A common mistake is to use the same type of thread on all projects, regardless of fabric weight or texture. Each fabric and thread type requires a different tension setting. Generally speaking, lighter fabrics should have a less tight tension to avoid puckering and thicker fabrics should have a tighter tension to avoid sagging. Other thread types might require different tensions, such as polyester threads that are more elastic and need more tension.
The thickness of the thread should also be taken into account. Thicker threads need a higher tension, and thinner threads need a lower tension than medium weight threads. In most cases, the thinner the thread, the higher the tension; and the thicker the thread, the lower the tension.
When it comes to tension, it is important to be aware that some thread types can cause more tension issues than others. For example, cotton threads tend to be soft and loosely woven, which can cause airflow problems and could increase the risk of snagging. Synthetic threads tend to be stronger and more tightly woven, and therefore, more likely to withstand high tension and heavy wear and tear.
Testing and Troubleshooting
When the setting for the perfect tension is found, it is important to test it out, and then tweak it if needed. Most machines come with a sample fabric for testing, as well as instructions for the tension settings. To start testing, use a light fabric with a thin thread and then gradually move up to heavier fabrics and threads. For every test, check the stitch and make sure it looks even and uniform, so that when you move on to the next project it looks flawless.
Troubleshooting tension issues can be tricky, but with the right knowledge and practice, it can be done in no time. If the fabric is puckering, it might be a sign that the tension is too tight, and if the thread is looping, it might indicate that the tension is too loose. If that’s the case, make sure to clean the machine, check the presser foot, and see if there’s any lint or dust impeding the thread. Sometimes, this is enough to fix the tension problems.
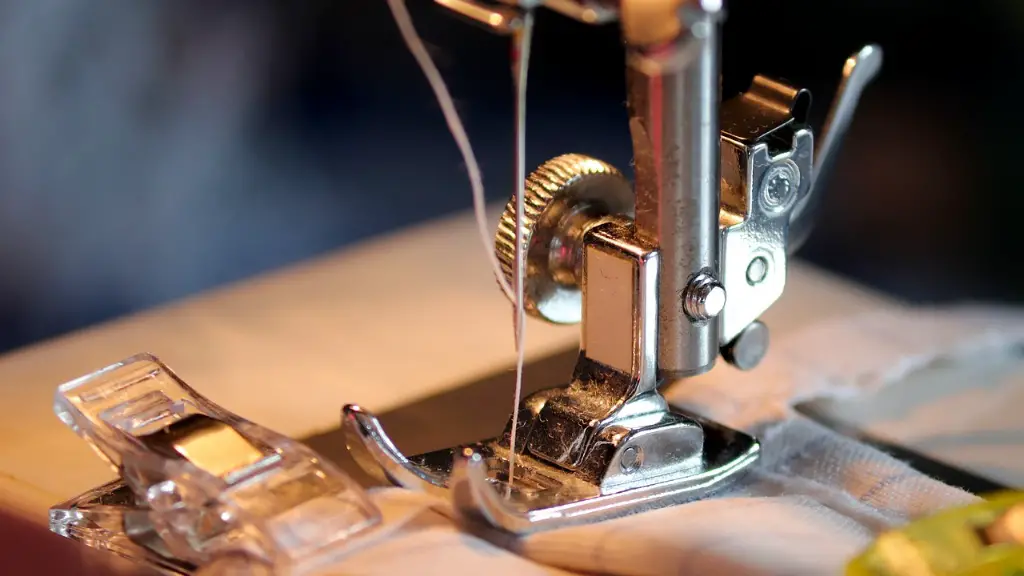
It is important to make sure the presser foot is adjusted properly. This can be done by raising or lowering it and then making sure the tension discs move in and out freely. Also, inspect the needle and make sure it is the correct size for the thread and fabric being used. If the needle is too large or too small, it can cause tension issues.
Cleaning and Oiling
Proper maintenance is key when adjusting sewing machine tension, and it can make the difference between a flawless project and an amateur-looking result. It is important to know how often to clean the machine and how to oil it. As a general rule, the machine should be oiled once a month (or depending on the machine’s usage). The manual usually contains instructions on how to oil the machine. When cleaning, it is crucial to be careful, as the machine is full of intricate parts that make a difference when properly oiled.
It is also important to keep the machine dust-free. A simple cloth with cleaning solution is enough to do the job and can help prevent build up of dirt. For stubborn dirt and lint, a slightly damp cloth should do the trick.
When it comes to tension, a clean machine is always better. The less dirt inside of it, the less likely it is to cause tension issues. Also, the less friction between the pieces, the better the machine will run. A well-oiled machine will work better and will have fewer tension problems.
Conclusion
Adjusting the tension on a sewing machine can seem like a daunting task at first, but once the basics are understood and some practice is done, it will seem like a walk in the park. To get the most out of the machine and achieve beautiful results, make sure to clean it regularly and check the tension occasionally. With the right practice, it is only a matter of time until you master the perfect tension settings and achieve flawless projects.
