If you’ve ever wanted to learn how to adjust thread tension on a Singer sewing machine, then you’re in the right place. Sewing machines are a fantastic tool to help you bring your fabric creations to life, but if the tension isn’t right, your stitches might look sloppy or your fabric might unravel at the seams. The good news is that adjusting the tension on a Singer sewing machine isn’t too tricky. With the right advice and tools, you’ll have the perfect tension in no time. It’s important to understand how tension works and how it affects your sewing projects.Tension is the balance of pressure between the upper and lower threads during sewing. If your thread tension is too loose, your machine may allow the upper thread to pass through too quickly. This can cause the thread to pucker and your fabrics to bunch up. On the other hand, if the tension is too tight, the fabric may be drawn too tight, creating improper stitch formation and causing the thread to snap easily.
In order to adjust the thread tension on a Singer sewing machine, first ensure that the machine is properly threaded with the correct size of thread. Additionally, be sure that the bobbin thread is not tangled or caught on the feed dog. Then, turn the tension knob located near the top of the machine, near the needle. Turn the knob in a clockwise direction to tighten the tension and in a counterclockwise direction to loosen it. As you adjust the knob, periodically test your stitches on a scrap of fabric to make sure the tension is correct. It may take a few tries before you get the tension right.
Experts in the field of garment construction recommend adjusting the thread tension until the upper and lower threads meet seamlessly in the middle of the fabric when you pull it gently. If the tension is too tight, you can adjust it until the fabric appears relaxed and supple, and if the tension is too loose, adjust the tension until the two threads meet in the middle. When the stitch is too tight, you can also try stretching the fabric gently on either side of the stitch. If the upper thread is visible on the back side of the fabric, your tension is too loose and needs tightening.
Another technique you can use to adjust the tension is to use a tension gauge. This tool will help you accurately set the upper thread tension by measuring the amount of thread pulled by the presser foot. When using the tension gauge, it’s important to remember that the ideal thread tension should be around 4 or 5. Ultimately, the best way to know if the tension is correct is to test the stitches on a scrap of fabric. If the tension is off, make small adjustments, test the stitches, and adjust again until it’s perfect.
Whether you’re a beginner or expert sewer, it’s important to know how to adjust the thread tension on a Singer sewing machine in order to get the best results. With the right advice and tools, you can easily adjust the tension and create beautiful, professional-looking projects. So don your sewing smock and get stitching!
The Different Parts of a Singer Sewing Machine
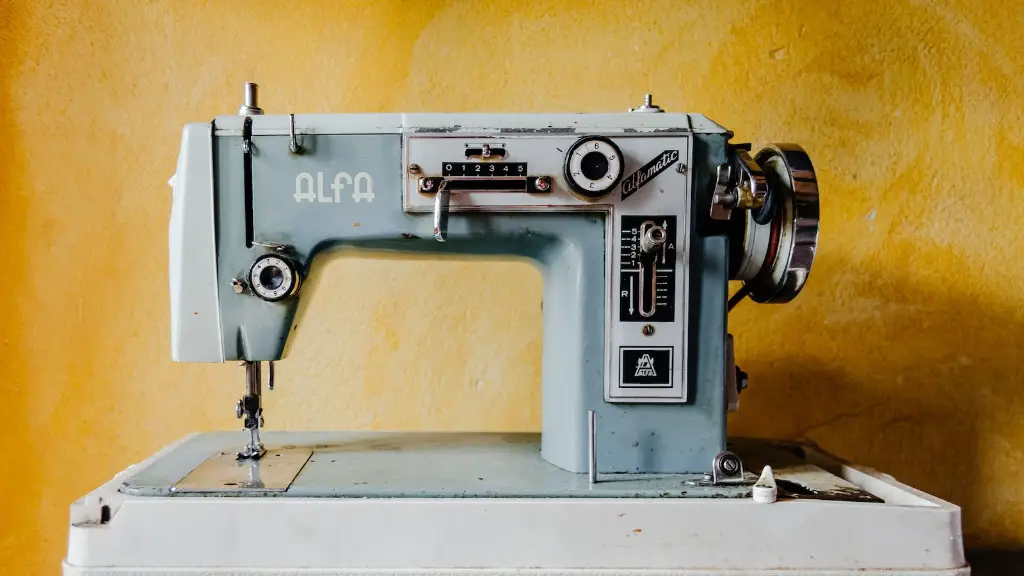
Before you can adjust the tension on a Singer sewing machine, it’s essential to have a basic understanding of the parts of a sewing machine. The most important parts of a Singer sewing machine include the needle, thread, bobbin, and tension knob. The needle is inserted into the fabric and which holds the thread. The thread must also be passed through the tension knob which helps keep the thread in place as it moves through the fabric. The bobbin is the spool of thread located in the lower part of the machine and helps secure the thread in place. Finally, the tension knob is responsible for regulating the tension of the threads.
The needle, thread, bobbin, and tension knob each play an important role in the sewing process. The needle is used to pierce the fabric and create stitches, the thread is used to join two pieces of fabric together, the bobbin helps to secure the thread, and the tension knob helps to regulate the tension of the threads. Each of these parts is integral to the sewing process and without them, it would be impossible to create quality garments.
Knowing the parts of a Singer sewing machine and how they work together is essential to being able to adjust the tension. When adjusting the tension, it’s important to understand the role of each part and how they can affect the sewing process.
Steps To Take When Adjusting the Thread Tension
It’s important to understand the steps you need to take when adjusting the thread tension on a Singer sewing machine. First, make sure that the machine is properly threaded with the correct size of thread. Then, ensure that the bobbin thread is not tangled or caught on the feed dog. Next, locate the tension knob, which should be located near the top of the machine, near the needle. Turn the knob in a clockwise direction to tighten the tension and in a counterclockwise direction to loosen it. When you adjust the knob, test the stitch on a scrap of fabric to check the tension. It may take a few tries before you get the tension right.
When adjusting the thread tension, it’s important to be gentle and to make small, incremental adjustments. If you turn the tension knob too quickly or too aggressively, you may cause damage to the machine. Additionally, be aware that when making adjustments, it’s important to test your stitches on a scrap of fabric to make sure you’re getting the right tension. Testing the stitches is the only way to know if you have the correct tension or if you need to adjust further.
In order to adjust the thread tension correctly, it’s essential to have patience and to use the right tools. It’s usually recommended to use a tension gauge to make sure the tension is set correctly. Additionally, it may be helpful to refer to an instruction manual when making adjustments, as different models of Singer sewing machines may require different approaches to adjusting the tension.
Tips for Maintaining Good Tension Settings
Once you’ve mastered the process of adjusting the thread tension on a Singer sewing machine, it’s important to develop good habits that will help you maintain good tension settings. First, always check to make sure the machine is properly threaded and that the bobbin thread is free of tangles. Additionally, be sure to always keep your sewing supplies in a clean and organized space. This will help eliminate unnecessary frustration and make it easier to thread your machine correctly.
It’s also important to make sure that you’re using the right type and size of thread for the project. Thread can come in different weights and sizes, so be sure to read the labels carefully to make sure that you select the right type. Having the wrong thread can put too much or too little tension on the fabric, which can lead to uneven stitches or puckered fabrics.
Finally, it’s also important to take regular breaks when sewing. This will give your arms and hands a much-needed rest and will help you stay focused as you create your projects. Regular breaks also allow you to step back and check the tension settings and make any necessary adjustments.
Additional Tools To Help With Thread Tension
In addition to a tension gauge and an instruction manual, there are a few other tools you may want to consider if you’re having trouble getting your thread tension right. These tools include an auxiliary spool pin, an adjustable thread shank and an electronic tension guide. An auxiliary spool pin is a helpful tool if you are using a variety of different threads, as it will allow you to attach a number of different threads onto one spool. An adjustable thread shank is a tool that can be used to raise or lower the tension knobs on the machine. Finally, an electronic tension guide can help by testing the tension of the threads on different types of fabrics so that you can ensure the tension settings are just right.
Adjusting the thread tension on a Singer sewing machine is not as daunting as it may seem at first. With the right advice and tools, you can easily get the perfect tension for all your sewing projects. Knowing the parts of a Singer sewing machine, taking the right steps when adjusting the tension, maintaining good tension settings, and using additional tools to help can all contribute to your success.
