Setting Up Your Singer Sewing Machine
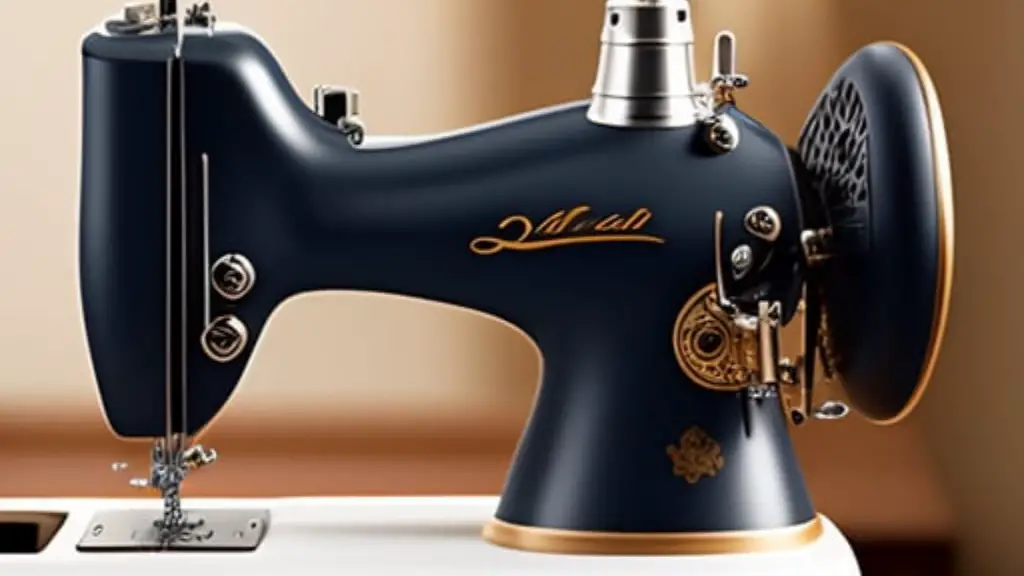
When you purchase a Singer sewing machine, it can be tricky to get the machine setup and adjusted correctly. As experienced sewists, we know that proper setup and maintenance of our Singer sewing machines is of paramount importance in order to create clothes and other sewing projects of the highest quality.
The two fundamental aspects of setting up a Singer sewing machine are adjusting the tension and setting up the stitch length and width. Before we delve into that, here are some quick tips to getting your Singer sewing machine ready:
- Unpackage your Singer sewing machine, examine the manual instructions and make sure you have the correct thread and needles.
- Oil the parts of the machine (refer to your user manual for specific instructions).
- Attach the needle, thread the machine and make sure the bobbin is installed correctly.
Once these initial steps are complete, it is time to start deeply investigating how to adjust stitches on your Singer sewing machine.
Adjusting Tension
Tension refers to the amount of tension placed on the top and bottom threads of your machine. Incorrect tension is often indicated by puckered seams, loops underneath your fabric or the stitches not catching the thread at the back.
Adjusting the tension on a Singer sewing machine is relatively simple due to the numbered tension dial located at the top right side of the machine. For regular sewing projects, start by turning the dial to 4, but you may need to adjust the dial depending on the thickness and type of fabric you are using.
Learning Stitch Length and Width
When adjusting stitches on your Singer sewing machine, learning how to adjust stitch length and width is also significant. Stitch length and width affect how your garment or project will ultimately look, so it is crucial to get it right.
The length of the stitches is changed by turning the dial on the front part of the sewing machine, wherein the range is from 0 (shortest) to 4 (longest). As for width, this is determined by turning the dial on the left side of the machine, which can be adjusted from 0 (narrowest) to 5 (widest).
Troubleshooting Sewing Machine Adjustments
If, for some reason, you are still getting poor quality results and were unable to adjust stitches on your Singer machine correctly, here are some tips to help you troubleshoot and solve the problem:
- Make sure the upper and lower thread is inserted properly;
- Clean and oil the machine parts to get them running smoothly;
- Check the needle, as it might be bent or out of shape;
- Check the bobbin and make sure it is in the right position.
We also advise getting a leather sewing machine. It is important to note that if you require professional results, leather can be a wise option for many projects.
Tips for Adjusting Stitches on Singer Sewing Machine
When adjusting stitches on a Singer sewing machine, the tips below should help you sew better and more efficiently:
- The best way to determine tension is to adjust it directly on the fabric you are working with;
- Take the time to experiment with changes to stitch length and width;
- For multi-directional sewing, consider investing in a Singer buttonhole presser foot;
- Consult your manual to check the recommended needle size for the fabric and thread you are using.
It can take some time to learn how to adjust stitches on your Singer sewing machine correctly, but with enough practice, you can achieve professional results.
Different Type of Stitches Available in Singer Sewing Machines
When adjusting stitches on a Singer sewing machine, it is useful to know the different types of stitches available. Here is a list of some of the most used stitches on Singer machines:
- Straight stitch – used for seams and hems;
- Overlock stitch – used for seams, hems and edges;
- Zigzag stitch – used for decorative stitching and for sewing knits;
- Buttonhole stitch – used for making buttonholes for clothing;
- Automatic buttonhole stitch – used for making button-down collars and cuffs;
- Darning stitch – used for darning and mending fabrics;
- Stretch stitch – used for edging, topstitching and reinforcing knits and special fabrics.
Each stitch requires a different kind of tension and placement of fabric within the sewing machine, so practice is key to become a proficient Singer seamstress.
Using Computerised Daughter Card for Septic Singer Sewing Machines
Computerised daughter cards are specific to Singer sewing machines and provide a great way to customize the basic functions of the machine. A computerised daughter card can be used to control stitch selection, tension, width and stitch length. It also has a reverse button, which can be useful when adjusting stitches on a Singer sewing machine.
Most Singer machines are compatible with daughter cards, so you won’t have to worry about making an additional purchase. The amount of customisation available with computerised daughter cards really takes Singer sewing machines to the next level.
Replacing Singer Sewing Machine Parts
Occasionally, we may need to replace certain parts on our Singer sewing machines. This can range from replacing the bobbin case, sewing machine belt or needles to replacing actual parts of the machine.
When replacing machine parts, it is important that we verify that the model of our Singer sewing machine is compatible with the replacement parts. If it is not, we may need to source older parts from Singer or even buy used parts online.
Needle Positioning for Different Stitches
To get the best results when adjusting stitches on a Singer sewing machine, you must also consider the best needle position. This is especially important for clothes and fabric projects, as the wrong kind of needle positioning can cause uneven stitching and poor seam quality.
When working on rough and thick fabrics like leather, you must use a longer needle, but when using silk, a finer and shorter needle is necessary. You should also use needle positions that are tailored to specific tasks, such as straight stitch or zigzag stitch.
Safety Precautions when Adjusting Stitches on Singer Sewing Machine
Safety must always come first when it comes to Singer sewing machines. As such, here are some safety precautions to keep in mind when adjusting stitches:
- Always secure the loose threads and the fabric you are working with;
- Make sure the needle is properly inserted and the machine is in good condition, free from dirt and dust;
- Be aware of the pressure of the needle; too much pressure can cause the needle to break;
- Wear protective gear when operating the sewing machine.
Follow these simple safety precautions, and your Singer sewing machine will be in tip-top shape.


