How to Adjust Tension on a Singer Sewing Machine
Tension adjustment is an important part of utilizing a Singer Sewing machine successfully. Without the proper tension being adjusted, the sewing with the Singer Sewing Machine will be difficult, or worse, potentially damaging to the fabric or machine itself. It is necessary to adjust the tension when changing thread, needle size and/or fabric type. To ensure your Singer Sewing Machine is sewn with at its best potential and continues to be in good condition, this tutorial will walk you through how to properly adjust the tension to meet your sewing needs.
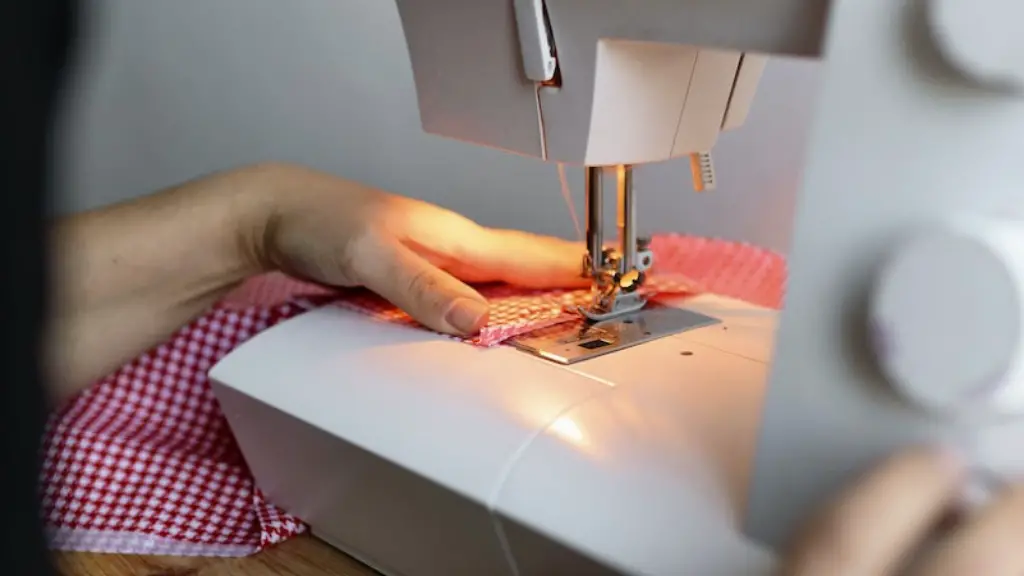
Manufacturers of Singer Sewing Machines provide instructions on how to adjust tension. It is estimated that the majority of Singer Sewing machines will require the needle tension to be adjusted when changing from thin fabrics, like silk, to thick fabrics, like denim. The majority of machines also require adjusting when changing from a fine needle to a heavier needle. The tension knob on the Singer machines is a small disc located on the top of the machine. It is a white disc, with numbers marked on it that ranges from 0-9.
Threading the Machine
In order to adjust the tension, the Singer Sewing machine needs to be threaded correctly. First, insert the thread spool onto the spool pin located on the top of the machine. Secondly, thread the upper threading guide on the machine. Following this guide will ensure that the thread is placed in the right place. You must draw the thread down through the needleThread tension can also be affected by the type and weight of the thread used. To guarantee that tension is correctly adjusted, it is best to use the same thread and needle size that was used before.
Adjusting the Tension Knob
When you have the machine threaded correctly, you can begin adjusting the tension knob. Begin with turning it to the middle of the range and as you sew do not forget to check the rear of the fabric for the correct tension. If the tension is too tight, turn the knob counterclockwise. If it is too loose, turn it clockwise. The instructions from the manufacturer should be referred to for precise instructions on adjusting the tension. You may have to adjust the tension knob multiple times until the tension is just right. Once adjusted, recheck the stitching.
Checking Results
The presser foot pressure should also be checked, as this may also affect the tension. The presser foot should be slightly touching the fabric and not forcing it down. To check, try picking the fabric up off the needle plate without the presser foot being in the way, if the fabric moves freely, the presser foot is not adjusted correctly. Once everything is adjusted correctly, the machine will produce consistent, even stitches.
Troubleshooting
If the tension is too tight, adjust the tension knob counterclockwise and use a heavier thread. If the tension is too loose, adjust the tension knob clockwise and use a lighter thread. If the stitch is not even, the needle might be bent or the machine might be out of time. If there are no issues with the needle or machine, adjust the presser foot and recheck the tension.
Tightening the Thread
This is an important step in the process of adjusting the tension with the Singer Sewing Machine. With each stitch, the thread should be pulled taut and even. This requires adjusting the top thread knob accordingly and should be done after adjusting the tension knob. Pulling the thread taut will ensure that the stitches are even and the thread will not leave behind”bunches” of thread that have been pulled or pulled too tight.
Re-Threading the Machine
If after adjusting the tension, the machine is still not producing even stitches, it may be necessary to re-thread the machine and adjust the thread tension again. Thread the machine following the instructions and make sure the thread is pulled tight through the thread guides. This may help if the problem lies elsewhere in the thread chain, such as the looper or a derailed thread guide.
Regular Maintenance
It is important to regularly clean the machine and perform maintenance to keep the machine running at its best. Dust can accumulate on the hardware and clog up the moving parts of the machine. Keep the machine clean by lightly oiling it, replacing the needle when needed, changing thread sizes accordingly and adjusting the tension correctly.
Test Sewing
Test sewing on scrap fabric can help identify any problems with the machine and tension. Just like the manufacturers recommend, test the stitch out on a scrap piece of fabric to determine if the tension is correctly adjusted. This will help identify any issues before starting on a project.
Tension Discs
Singer Sewing Machines come with the tension discs already pre-set for different weights and types of thread. Each disc is calibrated to a specific needle size and weight. For instance, the disc that is used when sewing lightweight fabrics with a fine needle is different than when sewing heavier fabrics with a heavier needle. To ensure the best stitch quality, use the disc that is recommended by the Singer Sewing Machine manufacturer.
Presser Foot
The pressure foot pressure plays an essential role in maintaining the accuracy of the stitch quality and tension when using a Singer Sewing Machine. If the pressure is too light, it will cause the stitches to be loose. If the pressure is too tight, it will cause the stitches to be tight. If the foot pressure is set correctly, the fabric will glide easily beneath the pressure foot.
Accessories
Depending on the type of fabric and thread used, different needles and accessories may be necessary to help adjust the tension. For instance, the metal plate behind the needle may be clogged with dust or old lint and require cleaning. If the machine is still not sewing correctly, a metal needle plate with a grid or cross-hairs may be necessary to help hold the fabric in place.
concluding Tips
When adjusting the tension on a Singer Sewing Machine, it is important to remember a few tips. Testing the tension on scrap fabric will help identify any issues with the machine or tension that need to be addressed. Replacing needles and cleaning the machine regularly will help ensure optimal performance. Additionally, pulling the thread taut and adjusting the presser foot pressure correctly, as well as using the correct tension setting should ensure the best result when using the Singer Sewing Machine.


