How to Adjust Tension on a Mini Sewing Machine
Adjusting tension on a mini sewing machine is important to prevent skipped or uneven stitches and maintain the tidiness of the work. Tension issues can come from a variety of places, so read on to find out the best way to adjust tension on a mini sewing machine.
Fabric and Thread Compatability
Firstly, checking for thread and fabric compatibility is an essential first step when sewing on a mini sewing machine. Some fabrics require a specific type of thread and vice versa as different threads of different quality will work better with some fabrics than others. Generally, thicker threads work better on thicker fabrics and finer threads work best on light-weight fabrics. If your fabric and thread are not compatible, the sewing machine will struggle to adjust tension accurately and smoothly.
Furthermore, other factors to consider include the type of stitch you are using and the size of your needle. Generally, using a large needle will decrease the tension, while a smaller needle will increase it. Different machines also require different types of needles, so make sure you use the correct size and type of needle when adjusting the tension.
Finally, check that the spool of thread is placed correctly onto the machine so that it unspools in the right direction as this can also affect the tension. If the spool is not placed properly, the thread won’t be tensioned properly and this could lead to skipped stitches or inconsistent tension throughout the fabric.
Adjusting Tension – the General Rule
The rule of thumb when adjusting tension on a mini sewing machine is to start out at a medium tension setting and then adjust from there depending on your results. If the stitches start to pucker on the underside of the fabric then this means that the tension is too tight and you need to loosen it. Conversely, if the stitches are loopy or wiry on the top of the fabric then this means that the tension is too loose and you need to tighten it.
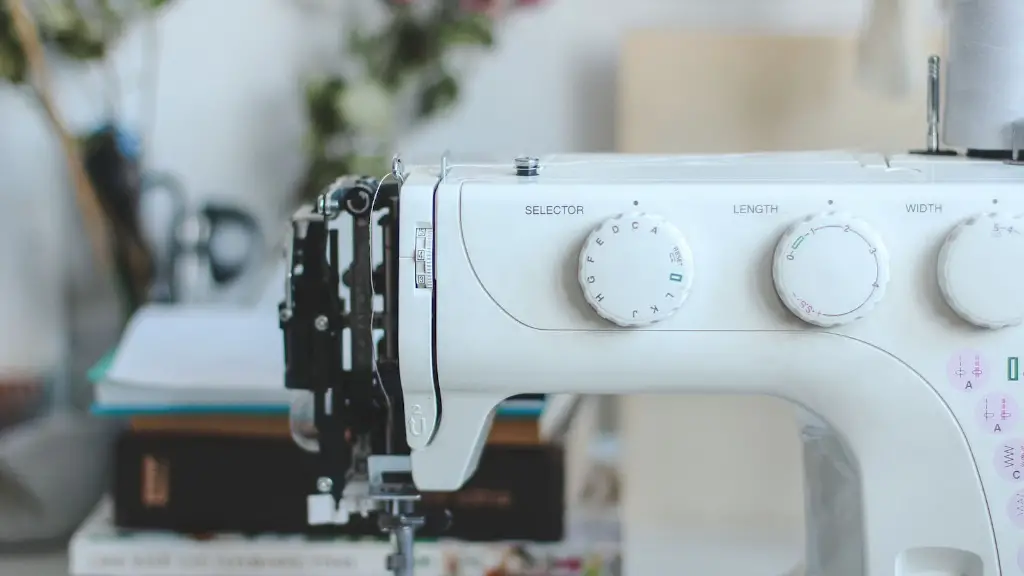
The tension dial is usually found at the top of the machine and will usually have a number system to guide you. Make sure to adjust the tension in small increments so that you can see the changes in the stitching and keep a record of the tension settings so that you can make future adjustments with ease. It’s worth noting that each fabric and thread combination will require a slightly different tension setting, so it’s useful to keep a log of settings for future use.
Testing Tension – Further Tips
Once you have adjusted the tension settings to the desired level it is important to test the stitches to make sure the tension is consistent. Try testing your stitches on some scrap fabric of the same weight and thread to the material you are sewing. If the tension is still not consistent, readjust and test again until the results are satisfactory.
It is also worth cleaning the bobbin and bobbin case of lint or dust as this can have an effect on tension. Additionally, occasionally oiling the needle plate can help improve the tension by making it easier for the fabric to move over the needle plate. Oiling should be done sparingly however, as too much oil may cause the fabric and thread to slip.
Thread Tension Discs
Certain machines may also come with thread tension discs, which are small pieces of plastic that can be taken out and used to adjust the tension further. The discs are made up of various sizes and shapes and each of them serves a different purpose. Generally, the smallest disc is the best for lightweight fabrics such as silk, while heavier fabrics may require the larger discs.
Tension discs should be inserted into the tensioner arm of the machine and they should be inserted as far as possible without causing the thread to be overly tight. As with the tension dial, it’s best to make small adjustments in order to achieve the desired tension setting. Check the tension regularly until you are happy with the result.
Surface vs Looping Tension
When it comes to adjusting tension on a mini sewing machine, it is important to understand the difference between surface tension and looping tension. Surface tension is the tension that exists between the top and bottom layers of the fabric, while looping tension is the tension between the bottom layer of the fabric and the bobbin case. When making adjustments to the tension, it is important to remember that the surface tension should be slightly tighter than the looping tension.
In most cases, all that is needed to adjust the tension is small changes to the tension dial or tension discs. However, if you are still having problems, it may be worth consulting the user guide for the machine or seeking further assistance from the manufacturer.
Repair Options
If all your efforts to adjust the tension on your mini sewing machine have been unsuccessful, it is possible that the machine is faulty and may need to be repaired. The most common cause of tension issues is an incorrect needle, so it is important to check that you are using the correct size and type of needle for the fabric and thread you are working with.
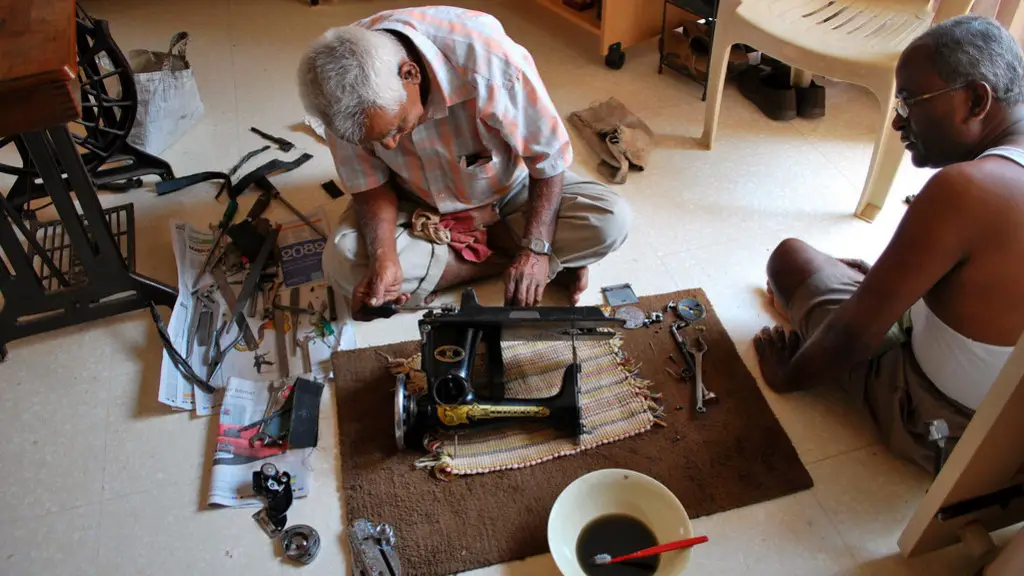
If you notice that the tension dial or bobbin case are damaged or broken, it is likely that the machine needs to be serviced or repaired. In this situation, it is best to take the machine to a qualified technician for repair and maintenance as this can help to ensure that your machine is running properly and efficiently.
Maintaining Tension
In order to keep tension issues to a minimum, it is important to regularly calibrate and maintain your machine. Check the tension settings often and continue to test your stitches on scrap fabric to ensure that the tension is consistent. Additionally, it is important to use the correct type of needle for the fabric and thread you are working with, as this will help the machine to adjust tension more effectively and easily.
Finally, be sure to check the machine regularly for dust and debris that may be preventing the machine from functioning correctly. Cleaning the machine regularly will help to keep it in good working order and help to reduce tension issues.
Troubleshooting and Non-Tension Adjustment Fixes
Often times, tension issues can be resolved without needing to adjust the tension itself. If you are having trouble sewing on light-weight fabrics, you may need to increase the stitch length to prevent bunching and puckering. Similarly, if you are having trouble with heavy-weight fabrics you may need to increase the stitch length to allow for more space for the fabric to move through the machine.
In some cases, you may also find that the thread is not feeding through the machine properly. If this is the case, it is important to check that the thread is spooled correctly and to make sure that the take up lever is moving smoothly. It is also important to check that the presser foot is tight and secure and not too loose or tight.
Finally, if you’re noticing skipped stitches or uneven stitching you may need to change the needle. It is important to use the correct type of needle for the fabric and thread you are working with so that the thread can be tensioned properly. Additionally, it is also important to make sure that the needle is properly inserted and not loose or bent.
The Bottom Line
Overall, adjusting tension on a mini sewing machine is an important part of ensuring a successful sewing project. Once you understand the basics of how to troubleshoot and adjust tension, it becomes easier to make the necessary changes to produce satisfactory results. By following the steps outlined in this article, you will be able to adjust tension on your mini sewing machine with ease.
