Introduction to Elastic Sewing
When it comes to sewing, elastic is a versatile material that is often used to add texture, shape and structure to clothing, bedding and crafts. Although sewing elastic can seem intimidating, with the right tools and techniques, it can be a fun, collaborative and creative experience. This guide will provide you with tips and tricks on how to sew with elastic using a sewing machine, so you can confidently and comfortably make all kinds of garments, quilts and crafts with ease.
Choosing the Right Tools
The success of any sewing project relies heavily on the selection of the right tools. For elastic sewing, these tools include the right type of elastic, a needle and thread, a measuring tape, and a sewing machine. It is important to choose an elastic that is the right width and length for the project, as well as the right type of stitch to make sure the elastic is secured properly. For example, if you are creating a waistband, then use a stretch stitch to ensure the fabric can stretch and accommodate a full range of waist sizes when in use. It is also important to ensure that the needle is suitable for sewing elastic, as a standard needle can tend to snag the material.
Preparing the Elastic for Sewing
Before you begin to sew elastic with the machine, it is important to make sure it is properly prepared. Start by making sure the elastic is cut to the correct length – measure the fabric against the elastic and cut it according to the desired length. It is also useful to mark the elastic with pins or chalk to indicate where the stitching should begin and end. This will help to ensure an even stitch line when sewing.
Tips on Sewing Elastic with a Sewing Machine
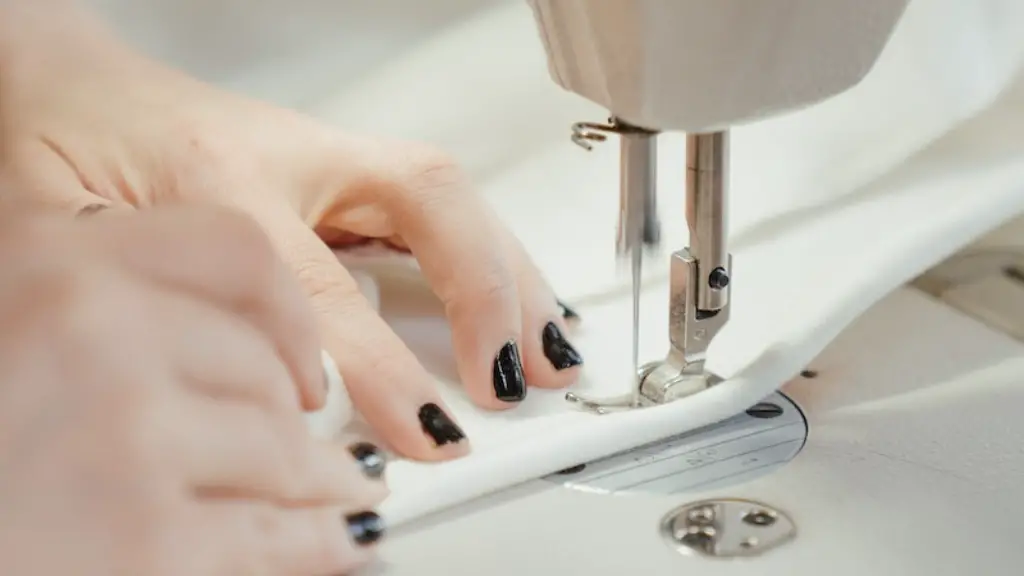
Once the elastic is prepared, it is time to sew. For best results, use a presser foot or a walking foot, as this will help to easily feed the elastic through the machine. If your sewing machine has an adjustable stitch length, then use shorter stitches as this will help to secure the elastic better. Another useful tip is to backstitch at both the beginning and end of the stitch line, as this will help to keep the elastic in place.
Process of Joining Elastic to Fabric
When sewing elastic onto fabric, it is important to understand the process of joining the two materials together. Begin by laying the fabric flat on the table and placing the elastic along one of the edges. Then, using a zigzag stitch, attach the elastic to the fabric by sewing along the edge. Make sure to keep the stitch line consistent and secure to ensure a strong bond between the two materials. It is also important to stretch the elastic as you sew in order to keep the fabric tight and secure.
Finishing the Elastic Sewing Project
Once the elastic is joined to the fabric, it is important to make sure the edges of the elastic are secured properly. To do this, simply stitch over the edge of the elastic with a wide zigzag stitch. This will ensure that the edge is properly secured, and the fabric and elastic will remain in place. You can also finish the project by using a decorative stitch or hand-stitching to add detail.
Testing the Elastic Sewing
Once you have completed the elastic sewing process, it is important to test the project to make sure it functions as expected. To do this, simply stretch the fabric and elastic to check that it can comfortably accommodate the intended range of motion. Additionally, it is important to check that the stitch line is even and secure to make sure the elastic is properly attached to the fabric.
How to Sew Elastic in Border Lines
Adding elastic trim to garments and other projects is a great way to add texture, shape and structure. To sew elastic into a border line, start by laying the elastic onto the fabric, making sure the two materials are aligned. Then, use a straight stitch and slowly sew along the edge of the elastic. Make sure to stretch the elastic as you go, and make sure the stitch line is even and secure.
Seamless Elastic Sewing
When it comes to elastic sewing, achieving a seamless finish is essential. To do this, begin by pinning the elastic onto the fabric and then stretching it as you sew. Make sure to hold the elastic firmly as you sew and use the right type of stitch. Additionally, try to sew in a continuous motion, and use steam or an iron to press the seam flat and give it a neat finish.
How to Sew Elastic in Circles
Adding elastic to garments and crafts in a circle is a great way to add texture, form and structure. To create an even circle, start by pinning the elastic onto the fabric and stretching it as you sew. Make sure to overlap the two pieces of elastic and stitch in a continuous motion. Another useful tip is to mark the fabric with a chalk line to make sure the circle is even.
Caring for Elastic Sewing Projects
Once you have completed your elastic sewing project, it is important to take the necessary steps to ensure it lasts as long as possible. Start by washing the elastic gently in cold water and avoiding the use of harsh chemicals or chemical cleaners. Additionally, make sure to always hang or lay items flat when storing them, and follow the manufacturer’s recommendations for the best way to store the item.


