Altering a dress may seem like a daunting task, especially when you don’t have access to a sewing machine or any other tailoring tools. You don’t have to be an expert seamstress to modify a dress or outfit. In fact, you don’t even need a sewing machine at all! With just a few simple tools and a little bit of effort, you can alter any dress to fit you perfectly. Here are some tips to help you alter clothing without a sewing machine.
Get the right tools
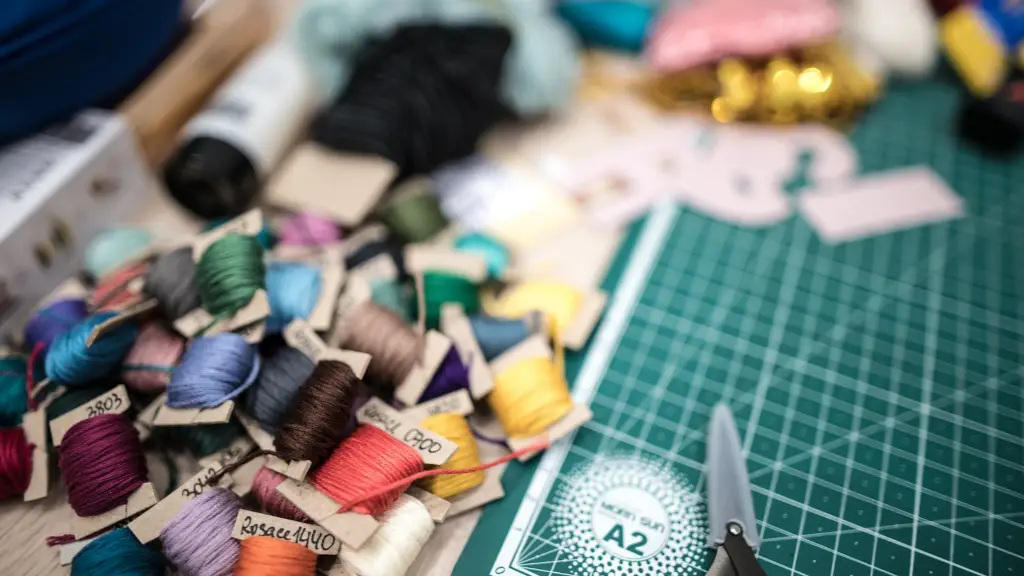
Before you begin altering your dress, make sure you have the right tools. Although you don’t need a sewing machine, you will need some other tools to help alter your dress. The most essential tools are scissors, needle and thread, pins, chalk or a fabric marker, and an iron. Additionally, it is helpful to have a tailor’s measuring tape, seam ripper, fabric glue, and tweezers on hand. Once you have all of the right tools, you are ready to begin!
Choose a dress that is the right fit
It is important to pick out a dress that is the closest possible fit for you. Alterations are much easier and will look better if the dress is already a close fit. If the dress is too big or too small, the alterations will be more difficult and end up looking much less professional. When choosing a dress, make sure that it fits comfortably in the waist, hips, and bust. Additionally, pay attention to the length of the dress. Make sure that the length is flattering and that the hem falls at the correct place.
Take accurate measurements
Before you begin altering the dress, the first step will be to take accurate measurements. Use a tailor’s measuring tape to take measurements of your shoulders, waist, hips, and bust. Write down your measurements and compare them to the measurements of the dress. Pay close attention to the waist, hips, and bust to make sure that the dress will fit you comfortably. Additionally, make sure to note the length of the dress and where the hem should fall.
Mark the area to be altered
Once you have the measurements, the next step is to identify the areas that need to be altered. Use a chalk or fabric marker to mark the areas where the alterations will be made. For example, if the dress needs to be taken in at the waist, mark the area where the seams will be taken up. Additionally, make sure to mark the hem if it needs to be adjusted.
Alter the dress
Once the areas to be altered are marked, it is time to start altering the dress. Start by cutting off any excess material along the seams that need to be taken in. Next, use pins to pin the material in the correct place. Make sure to use enough pins so that the fabric stays in place as you are working on it. Then, thread the needle and hand-sew the fabric together. Take your time and make sure to stitch securely for the best results.
Attach and press
Once the fabric is sewn together, the next step is to attach and press the altered areas. Use fabric glue or a seam ripper to attach any loose threads. Make sure all of the seams are properly finished and that all of the loose threads are secured. Lastly, use an iron to press the fabric to make sure all of the seams lay flat and that the dress looks professional.
Once you have altered the dress, it is time to add any special touches you want. You can add buttons to make the dress look more finished and neat. Additionally, you can apply patches to the dress to make it look more unique. Embellishments, such as embroidery, can also be added to the dress to give it more personality.
Hem the dress
The last step is to hem the dress. Use a measuring tape to measure the length of the dress and where it needs to be hemmed. Then, use pins to mark where the hem should be. Cut off any excess material, then sew together the hem with a needle and thread. Lastly, use an iron to press the hem. Once it is finished, your dress is ready to be worn!
Make small adjustments
Once you have finished altering the dress, you may need to make some small adjustments. If the dress is still a bit too tight or loose in certain areas, you can use pins to make small adjustments until the dress fits perfectly. Additionally, you may need to add or adjust buttons, zippers, and other closures to ensure that the dress fits properly.
Seam binding and french seams
Seam binding and french seams are two techniques that are often used when working with delicate fabrics. Seam binding is used to finish the raw edges of fabrics and can be done with or without a sewing machine. French seams are used when working with sheer fabrics, as they hide the raw edges and prevent fraying. Both techniques require special tools and techniques, so make sure to do your research before attempting them.
Use an upholstery needle
An upholstery needle is an essential tool for altering relatively thick fabrics. Upholstery needles are much sharper than regular needles and have a thicker gauge, which makes them perfect for sewing through heavy fabrics. Additionally, they have an extra-large eye which makes threading the needle much easier. When altering thicker fabrics, make sure to use an upholstery needle.
Fray Check and Fabric Glue
Fray Check and fabric glue are two products that can be used to finish the edges of fabrics. Fray check is a liquid solution that can be brushed onto the edges of the fabric to prevent fraying. Fabric Glue is an adhesive that can be used to secure the seams of the fabric and to attach buttons and other closures. Both products are relatively inexpensive and easy to use, so make sure to use them when altering fabrics.
Use the right thread and needle
Using the right thread and needle is essential when altering fabrics. If you use the wrong type of thread or needle, the fabric may not hold up to wear and tear. Cotton threads are the best option when altering most fabrics, while nylon and polyester threads are best for delicate fabrics. When it comes to needles, make sure to choose the right size and type for the fabric you are working with.


