Tools/Materials
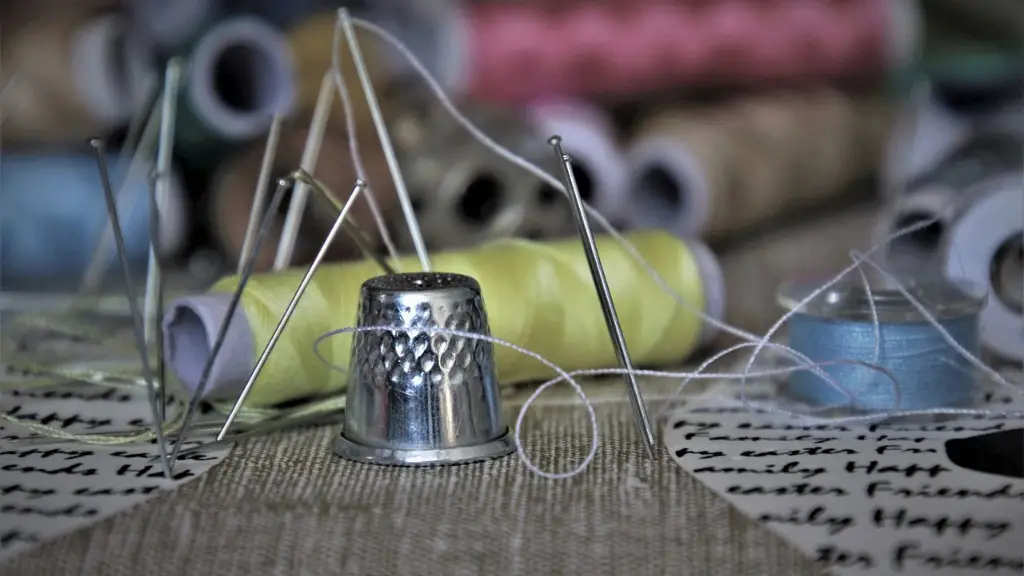
Before attempting to attach a foot to a sewing machine, it is important to have the necessary tools and materials to perform the task. To attach a foot to a sewing machine, you’ll need an appropriate foot for the machine and a small screwdriver or thumb screws. In some cases, a needle threader or an allen key may be required.
It is also beneficial to understand the machine’s type of foot attachment in order to purchase the right foot. Depending on the model of the machine, these can be snapped into place, tightened with thumb screws, or slotted and secured with a small screwdriver.
Clamp the Presser Foot
Once the correct foot has been found, it is now ready to be attached. It is important to clamp the presser foot onto the presser foot bar before beginning. By clamping the foot into place, it ensures the machine makes a tight connection when the foot is secured down with a screw.
To begin clamping, place the foot in the appropriate location and press the lever down, which is usually located to the right of the presser foot bar. The lever should click into place and indicate that the foot is now clamped onto the presser foot bar. It is important to make sure the heel of the foot is facing the back of the machine and the bar is centered.
Secure the Presser Foot
To secure the presser foot further, locate the screw that is provided with the foot. Depending on the type of foot attachment, you will either need a small screwdriver or thumb screws. Insert the tool into the opening of the foot and begin to tighten the screw.
It is important to make sure that the screw is tightened securely and prevents the foot from slipping off. Once the screw is tightly fastened, the foot should now be securely attached to the presser foot bar.
Adjust the Foot
Final adjustments to the foot may now be made. The height of the foot should be adjusted to the same height as the presser foot bar, to avoid any stitches being misaligned. Also, make sure that the presser foot bar is centered and in line with the needle plate before confirming that the foot is correctly attached.
Depending on the type of foot attached, there may be a switch or lever positioned underneath the foot. It is important to understand the specific functions of the foot before making any adjustments.
Test the Foot
Now that the foot is attached, it is important to test the foot for any potential problems. Begin by positioning the fabric underneath the foot and then slowly press down. If the foot does not move down or is stuck up, it may need to be tightened further or the lever needs to be pressed down again.
Also, check that the foot is secure and not slipping off. If everything is working properly, the foot should move up and down freely when stitching.
Cleaning the Sewing Machine
Regular cleaning and maintenance of the sewing machine is integral in having a successful sewing experience. To ensure the best results, it is important to know how to properly clean and oil the machine. Otherwise, the machine may produce fabric deformations, skipped stitches, and noise.
Cleaning and lubricating the machine should be done 1-2 times a month depending on the amount of sewing done. Cleaning involves vacuuming or brushing off the lint, dust, and dirt from the inner parts of the machine, such as the feed dogs or bobbin area.
Bobbin Threading
Bobbin threading is a fundamental process to have successful stitch results. In most machines, the bobbin is placed underneath the machine and must be secured before inserting the thread into the bobbin.
Begin by unlatching the cover plate, then insert the bobbin into the case with the embroidered side facing up. Make sure the bobbin winder is in an upright position and tighten the release knob. Once the bobbin is in the right position, insert the thread into the bobbin hole and start winding.
Tension Adjustment
The stitch tension is a critical factor to the overall appearance of the stitch, from a single thread to multiple-stitch patterns. Sewing machines generally consist of a tension knob that can be adjusted depending on the material and stitches used.
To maintain the best tension, start by selecting the appropriate material on the tension dial and adjust the knob until the bobbin and top threads are even when pulled apart. If there is too much tension, the bobbin thread may pucker the fabric. Alternatively, too little tension may cause the top thread to flake or knot up.
Stitch Selection and Needle Replacement
A common mistake in sewing is using the wrong needle size and stitch combination. To avoid this issue, always check the manufacturer’s manual or packaging for the preferred needle size. In general, a medium-weight fabric requires an 80/12 size needle and a heavier fabric needs a 90/14 size needle.
In addition, stitch type selection is important for achieving aesthetic or structural results. Selecting the wrong stitch type can weaken or stretch the fabric, resulting in fabric gaps or breakages. As such, it is recommended to use shorter stitches for knitting and a longer stitch for woven fabrics. Other stitch combinations should also be experimented with for unique looks.
