Making pillows may seem intimidating, but with a sewing machine and the right materials, it can be surprisingly easy and fun. Learning to sew decorative pillows is a great way to spruce up your home, and to give as gifts. To get you started, here’s a few tips on how to make pillows with a sewing machine.
To begin, choose the materials you need. Besides the fabric, you will have to have machine-sewn trimming, such as piping, tassels, or ric-rac and probably an invisible or zipper to insert the pillow form. Be sure to buy a pillow form and fabric yardage to match. For example, if you buy a 12-inch x 12-inch pillow form, you will need 13 to 14 inches of fabric. If you need trimming, look for matching colors, or opt for a contrast.
Once you’ve got your materials, decide on the shape of the pillow. Then, it’s time to cut the fabric and any trimmings. As for the size of the fabric pieces, if the pillow doesn’t need a flap or removable cover, you can simply measure out the size of the pillow form Once you’ve cut the pieces, use an iron to start prepping the fabric. If you are using trimmings, be sure to press them in half before using.
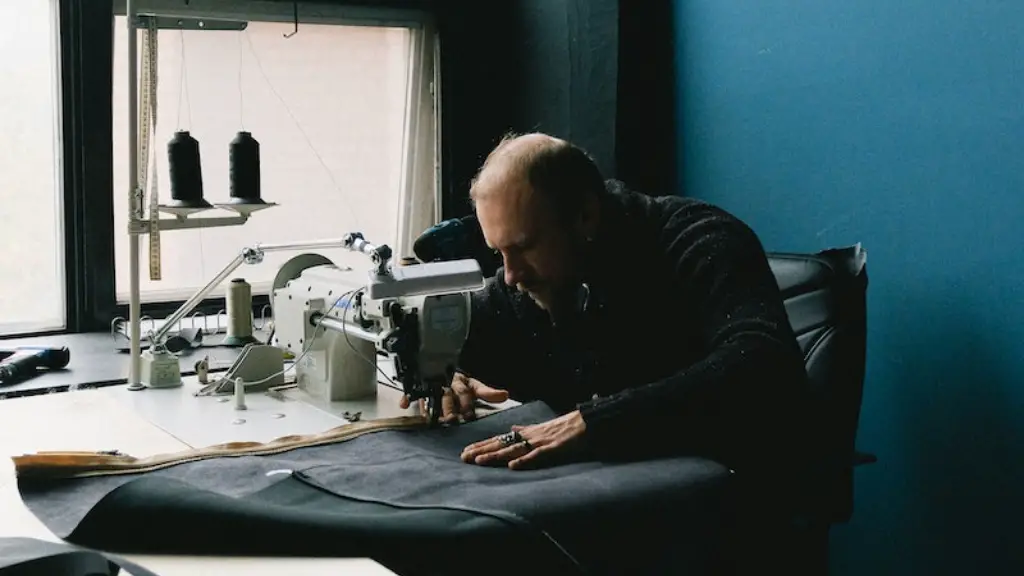
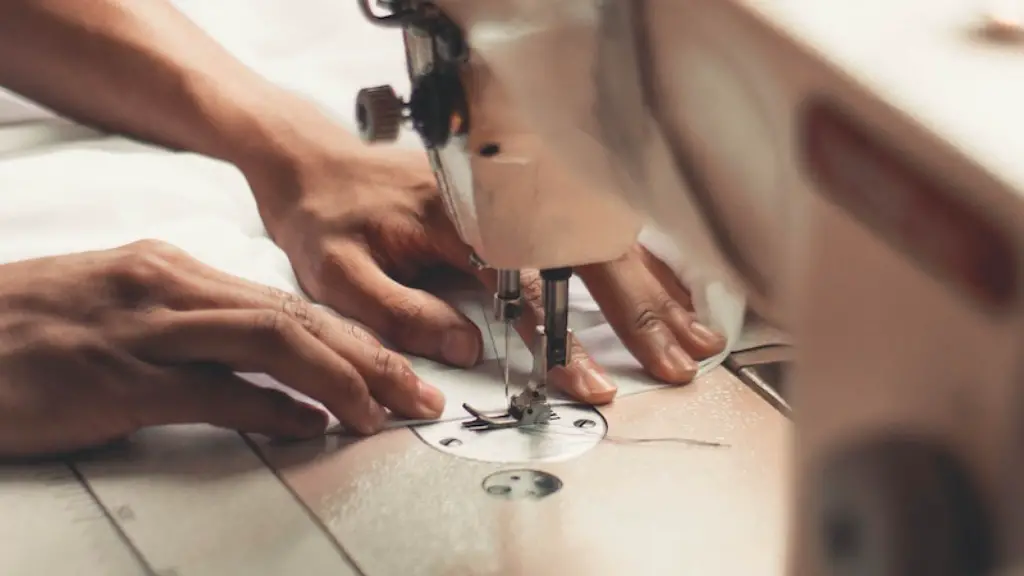
Once you’ve finished the pressing and cutting, it’s time for the fun part: sewing. Begin by laying one part of the fabric right side facing you, and then layer your trims, leaving the outer edge of the trim closest to the edge of the fabric piece. Do the same with the other fabric piece, and be sure to pin everything in place to prevent any shifting before sewing. When you are ready, begin sewing the pieces with a straight stitch and with right sides together. Then, flip your pillow right side out and insert the pillow form. Use an invisible zipper or a buttonhole foot to close your pillow.
Don’t forget that you can use pre-made trims or get creative and make your own. Have you ever used beaded trim on a pillow? Or made pom-poms as a trim? Toy around and make your pillows unique and personal. If you do find yourself stuck, look for tutorials online or reference any number of sewing books for extra guidance.
Making pillows with a sewing machine can seem like a difficult task but with a few tips and tricks, you can be on your way to becoming a pillow making master. Have fun and get creative!
Choose Fabric
When choosing fabric for your pillows, you should consider what type of fabric is best for the look and feel you desire. Cotton is a popular choice for pillow fabric because it is often closely woven and soft. It is also relatively easy to sew and comes in many colors and patterns. Silk is lightweight and a more luxurious fabric option. Fleece is common for pillows used for comfort. If you want to add texture, velvet is also a great choice.
No matter the style of fabric you choose, remember to always buy extra fabric. Ideally, you should have an extra 12 inches at least of fabric around the pillow form. This additional fabric allows you to easily finish the pillow. You’ll also have enough fabric to be able to make adjustments to the size after cutting if you need to. Additionally, if you must buy fabric online, ensure that the fabric has enough width to properly complete your project.
Although there are many types of fabrics suitable for pillows, bear in mind that some fabrics may be more difficult to work with. Fabrics that don’t fray easily and won’t require hemming are often easier to work with. If you’re just starting out and want to keep it simple, stick to cottons and blends.
Be creative and use fabrics that best showcase your style and the mood you want to set for a room. For example, a playful pattern in a child’s room, or an elegant velvet for a more sophisticated look.
Cutting the Pillow Pieces
Once you choose the fabric for your pillows, you’ll need to cut out the pieces. To start, measure the pillow form and then add 1/2 to 1 inch of extra fabric. Do this for each piece of the pillow to ensure there is enough fabric to close the pillow up.
To ensure a professional finish, use pattern weights or even books or pins to hold the fabric down while you cut. You can also use scissors or a rotary cutter and mat when cutting the fabric. Ideally, you should have one piece slightly larger than the other, as the smaller piece will be the front of the pillow and the larger piece will be the back.
Cut the trim to the size of the pillow pieces. Since trim comes in various sizes, you may need to adjust the measurements to fit it properly. Look for pieces that are within 1/4 inch of the desired measurements. Carefully cut the trim and make sure it is the right size.
If you’re including a zipper on the pillow, you’ll have to cut the back piece generously. Measure 1″ on both the front and back pieces,to the right of the zipper. Then, move the zipper along the curve to cut it. Make sure that the curve of the zipper isn’t too tight, or it will be difficult to close the pillow.
Once all fabric pieces are cut, use an iron for any trims and press the edges of the fabric pieces. Preparing the edges by pressing them in the same direction can prevent bunching when you are stitching.
Sew the Pillow pieces Together
Once the pieces are cut, it’s time to sew. To sew the pieces, place one of the fabric pieces right side up, with the trims facing down. Layer the trims in the direction of the edges you will be trimming, as this will make sewing easier. Pin the trims in place before you start sewing.
When you are ready, begin sewing together the pieces with a straight stitch. Using a straight stitch or a zigzag stitch is preferred because it will hold the pillow form securely. Depending on the patterns of the fabric and trims, keep the stitch length the same throughout the process. It is important to ensure that all edges are properly sewn together to make a nice and durable pillow.
Once the edges are all sewn together, turn the piece of fabric inside out and insert the pillow form. Use a zipper or a buttonhole foot to secure the fabric around the pillow form. Sewing a zipper is often the most difficult part of making the pillow, so practice beforehand or look for tutorials online to make sure you sew it correctly.
Once the pieces are sewn together, you are done! Now you can enjoy your beautiful pillows and proudly show them off. Remember though, adding trim and lace with uncomfortable seams can make a pillow uncomfortable to sit on. So, be sure to take your time and do a tasteful job with the trims.
Decorative Details
To really personalize your pillows, you can add your own decorative touches. Beading, appliqué, and pom-poms can all be used for extra flair. These details will make the pillows look more luxurious and unique.
Embroidery is also a great way to add a personalized touch to a pillow. You can use a variety of different stitching techniques such as chain stitches, French knots, and cross-stitches. If you are not sure of what to do, starting with a simple pattern or flower motif is always a safe bet.
Adding trims is also a great way to give your pillow a custom look. For example, a beaded trim will give your pillow a more exotic feel, while a fringe trim will give the pillow a rustic look. Again, use your imagination and create a style that is uniquely you.
Finally, fabric paint can be used to further customize the pillows. Use stencils, stamps, and tape to create unique patterns and shapes on your pillow. This is a great way to give your pillow an extra designer touch.
Conclusion
Making pillows with a sewing machine doesn’t have to be intimidating. By using the right materials and some creativity, you can create beautiful pillows to add a unique touch to any room. All it takes is some practice and patience to master the skill and add you own decorative details to your pillows.
