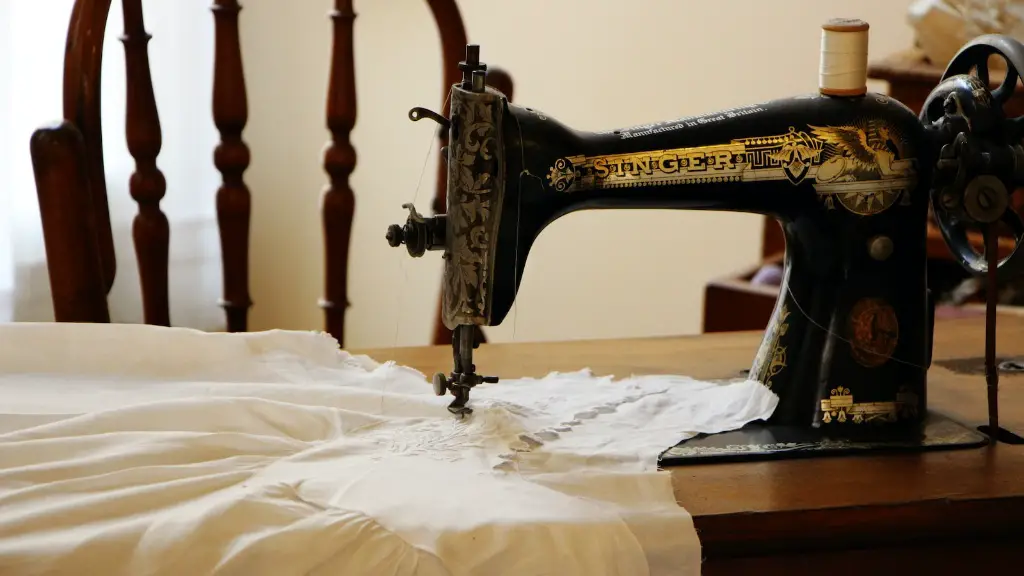
Sewing is a fun and creative activity that many people enjoy. It can also be quite frustrating when things don’t go as planned and your sewing machine starts acting up. Many times, you can fix what ails your trusty Singer Sewing Machine without having to take it to a service center or buy a new one. To help you troubleshoot and maintain your Singer sewing machine, this guide will provide insights and perspectives from experts and provide actionable steps to help resolve the most common issues.
Diagnosing the Problem
The first step in trouble-shooting your Singer Sewing Machine should always be to diagnose the issue. This can be done step-by-step, by checking simple adjustments, lubricating parts, and making tweaks. Always remember to unplug the machine before doing any repairs.
A good practice is to read the manual and troubleshooting guide that came with your machine, as it often covers many of the common sewing machine problems and provides step-by-step instructions for fixing them.
Additionally, it is beneficial to understand the internal components of your Singer Sewing Machine, as different problems will require different steps. Different models have different parts, and research and careful observation will allow you to become familiar with your sewing machine’s features.
Common Problems and Solutions
One common problem is that the machine isn’t feeding fabric evenly or at all. Start by checking the machine settings, such as the stitch length, the presser foot tension, the feed dog height, the presser foot pressure and the needle position, and making adjustments as necessary. Additionally, use a sturdy, high quality thread and be sure to position the thread properly in the tension discs. Finally, detach the needle plate and inspect the shuttle race, ensuring that it is clear from debris or lint.
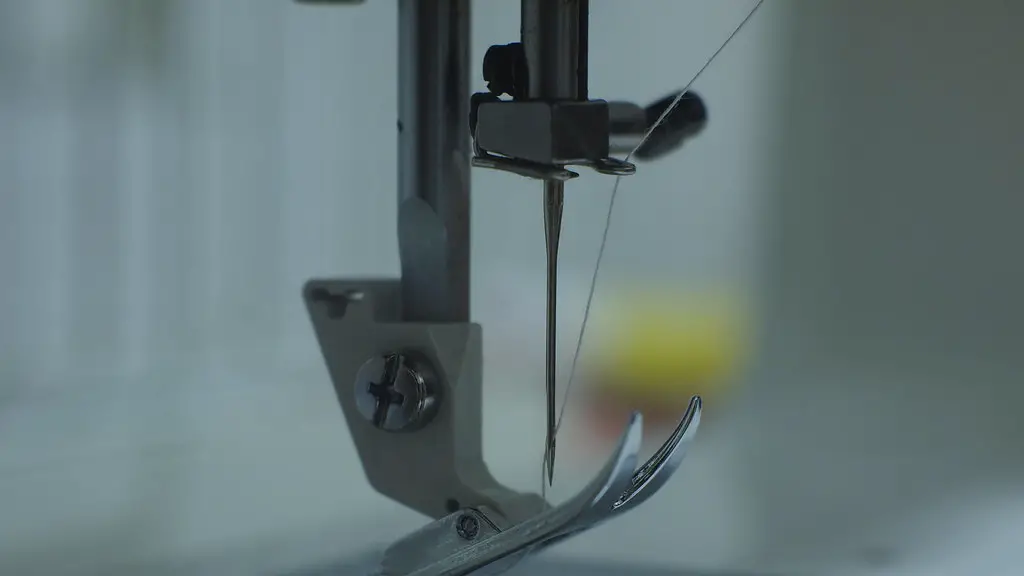
Machines can also jam or break needles, requiring a careful examination to locate the source of the issue. Start by examining the needle for any visible deformations, making sure that it is inserted correctly into the clamp. Additionally, the needle plate should be free from burrs and obstructions and the bobbin area should be free from lint or debris. Finally, the presser foot’s lifter should be inspected to make sure that it is not snagging the fabric.
Maintaining the Machine
In order to keep your Singer Sewing Machine in top condition, it is important to properly maintain it. Regularly oiling the parts that move and using compressed air to clean the lint and dust can ensure that your machine performs as it should. Additionally, changing the needle regularly and keeping the machine covered when it’s not in use will help prolong its life.
The parts that require the most maintenance are the presser feet, the bobbin assembly, the feed dog and the needle. Make sure to clean and inspect the presser feet and bobbin housing for any built-up lint or dirt, as this can interfere with smooth sewing. Additionally, inspect the feed dog for any rough or sharp edges and change the needle regularly as older needles can cause skipped stitches.
Troubleshooting Software Problems
Many Singer Sewing Machines come with software that runs in the background and can sometimes cause issues. If your machine is giving you trouble, it is recommended to check for any software updates and install those. Additionally, make sure the cables are connected properly, that the battery is charged and that any drivers are up-to-date.
If the machine continues to experience software problems, one solution is to perform a hard reset. To do this, make sure the machine is unplugged and press and hold the power button for at least 10 seconds. This should reset the machine and may solve the issue.
Reach Out for Help
If you continue to experience problems with your Singer Sewing Machine, it may be best to reach out for assistance. Professional technicians usually understand how to diagnose and repair all types of sewing machines and can often make quick work of any issue.
Additionally, many sewing machine manufacturers offer repair services, so be sure to check with your manufacturer and get in touch if you have a more serious problem. Alternatively, you may decide to buy a new machine, as the cost of repairs may end up being more than the price of a new model.
DIY Repairs
DIY repairs are always an option if you are feeling up to the task. If you have experience with basic repairs and maintenance, you can save time and money by fixing the issue yourself. There are many online resources offering tutorials and guides that can walk you through the basic steps of fixing your sewing machine.
You can also use the Singer website to download repairs manuals and troubleshooting guides for your particular model. These can provide invaluable resources when diagnosing and fixing your own machine. Additionally, YouTube and other online video resources can provide detailed instructions for specific repairs.
Upgrading Your Sewing Machine
Once you’ve got your Singer Sewing Machine back in running order, you may decide to upgrade it with new features and accessories. There are many aftermarket parts and accessories available, such as different types of feet and attachments, that can expand the functionality of your machine.
Also consider upgrading the software if it is available, as this can open up new features and expand the capabilities of the machine. Updating the firmware can also ensure that the machine is running on the latest version, helping to prevent issues in the future.
Using Quality Products
In order to keep your Singer Sewing Machine running smoothly, it is important to use quality thread, needles, and fabrics. Poor quality supplies can create problems ranging from fraying thread to skipped stitches, so it’s important to use the best supplies for the job.
It is also important to use proper thread for the types of fabric you are working with. Since different fabrics require different types of thread, the wrong thread can cause tension problems and lead to stitching issues.
Regular Cleanings and Maintenance
Finally, regular cleanings and maintenance can ensure that your Singer Sewing Machine continues to operate in top condition. A good practice is to clean the machine after every few uses, wiping down the body and bed with a damp cloth and lubricating the parts as instructed in the manual. Additionally, make sure to change needles regularly and inspect the bobbin assembly for any debris.
Cleaning, lubricating, and inspecting the machine regularly will help identify any potential issues before they become serious and can help to prevent costly repairs in the future.
