Introduction
Making a stuffed animal with a sewing machine can sound intimidating for those unfamiliar with the process. With the right supplies, pattern and instructions, however, it is a satisfying activity that anyone can do. It is a great way to bring a beloved stuffed animal to life with your own hands and can be a rewarding experience for those who are looking for a unique hobby. Knowing what materials are available to you, the tools you will need, and some tips and tricks on how to make a stuffed animal with a sewing machine will make the task easier for you.
Materials
The supplies you need to make a stuffed animal with a sewing machine are relatively simple and common. Fabrics and stuffing – such as cotton, soft fluffy wadding, or batting – are essential products. If you do not have fabric or stuffing, they can be found in most craft stores. You should also ensure you have a sewing needle and thread, scissors, a safety pin and buttons. If the stuffed animal model you choose has facial features such as eyes, a nose and mouth, you will need to have materials such as felt and stuffing or embroidery floss to create these details. A pattern and instructions are necessary, as they will ensure a successful outcome from the project.
Tools
The next step, after gathering the required materials, is to get the tools necessary for crafting a stuffed animal. The most important tool for this type of task is a sewing machine. Ideally, it should be an electric sewing machine and should have the basic stitches needed for the project. While a mechanical machine can do the job, it is slower and not as precise as the more modern electric machines. You should also have a pincushion, and marking tools such as fabric chalk or tracing paper, to help you accurately and quickly mark sewing lines and cut pieces.
Setup
Before you begin, make sure you have the correct settings on your sewing machine. If you do not have the correct settings, it could result in poor stitching or incorrect seams. Start by setting the machine to the right stitch width and length. Also, make sure you have the correct amount of tension on the thread. If the tension is too high or low, it could cause puckering or skipped stitches when sewing. It is also important to make sure the needle is the correct size and type for the material being used.
Instructions
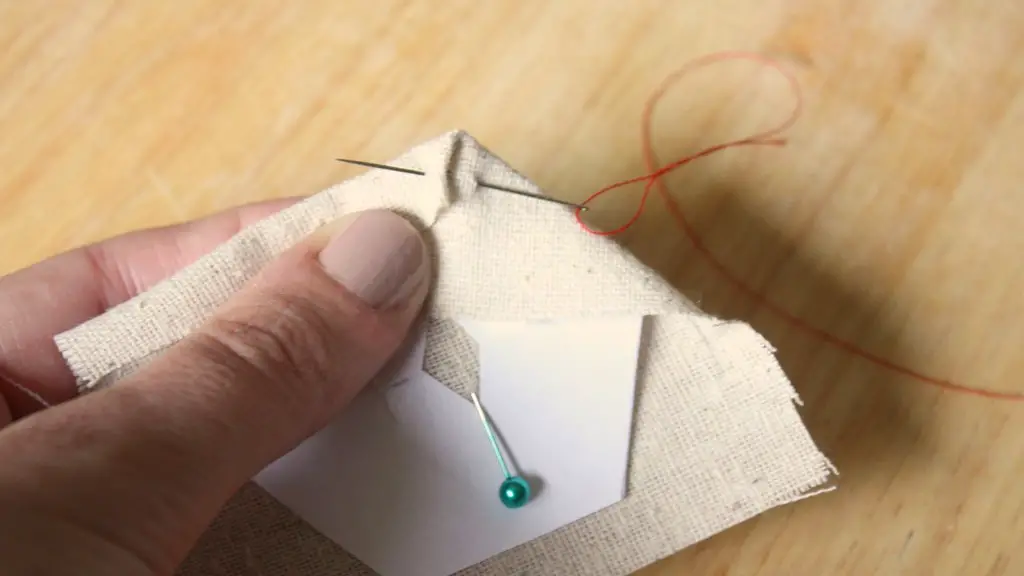
Once you have the tools and supplies ready, it is time to get started on the actual project. Most patterns will include illustrated instructions with detailed explanations, so it is important to read them carefully. Depending on the project, you may need to cut the fabric and trace the pattern onto the fabric pieces. Be sure to remember which side of the pattern should be facing up when you are tracing and cutting. Once everything is cut out, start sewing the pieces together and stuffing them as you go. If the pattern you are using has any specific stitches or embellishments, follow the instructions carefully.
Tips and Tricks
As you become more experienced, there are some tips and tricks you can use to make the task of making a stuffed animal easier. One of the most important tips is to practice patience. Sewing can be time consuming and tedious, but rushing through it can cause mistakes that can ruin the project. To make your job easier, you can use a long needle, and take extra care when sewing curves and points. Another helpful trick is to use a seam ripper to unpick any mistakes or incorrect stitches.
Stitching Details and Embellishments
Once the body has been sewn together and stuffed, it is time to stitch on the details and embellishments. If you are using a pattern, there will likely be instructions for how to attach the details. When stitching the details on, be sure to use a smaller stitch than the one used for the main body of the stuffed animal, as this will make it stronger and less visible. After the details are attached, use fabric glue or thread to secure them. This will make them more durable and less likely to come apart.
Final Touches
When all the parts and pieces of the stuffed animal have been attached, it is time to give it the final touches. You can use buttons, fabric paints or crochet eyes, noses and mouths to add facial features. You can also use ribbon, rickrack or other decorative items to give it a personal touch. This is also the time to check for any loose stitches and to fix any mistakes.
Creating Accessories
If you are feeling creative, you can add accessories to your stuffed animal to make it unique. For example, you could create a hat, scarf or tiny shoes for the animal. These can be made by using small amounts of fabric, stuffing and thread. Start by drawing the accessory design onto the fabric and cutting it out. Sew the pieces together and add any decorations or embellishments. You can also make accessories out of felt, such as bows or bows ties.
General Care and Maintenance
Once the stuffed animal is complete, it will need to be cared for properly. First, you should make sure the stuffed animal is clean, by using a fabric brush or vacuum cleaner. You should also inspect the stitches to ensure they are secure and tight. If they are not, you can use a needle and thread to reinforce them. Keep the animal away from dust and moisture, and inspect it regularly for loose threads or pieces that may need to be replaced.
Display
Finally, you can display your stuffed animal to show off your handiwork. This can be done in a variety of ways, such as by framing the animal, hanging it from the wall or displaying it on a shelf. No matter how you choose to show it off, it will be a one-of-a-kind item that you can be proud of.


