The Basics
Blind hemming is a skill no good sewer should be without. It’s a fast and simple way to hem pants with a sewing machine using only a few tools. Although it takes a bit of practice, once you’ve mastered the blind hem stitch, you’ll wonder how you ever managed without it. Follow these steps to get started blind hemming your pants.
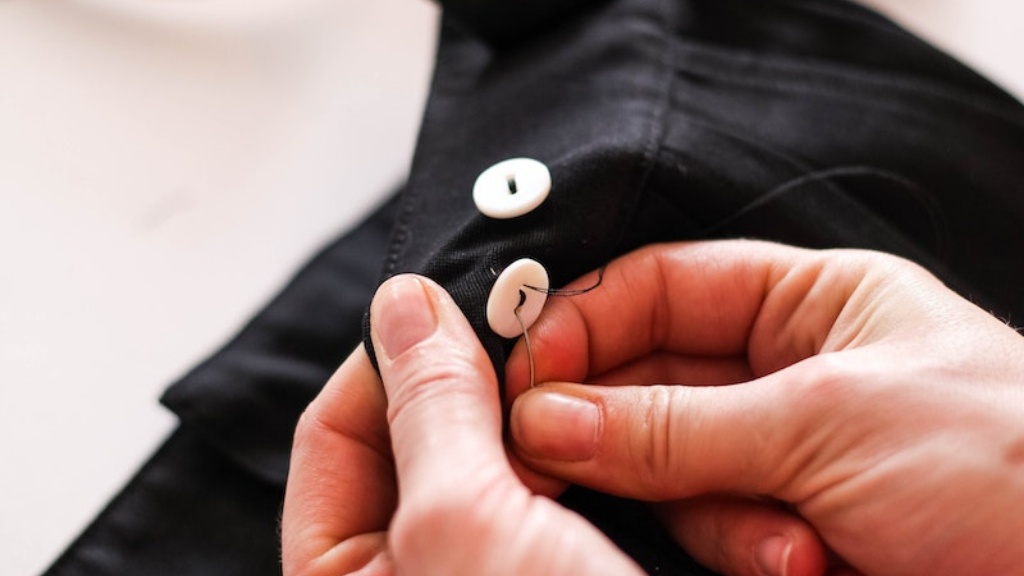
To start, assemble your supplies. You’ll need a pair of pants that need hemming, a sewing machine and the appropriate thread, a few pins, and a tailor’s ham or similar. Next, turn the pants inside out, lay them on a flat surface, and mark the length desired. If the length is different on each side, measure twice to make sure they match. Once your length is marked, fold the hem up twice (keeping the folds matched on each side) and press with an iron or hammer. Pin the folds in place, then use the tailor’s ham to press each side of the hem.
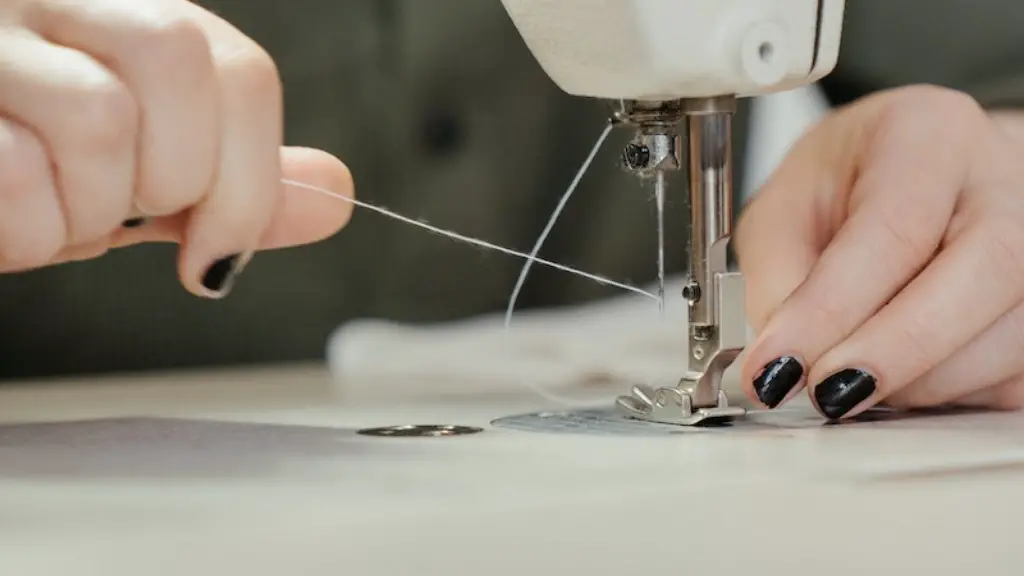
Once the hem is pressed, it is ready to sew. Set up the sewing machine to do a blind stitch. This stitch should only be visible from the inside, where it will appear as one continuous line. It should be invisible from the outside of the pants.
Start sewing at the top of the hem.As you sew, periodically stop and test the stitching from the outside of the pants to make sure it is invisible. It is very important that the blind stitch be as close to the folded edge as possible, as this will make sure the hem won’t come undone over time. Also make sure to keep the stitch tight and even, as this will ensure the hem look neat and professional.
Keep sewing until you reach the other side of the hem. Secure the stitch, cut the thread and try on the pants. With a practiced eye, you should be able to see if the hem looks neat and straight. If it does, you’re done! If it doesn’t, don’t worry – it may just take a bit of practice to get it just right.
Different Fabrics
Every fabric responds to sewing differently, so it is important to know how your fabric will behave before starting to blind hem. Lightweight fabrics like poplin and chiffon can be difficult to hem and may require more pins or even a bit of glue to help them from pucker. It is best to avoid fabrics with a thick pile as they are difficult to sew through and can be nearly impossible to get a neat blind hem. Thick fabrics like corduroy can be hemmed using the same technique, but the finished hem will usually be more visible.
Steaming or pressing the hem before sewing is important, as it will make sure the fabric is held securely in place while sewing. It is also helpful to use a larger stitch size on heavier fabrics and make sure the presser foot is firmly engaged while sewing. Also, a walking foot attachment is very helpful when hemming thicker fabrics as it helps to ensure an even stitch.
If you find the fabric puckering while sewing, try adjusting the tensions on both the upper and lower thread. It may also help to reduce the stitch size and be sure to test the fabric’s reaction to the adjustments before sewing the entire hem. The best way to do this is to take a couple of scrap pieces of fabric and do a test hem.
Extra Tips
To get a neat, professional looking hem, try using the tailor’s ham or similar to ensure the hem is pressed flat. A curved or angled pressing surface will help create a smoother, more professional hem. Once the hem is pressed, it is easier to align the folded edges when sewing. Use pins to keep the folds in place, then baste them together with a longer stitch size before starting to sew the blind hem.
When sewing the blind hem, make sure to keep the machine as close to the folded fabric as possible. This ensures that the stitch will be hidden from view. Sew slowly and test the stitch from the outside periodically to make sure it is invisible. Make adjustments as needed.
When hemming thin fabrics, use a zig zag stitch instead of a blind stitch. This will help keep the fabric from fraying when washed. Also, be sure to use a comparable thread that is colorfast. If the hem threads fray or become visible, use a thread that is a similar color but slightly lighter. This will help the hem blend in to the fabric and make it less noticeable.
Finishing Touches
If you find that the hem is still visible, try using a fabric marking pen that matches the color of the fabric. This can help hide minor flaws and will blend in with the color of the fabric. Be sure to test the marking pen on an inconspicuous area of the garment to make sure it doesn’t show. Also, if the hem threads are still visible, try using a thinner thread or a thread in a similar but lighter color.
Finally, if the hem is still showing, try using a topstitch. This is a stitch that can be done with a decorative thread that is visible from the outside of the pants.
Keeping It Clean
When handling and ironing the fabric, make sure to use a press cloth. The press cloth will protect the fabric from burning or scorching and will also help prevent the bulk of the fabric from distorting the hem. Also, it is important to keep the iron clean. When pressing the hem, clean the soleplate of the iron to make sure it is free of dirt, dust and lint.
When starching and pressing the fabric, use a light spray or aerosol. This will help prevent a stiff, board-like look. Also, a light starch on the hem will help keep it neat and flat and will also help prevent it from sagging. Always try to keep the fabric as flat and crease-free as possible when pressing or steaming.
Seams and Edges
When stitching the hem, make sure to always sew with the seam allowance up. This will prevent small bits of fabric from getting caught in the seam. When hemming pants with cuffs, use the same technique but be sure to use a larger stitch size. This will help make sure the cuffs aren’t too tight.
To finish the edges of the hem, use a zig zag stitch or an overcast stitch. This will help stop the fabric from fraying and will also give the hem a neater, finished look. Also, use a smaller stitch size when hemming fabrics like silk or chiffon to help prevent them from fraying.
Concealing the Fabric
To help conceal the fabric while sewing, use a dark or matching colored thread. This will ensure that the stitching is not visible from the outside of the pants. If desired, use a contrasting thread to make the hem more visible. This can be done on heavier fabrics such as denim or corduroy.
When hemming pants with a darker fabric, use a matching colored thread and an invisible or monofilament thread in the top bobbin. This will make sure the stitches are not visible from the outside. If the pant legs are straight, try using a clear plastic foot to help guide the seam and make it easier to stitch the hem.
Hemming Soft Fabrics
Soft and drapey fabrics like silk or rayon may need special care when hemming. These fabrics will hang differently than stiffer fabrics, so it is important to make sure the hem is pressed flat and crease-free before sewing. Also, set up the machine to do a three step zig zag stitch, as this will help keep the hem from stretching out or bunching up.
To hem soft fabrics, use a lightweight thread in the top and a heavier thread in the bobbin. This will help keep the stitches even and secure. If the fabric does not have a natural finish, use a spray starch and press the hem before beginning to sew. This will help keep the hem secure and will also prevent the fabric from stretching or shifting as you sew.
Attaching Presser Feet and Bobbins
Before starting to blind hem, make sure the presser feet and bobbins are securely attached. Use a screwdriver to tighten the presser feet and the bobbins if necessary. Be sure the presser feet are the right size and type for the fabric you are hemming. For heavier fabrics, an even feed presser foot or a walking foot attachment may be necessary to ensure the fabric is fed evenly.
When attaching the bobbins, make sure they are securely placed in the bobbin case. Secure the bobbin by hand or with a screwdriver to make sure it is held securely in the bobbin case. Make sure the thread is in the correct direction and that the thread is not pulled too tight or too loose. Adjust the tensions until the bobbin thread is the same color as the top thread.
Finally, make sure the bobbins are loaded correctly. To do this, make sure the thread is fed through the slots on the bobbin and not over them. This will make sure the thread does not jam the bobbin case and that the stitch looks even and neat.
