Blind stitching is a type of sewing technique used when attaching two pieces of fabric together. This technique uses a sewing machine to stitch the two pieces together on the inside of the material (“blind stich”). It is a great technique to use when the edges of the fabric won’t be visible, such as when assembling pockets, collars, and lapels. It creates a neat, professional look on both the inside and outside of the garment. The technique is not difficult to do but does require practice to get the technique down. Here are some steps to help you get started on blind stitching on your sewing machine.
Thread the Machine
The first step to blind stitching is threading the sewing machine. This will vary depending on the type of machine you have. The thread should be the same color as the material so the stitch is less visible when it is done. Its important to make sure the thread is in the needle tightly and is properly tensioned. This can be done by tweaking the tension dial on the machine.
Prepare the Sewing Area
Preparing your work area is the next step you need to do in order to start blind stitching. Make sure the fabrics are cut so they fit together correctly and have been pressed down firmly. Also, if the edge of the material is not neat, it can affect your finished product. If you are doing a complicated stitch, it may be necessary to mark the stitches on the fabric first, so you know exactly where to sew.
Set the Stich Type
Depending on the the fabric and the type of blindstitch you are doing, you should choose the stitch type on your machine accordingly. For example, if you are using a lightweight fabric, you will want to use a zigzag stitch. If you are using a heavier fabric, a straight stitch might be best. The key is to experiment and practice with different stitch types until you find the one that works best for you.
Get Ready to Sew
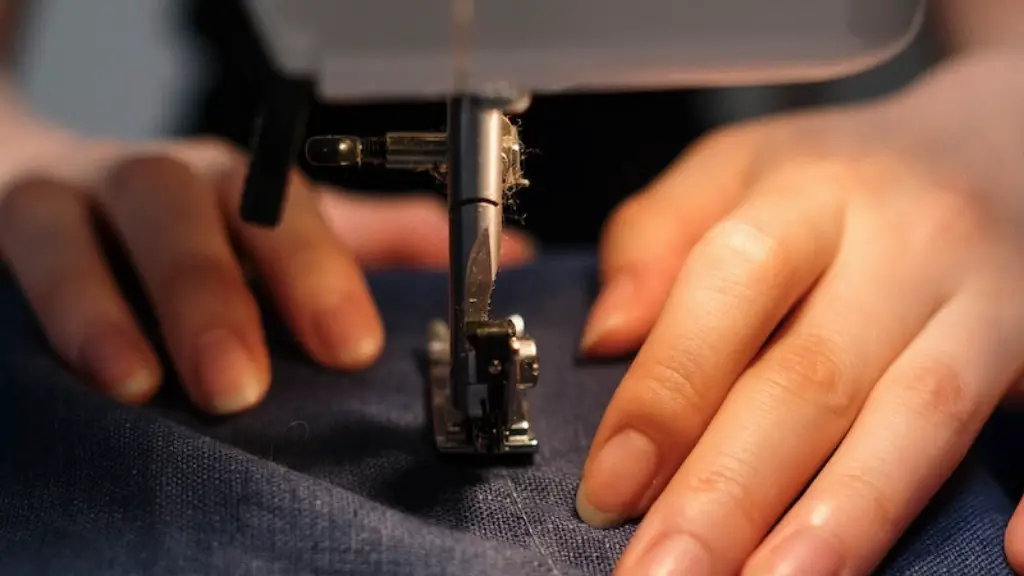
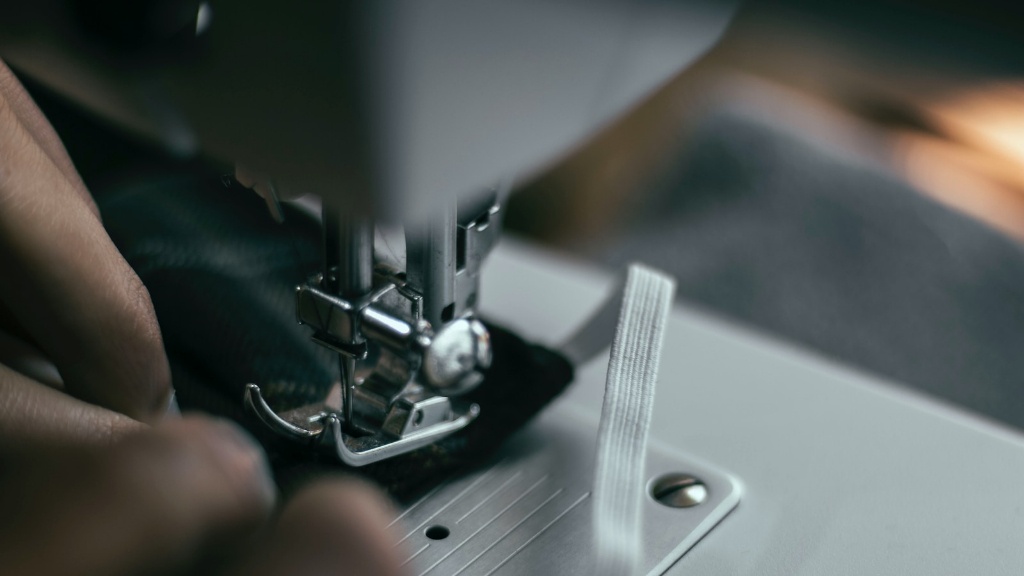
Now the sewing area is ready to begin sewing. You should set the stitch length on the machine so it is between zero and two. This ensures that the stitch will be small and not visible on the outside of the fabric. Put the fabric in the machine and make sure it is lined up properly. Then you can begin sewing. Move the fabric slowly and make sure the stitches are nice and even. Don’t forget to backstitch at the beginning and end of the seam, then you’re done!
Press the Seam
Once you have finished sewing the seam, its best to press it with a hot, dry iron. This will make sure the stitches lay nice and flat and help the seam stand out on the fabric. Make sure the iron is set to the fabric type and the correct temperature. Move the iron in a back and forth motion to help press the seam down.
Check the Seam
When you have finished pressing the seam, its important to check it was properly sewn. Make sure the fabric is securely attached and that the stitches are tight and neat. If not you may need to go over the seam again or adjust the stitch length on the machine. If everything looks good, then you should be happy with the result!
Practice and Experiment
Blindstitching isn’t an overly difficult technique, but like any sewing technique, it takes practice and experimentation to get the technique down. Don’t be discouraged if your stitches aren’t perfect the first time. Keep practicing and eventually you will be a pro at blindstitching.
Choosing the Right Fabric
When you are blindstitching, its important to choose the right fabric for the task. You want a fabric that is lightweight and easy to sew. Also, make sure the fabric has a “right” side and a “wrong” side so you can properly line up the fabrics before sewing them. Be careful to follow the washing instructions on the fabric as well so your finished item looks as good as possible.
Conclusion
Blindstitching on a sewing machine is not as difficult as it seems. With the right tools and a bit of practice, you can master this technique in no time. Don’t forget to always follow the instructions on the fabric and use the right stitch type for the material. Most of all, have fun with it and enjoy the result!
Using the ZigZag Stitch
The zigzag stitch is one of the most common stitches used for blindstitching. It is great for light fabrics where the stitch won’t be seen on the outside of the garment. This stitch has a zig zag pattern, which creates a strong, flexible seam that can stretch and move easily with the fabric. You can adjust the stitch length and width to get the perfect look. The zigzag stitch is perfect for hemming, tying off thread ends, binding seams, and much more.
Using the Overcast Stitch
The overcast stitch is another great stitch for blindstitching. This stitch is used to finish off the raw edges of a fabric. It is a good idea to use an overcast stitch on any fabric that is likely to fray, so the edges stay neat and tidy. This stitch also works as a decorative stitch, as it creates a nice texture along the edge of the fabric. When using the overcast stitch, make sure the stitch length is set between two and four. This will ensure that the stitches are close together and create a strong seam.
Using the Invisible Stitch
An invisible stitch is perfect for any project where the stitches don’t need to be seen from the outside. This stitch is used to join two pieces of fabric together without any noticeable stitches on the outside. You will need to practice this stitch to get the technique down, but once you do, it is a great way to make a professional looking product. To create an invisible stitch, loop the thread around a finger and pull one end through the loop. This creates a knot that is small and will be almost invisible.
Attaching Fasteners
There are a few different methods of attaching fasteners such as buttons, snaps and hooks. All of these require the use of a blindstitch. With buttons, they should be securely attached so they stay closed in the garment. Snaps and hooks are usually sewn onto the material by making a half circle and looping the thread around a few times. This is a more secure way to attach fasteners and will ensure the fastener will stay on the fabric for the life of the garment.


