Parts Needed to Begin
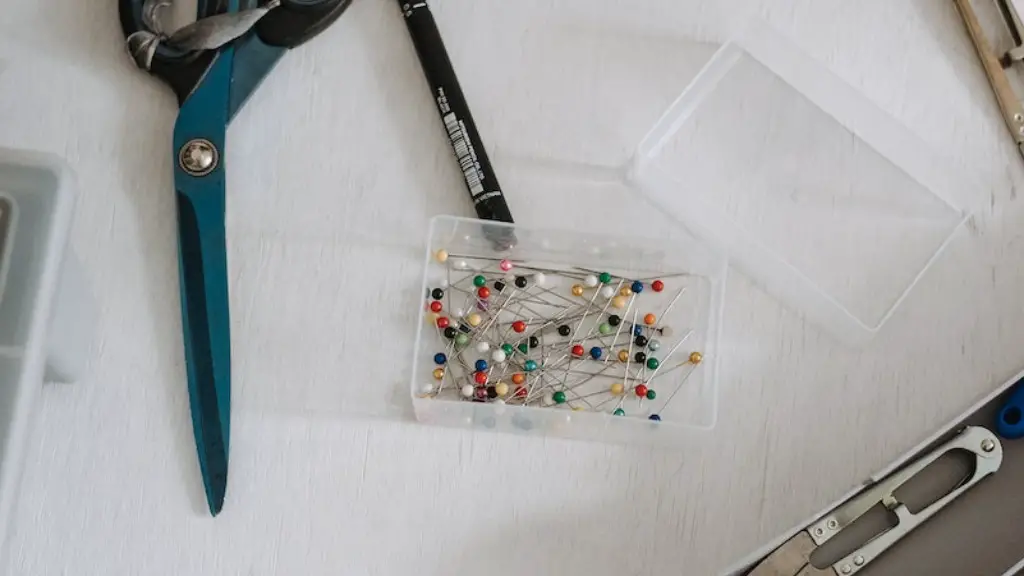
Before getting started with a blind stitch, it is best to prepare the materials needed for the project. The basics are a sewing machine, a sewable fabric, a needle threader, needle and thread, sewing pins, and scissors. Depending on the type of project, additional items may be necessary, such as interfacing or hem tape. While a strip of quilting, pinking, or satin tape can be used to help keep the edges of the fabric from fraying and make the fabric easier to sew together, it is not absolutely necessary.
Steps for the Setup
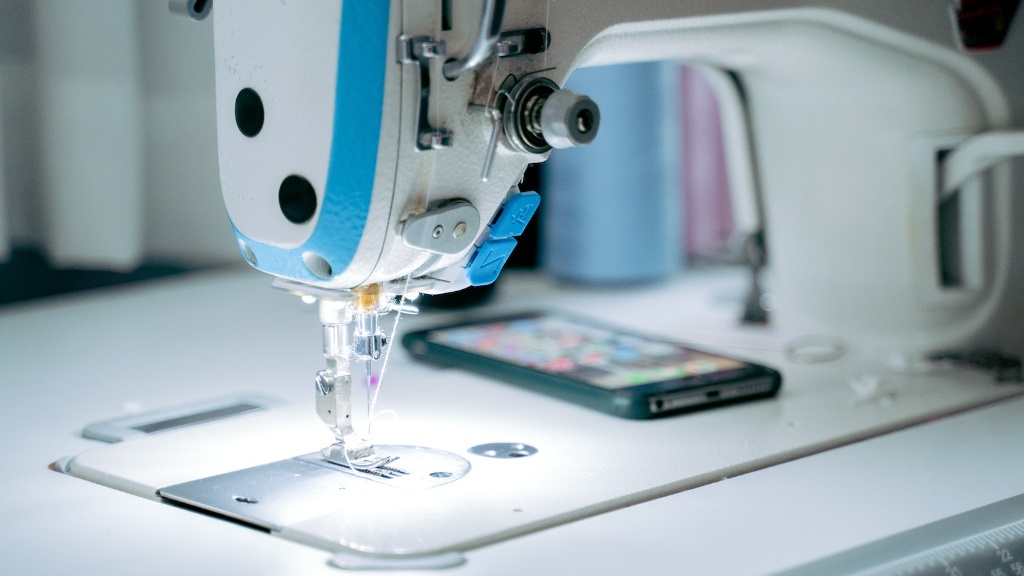
Once all the supplies have been gathered, it is time to get the sewing machine ready. Start by threading the machine and winding a bobbin. If the machine is not already in blind stitch mode, turn the wheel by hand to the appropriate spot. Most sewing machines have a separate stitch option specifically for blind stitching. Next, pin the fabric pieces together so they stay in place and adjust the stitch length according to the desired effect. Finally, test the seam by running the machine on a scrap piece of fabric.
Set up the Needle
It is important to use a needle and thread that complements the weight of the fabric. A heavy needle and thread will be too harsh for light fabrics, creating a visible seam. A light needle and thread won’t be strong enough for thicker materials such as denim. Once an appropriate needle and thread are selected, insert the needle into the machine. Thread it and secure it in place with a knot.
Begin Sewing
Now that everything is prepared, the sewing can begin. Start by placing the right side of the fabric on the bottom of the machine and the wrong side on top. Gently pull the material to the left and make sure it is lined up with the needle. Keep in mind the goal of blind stitching is to make the seam as unnoticeable as possible. Taking small and slow steps will help to achieve this.
Tips for a Clean Stitch
It is important to keep the thread tension as even as possible throughout the entire project. Adjustments in the middle of a project can create a stitch that is too loose or too tight. Any excess thread should be cut away once the project is finished. Pins should be removed as the needle sews, so the stitches will look neat and clean. Then the fabric pieces should be pulled apart and examined to check the evenness of the stitches.
Finishing Up the Project
Once the sewing is finished, it is time to finish the project. Often a blind stitch looks best when it is pressed with an iron. This helps to flatten the seam and keep the fabric from bunching up. If the seam is too bulky, a seam ripper or scissors can be used to trim away excess fabric. Knot the thread to secure the edges and the project is complete.
Troubleshooting Common Problems
Even with careful attention, mistakes can happen. If the thread keeps breaking during the stitch, it could be that the sewing machine is not threaded correctly or the tension needs to be adjusted. If the stitches look crooked, it is likely that the fabric is not lined up properly or the fabric is too thick for the needle. If the stitch is uneven, the tension needs to be adjusted.
Working With Different Fabric Types
Blindstitching can be done on a variety of fabrics, from lightweight cottons to heavy denims. It is important to select the right needle and thread to match the fabric to ensure a clean stitch. Different fabrics may also require different tensions and stitch lengths to achieve the desired effect. If the fabric has a thick weave, interfacing may be beneficial to help keep the edges of the fabric together.
Troubleshooting Machine Issues
Occasionally, a sewing machine may stop working in the middle of a project. If this happens, it is important to figure out the cause of the problem. A common issue is the needle may be out of alignment or the bobbin may be in the wrong position. Check the tension and reset the machine if needed. Sometimes the machine may need to be cleaned or the needle may need to be replaced.
Using Curves and Corners
When a project involves curves, it can be difficult to blind stitch the seams neatly. The trick to success is to use small stitches that keep the fabric in place. It can also be helpful to pin the fabric in place while sewing. When sewing in a corner, make sure the stitch stops before the corner so the fabric won’t gather on one side.
Making Narrow Tails
When blind stitching a hem, it can be helpful to make narrow tails at the beginning and end of the stitch so the thread won’t be too visible. Start by stitching a few extra stitches at the beginning of the project and then tie off the thread when finished. Make sure to leave the tails a few inches long so the hem remains secure.
Sewing Through Thick Layers
When sewing through multiple layers of fabric, it is important to pay extra attention to the tension and stitch length. The machine may need to be adjusted to help the needle move through the fabric smoothly. It can also be helpful to use a thicker needle and heavier thread. Common materials used in this type of project are quilting fabric, fleece, and interfacing, which may require additional tools to achieve a clean stitch.
Connecting and Securing Seams
There are a few different ways to join two pieces of fabric together with a blind stitch. To create a traditional whip or catch stitch, start by stitching the seam at a diagonal. Then, work back and forth in a serpentine pattern until the fabric is securely connected. For a flat felled seam, start by overlapping the fabrics slightly and then stitch along the edges. This is best for heavy-duty fabrics such as denim.
Blind Hemming
Hemming is a common application for blind stitching. Often a strip of hem tape is used to securely keep the fabric in place while stitching. It is important to take small steps when stitching the hem and to adjust the stitch length accordingly. Hem tape helps to make the edges look neat and prevents the fabric from fraying.
Adding Reinforcement
Reinforcing the edges of fabric pieces is another application for blind stitching. This is commonly done when two fabrics need to be connected for a project. First, overlap the two pieces and then stitch the seam on the back side of the fabric. This helps to prevent the edges from fraying and adds strength to the project.
Blind Stitch Appliqué
Creating appliqué with a blind stitch is a great way to add a special touch to any project. First, select the fabric appliqué and use a pen or other tool to trace the design onto the fabric. Then, stitch the appliqué pieces together. Once the appliqué is complete, use a blind stitch to attach the appliqué to the fabric.


