Overview
The bobbin tension on a Brother sewing machine is the amount of tension placed on the upper thread while it is looping around the bobbin to form a stitch. Adjusting this tension is vital to producing a quality finished product. Too much tension can cause the stitch to be too tight, while not enough tension can cause the upper thread to pull away from the lower thread. This article explains how to properly adjust the bobbin tension on a Brother sewing machine to get the perfect stitch every time.
Testing the Tension
Before adjusting the bobbin tension, it is important to test the tension in order to determine if an adjustment is required. To test the tension on a Brother sewing machine, you must first assemble the machine and thread it. Once it is threaded, try sewing a couple of stitches on a piece of scrap fabric. Gently pull apart the bobbin thread and gently tug on the upper thread. If the thread is difficult to separate, the tension is likely too tight and needs to be adjusted. If the thread comes apart too easily, then the tension is too loose and needs to be adjusted.
Adjusting the Tension
Once you have determined that the tension needs to be adjusted, you can begin the process of adjusting the bobbin tension on a Brother sewing machine. The first thing you need to do is locate the tension adjustment knob. This knob is usually located near the bobbin case. To adjust the tension, turn the knob clockwise to tighten it or counterclockwise to loosen it. You should adjust it in increments of ¼ turn at a time and then test the tension again until you get the results you desire.
Checking for Inconsistencies
Adjusting the bobbin tension can sometimes create inconsistencies in your stitches. This is usually caused by the tension being uneven on both sides of the stitch. To correct this, re-thread your machine, attach the bobbin case, and adjust the tension. Once the tension is adjusted, hold the top thread and pull it to the back of the machine. This will help ensure the bobbin tension is even on both sides of the stitch.
Other Tips and Tricks
The bobbin tension on a Brother sewing machine can be a tricky thing to get right. Here are a few other tips and tricks to help you get a perfect stitch every time:
- Make sure the bobbin is inserted properly before adjusting the tension.
- Be sure to use the correct type of thread for your fabric and needle.
- Replace the needle with a fresh one often.
- Always test the tension on a scrap piece of fabric before sewing your project.
Threading the Machine
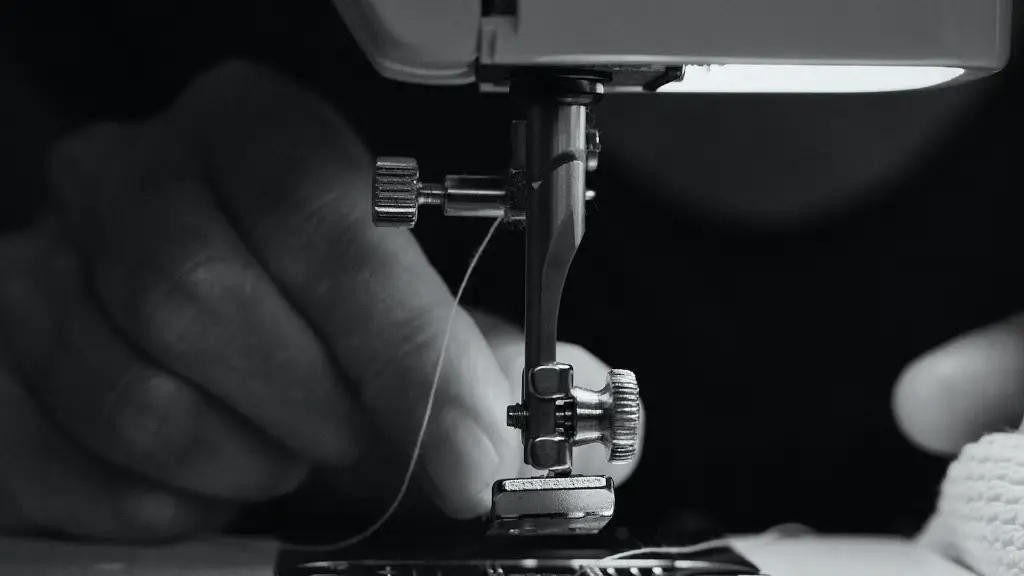
Threading a Brother sewing machine correctly is essential to ensuring that the bobbin tension is adjusted properly. Begin by selecting the thread guide that is closest to the needle. Thread the needle and thread the machine according to the manufacturer’s instructions. Be sure not to pull on the thread when threading, as this can cause a loop in the thread. Once the machine is threaded, hold the end of the thread and gently pull it to the back of the machine in order to form a loop around the bobbin tension disk.
Cleaning the Bobbin and Bobbin Case
Bobbins and bobbin cases can become clogged with lint and oil from regular use. This can cause tension problems on a Brother sewing machine. To fix this, it is important to periodically clean the bobbin and the bobbin case. Unscrew the bobbin case and remove the bobbin. Then, use a damp cloth to gently wipe away any lint or oil from the bobbin and bobbin case. When finished, reassemble the machine and test the tension.
Lubricating the Parts
It is important to lubricate the moving parts of a Brother sewing machine on a regular basis. This will help keep the parts moving freely and reduce tension issues. To lubricate the parts, use a silicone-based lubricant and carefully apply it to the areas that move. Be sure to not over-lubricate, as this can create a sticky residue which can attract dirt and dust.
The Right Tools
Having the right tools on hand when adjusting the bobbin tension on a Brother sewing machine is essential. A small screwdriver is needed to adjust the tension knob. A pair of tweezers can come in handy for removing lint and other debris from the bobbin case. It is also helpful to have a fabric swatch for testing the tension.
Replacing the Bobbin Case
When adjusting the bobbin tension on a Brother sewing machine, it can be helpful to replace the bobbin case. This is especially true if it is an older model or if it has been through a lot of use. Over time, the case can become worn or damaged, causing tension issues. Replacing the bobbin case is a simple and inexpensive fix that can ensure the tension is correct.
Recalibrating the Tension
If all else fails, it may be necessary to recalibrate the tension on a Brother sewing machine. This can be done using a tension gauge, which is available at most sewing stores. Insert the gauge between the bobbin and the thread and adjust the tension knob until the gauge reads the correct tension value marked on the gauge. When finished, test the tension again and make sure it is correct.
Purchasing a New Bobbin
If the bobbin tension is still off after adjusting, testing and cleaning, it may be time to purchase a new bobbin. It is important to use the correct bobbin for your fabric and needle and to make sure it is inserted in the bobbin case properly. Once the new bobbin is in place, adjust the tension and test until you achieve the desired results.
Troubleshooting
Adjusting bobbin tension on a Brother sewing machine can be a tricky process, and it is important to troubleshoot if you are having any issues. If the tension is too tight, always adjust it in the counterclockwise direction. Also, check the threading of the machine and ensure that the tension disk is looped correctly. Additionally, ensure that the bobbin is inserted properly and that the needle is the correct size for your fabric.
Maintenance
Regular maintenance of a Brother sewing machine can help ensure that the bobbin tension is correct and that the machine is running smoothly. This includes cleaning the machine and lubricating the parts, as well as replacing the bobbin, bobbin case and needle if necessary. Additionally, be sure to periodically check the tension and adjust it if needed. Doing so can help prevent tension problems down the road.
Practical Example
In order to understand how to adjust bobbin tension on a Brother sewing machine, it is important to see the process in action. To do this, it is helpful to observe a demonstration of a real person adjusting the tension on a Brother sewing machine. This could be done through a tutorial video or by attending a live class. Observing this demonstration is a great way to get a better understanding of the process and can help ensure that tension is adapted correctly every time.


