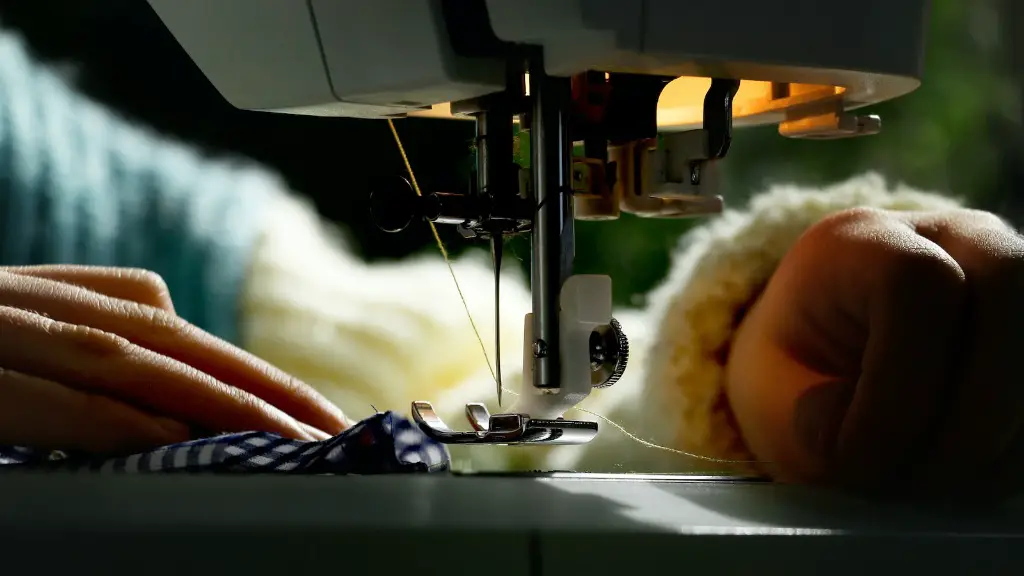
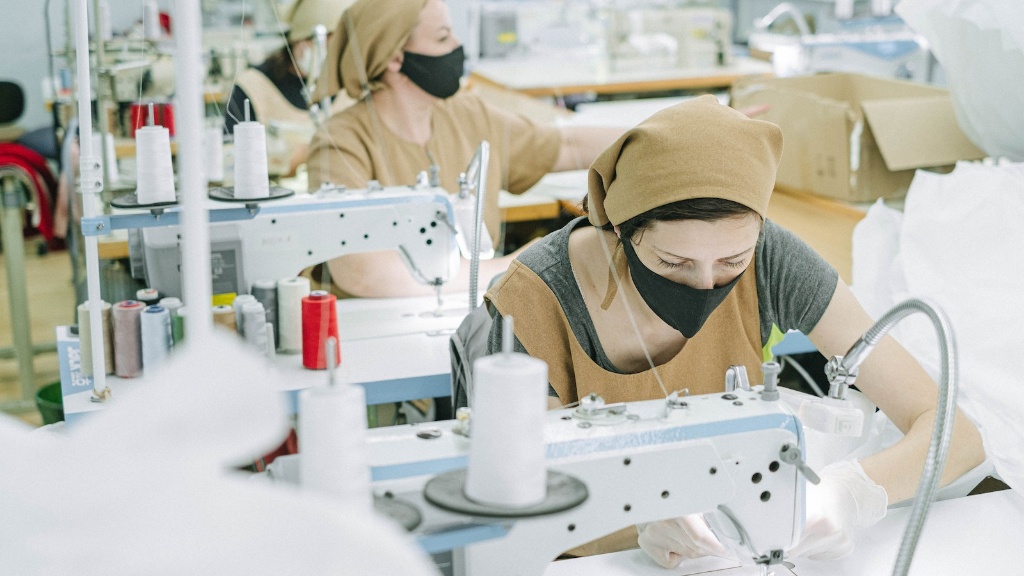
Sewing machines are a handy tool for easily creating custom clothing, decorative items, and more. To be able to use your sewing machine, one crucial step is to first set up your bobbin. Bobbins are quite straightforward overall, but if you don’t know your way around them, it can get overwhelming. So, to help you understand the process better and successfully install a bobbin on your sewing machine, here’s a comprehensive guide.
To start off, it is important to be aware of the different types of bobbins you may encounter. Generally, sewing machine bobbins come in three shapes – the cylinder, the flat-sided, or the universal. While it might get tempting to choose just any new bobbin at a store and slot it in your machine, it is crucial for you to check the manual of your machine to establish which type of bobbin your sewing machine is compatible with. Make note of the size and shape as, depending on how your machine is built, it might not be able to work with certain sized bobbins, irritably causing bobbin jam.
Furthermore, once you have secured a compatible bobbin for your sewing machine, it is time to move onto the rest of the bobbin setting process. Start off by winding the bobbin with thread. Accordingly, briefly, you need to thread your bobbin via the spindle on its side and then, with the spindle rotating, gently press the foot pedal letting the bobbin thread the thread. Stop sewing intermittently to add more thread and stop when the bobbin is fully wound. However, be sure to not overfill it, as that increases the chances of your machine experiencing a jam.
Once you end the winding process, move onto the next step which is to insert it into the sewing machine. Each machine might have its unique way of inserting a bobbin and if you’re a beginner, it might take you a few attempts to do it correctly. As a general guideline, review manual of your machine or look online for helpful video tutorials on those brands and models – they are usually quite helpful in such cases.
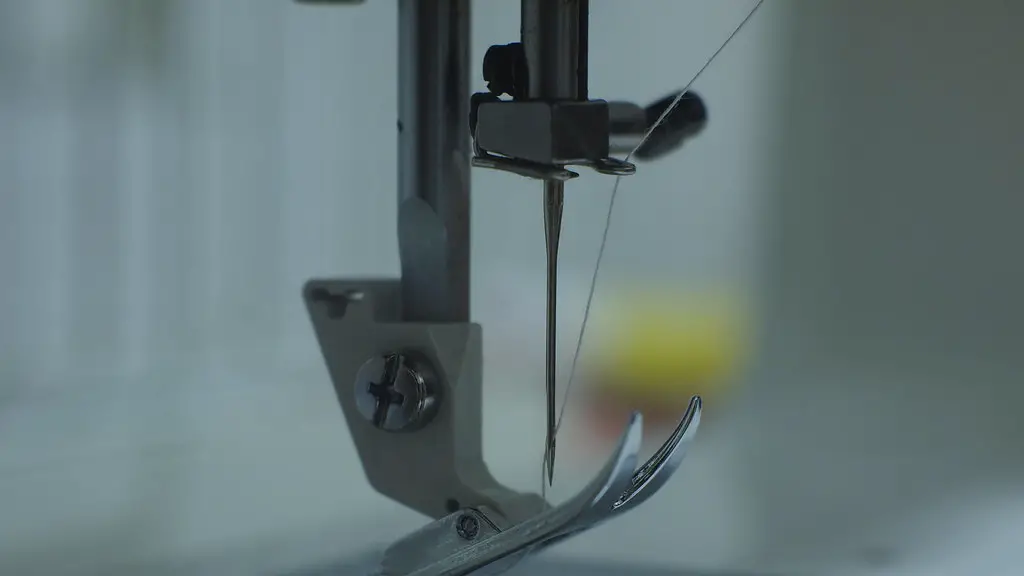
Next, you will need to draw up the bobbin thread. To secure this step properly, hold both the top thread and the bobbin thread and turn the handwheel counterclockwise. Do not tug on the threads too hard, because this could cause a knot or a jam. Instead, pull the top thread gently towards you, so the bobbin thread is carried up to the top of the material. Release the fabric and you should be able to see a looped thread on the underside of your work. Additionally, remember that often this step does require a few tries and is likely to get frustrating for beginners, yet with some patience and practice you should be able to do it.
Finally, to finish up the process, lower the presser foot and some tension to set the threads in place. To do this, press the foot pedal quickly to lock the threads in place. At the same time, you may also disengage the handwheel from the machine. And you’re good to go – now your threads are ready to be used in whatever project you have at hand.
Choosing the right Bobbin
If you’re new to sewing, then the range of bobbins available to you might be quite overwhelming. If this is the case then, it is important to note that not all bobbins are created equal and one must choose a bobbin that is compatible with the model of their sewing machine. This is necessary, as certain sewing machines will only work with certain bobbin sizes and shapes. Therefore, one must carefully consult the manual of the machine to understand which jam-preventing size and shape of the bobbin to look for when buying one. Additionally, many e-commerce websites also allow you to search for the specific bobbin that fits your sewing machine.
Wind the Bobbin with Thread
Winding the bobbin with thread is not too difficult a process, although if done incorrectly it can lead to inconveniences later on. One must make sure to only fill up half of the bobbin space. This will ensure that the photos are preset and won’t get unspooled while in the machine, which can lead to jamming of the machine. As such, fill the bobbins with the right amount and slowly wind the bobbin with thread using the spindle in a sewing machine. Additionally, be sure to stop intermittently to check the thread and end it when only a threadtail is left.
Loading the Bobbin
Once the bobbin is ready, one must now insert it into the sewing machine. The exact mechanism of loading a bobbin varies depending on the model and brand of the machine. Interesting to note, some machines have a bobbin access door on the top of the machine, whereas other might have the bobbin stored in a sideway drawer. Therefore, not only is it important to get the model-compatible bobbin, but also consult the manual of the machine to learn how to install it correctly. Furthermore, many helpful tutorials exist online for brands and models that can be of much assistance to novice sewers.
Draw Up the Bobbin Thread
To draw up the bobbin thread correctly, one must first hold both the top and bobbin threads, then gently turn the handwheel on the machine counterclockwise. There should be no need to tug on the threads too tightly and they should be pulled toward you gently. Doing so will carry the bobbin thread up to the top of the material. After a few attempts, the threads will be safely locked in place.
Lock in the Threads
The final step of the bobbin installation process is to lock the threads in with the presser foot. To do this, use the foot pedal for a few seconds to apply tension to the threads. Subsequently, you may disengage the handwheel of your machine and the bobbin will be ready to be used. As a final note, while it is one easy step, unfortunately, it might require a few tries and mistakes before one can achieve the perfect bobbin setup.
Avoiding Bobbin Jam
At times, bobbin jam occurs due to a few common mistakes that sewers tend to make. For example, using an incompatible bobbin with your sewing machine can result in jamming, as the thread may not wind up correctly. Moreover, overfilling the bobbin beyond the required amount can also result in jamming, as the tension increases with extra thread in the bobbin. Furthermore, tying too much of the top thread can also lead to bobbin jams, as the bobbin thread may get looped with the excess thread.
Conclusion
Setting up a bobbin for a sewing machine can take a few seconds or a few minutes, depending on your understanding of the process. It is important to ensure that there are no jams before beginning a sewing project. This explained, while it might look overwhelming, with some patience and help from helpful video tutorials, one can easily achieve a bobbin set up perfect for their sewing projects.


