Removing the Existing Foot
Removing the existing sewing machine foot on a Singer sewing machine can be a bit tricky for those who are unfamiliar with the system. Begin by turning the hand wheel away from you and towards the back of the machine, so that the needle is in the highest position. Then, press down the foot release lever, located at the back of the sewing machine, and hold it firmly until the foot is released from the shank.When you have the foot removed, you will also need to remove the presser foot holder, which should slide off quite easily.
Preparing the New Presser Foot
Before you can install the new presser foot, you need to make sure it fits secure and snugly into the presser foot holder. Begin by inserting the new foot onto the presser foot holder, ensuring that the foot is correctly aligned. To do this, the groove within the foot and the presser foot holder need to to be aligned in the same direction. Once the foot is correctly aligned, the screwdriver should be used to securely tighten the presser foot holder onto the foot.
Installing the New Presser Foot
The foot should then be installed onto the machine itself. To do this, the previously removed presser foot holder should be re-attached and the original thread guide should be positioned onto the foot back. Then the foot should be placed beneath the presser bar along the shank of the machine and the foot should be firmly pressed upwards until the presser foot holder clicks into the presser bar conveniently.
Double Checking for Accuracy
Once the foot is secured and in position, the last step includes double checking that the foot is securely fastened and that it is not going to become loose while in use. Also, make sure to check that the needle is lined up properly and that it is in the correct position. Finally, check that the new foot is securely pressed against the fabric, as this will ensure more accurate and precise stitching.
Different Types of Presser Feet
Singer sewing machines come with a variety of different presser feet, each designed for specific types of sewing. Foot types include the general purpose foot for lightweight fabrics, the jeans foot for heavy denim or multiple layers, the zipper foot for applications like inserting zippers, and the buttonhole foot for making buttonholes. It is best to select the presser foot based on the material and project that you are working on.
Replacing the Bobbin Thread
Replacing the bobbin thread should be done after the presser foot has been changed. To do this, first remove the bobbin by pushing down on the bobbin latch, which should be situated on the top right or left side of the machine. Then, cut off some of the old thread and feed in the new thread in the same path. Make sure to hold onto the end of the thread tightly, so that it does not come undone.
Testing and Adjusting the Tension
Once the new foot has been installed, it is important to test out the tension and make any necessary adjustments. To do this, put a piece of scrap material under the presser foot and begin to sew. If the tension appears to be too tight, turn the tension dial to a lower number. If it is too loose, turn the tension dial to a higher number.
Using the New Presser Foot
Keeping the bobbin and upper threads correctly threaded, begin to sew onto your project with the new presser foot, making sure to use the right needle and thread. Remember to test the quality of stitching on a scrap piece of cloth before working on the actual project. If everything works out as planned, then you should be able to continue with the project as normal.
Connecting and Pressing the Needle Plate
The needle should be checked and fine-tuned before use, and this can be done by connecting and pressing the needle plate into place. To do this, position the needle plate onto the machine, using the correct screws. Make sure to turn the needle in both directions and make any needed adjustments. Finally, place a scrap piece of cloth under the presser foot and make sure that the needle is properly taking the thread tension.
Replacing the Belt
In order to ensure easier and smoother sewing, it is important to replace the sewing machine belt on a regular basis. Unscrew the screws that hold the baseplate of the machine and remove the exposed screws. Then, remove the foot and remove the belt, replacing it with the new belt before putting the screws back into place.
Maintaining the Machine
It is important to clean and lubricate the machine on a regular basis to ensure that it is running smoothly and efficiently. First, turn off the power to the machine and use the brush attachment to remove any dirt or dust. Then, apply the recommended lubricant to the required areas, ensuring that it is not over-lubricated. Finally, gently wipe off any excess lube and thread with a clean, lint-free cloth.
Replacing the Oiling Pad
The oiling pad should also be replaced to enable the machine to operate smoothly. To do this, remove the needle plate to access the oiling pan and use a screwdriver to unscrew the oil pad. Then, insert the new oiling pad and re-attach the needle plate before wiping off any excess lube or threads.
Keeping Track of Sewing Machine Parts
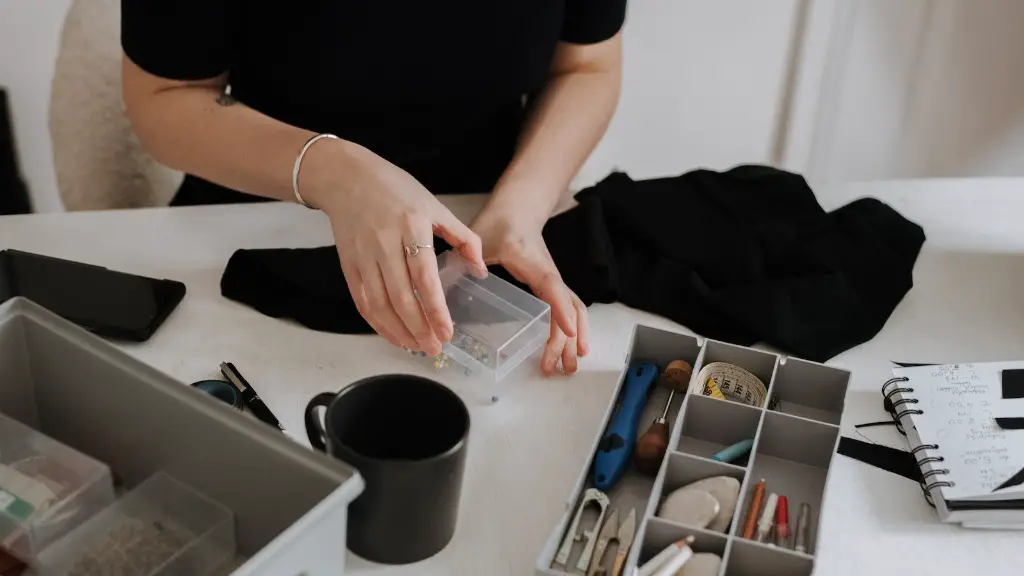
When it comes to sewing, maintaining an organized system of parts is key. Begin by organizing the presser feet and needles, grouping them into categories and filing them in a box or container. Then, make sure to regularly check the machine for any worn out or missing parts, and keep track of the thread and hardware inventory. This will help prevent any delays in sewing projects and any additional costs.


