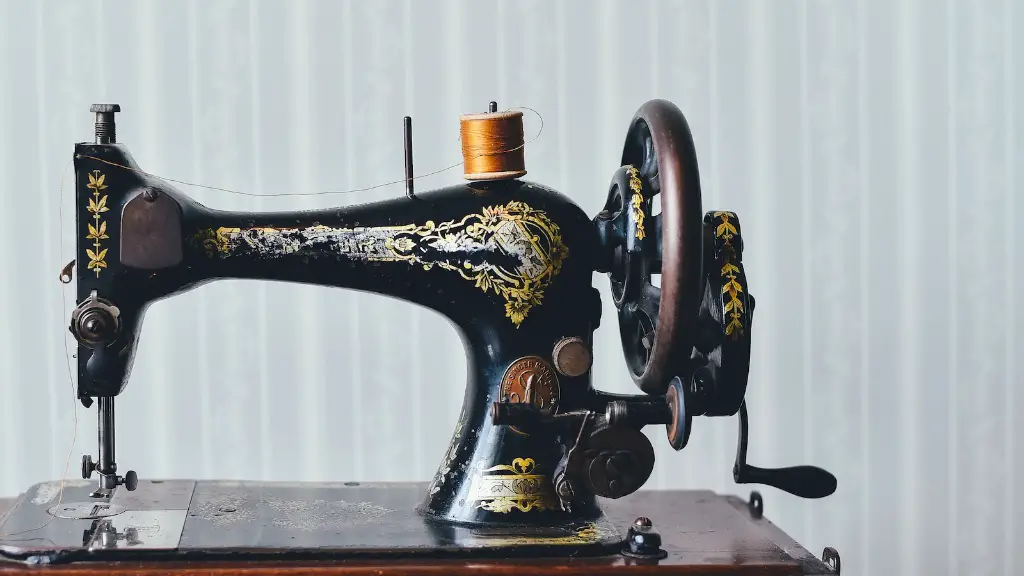
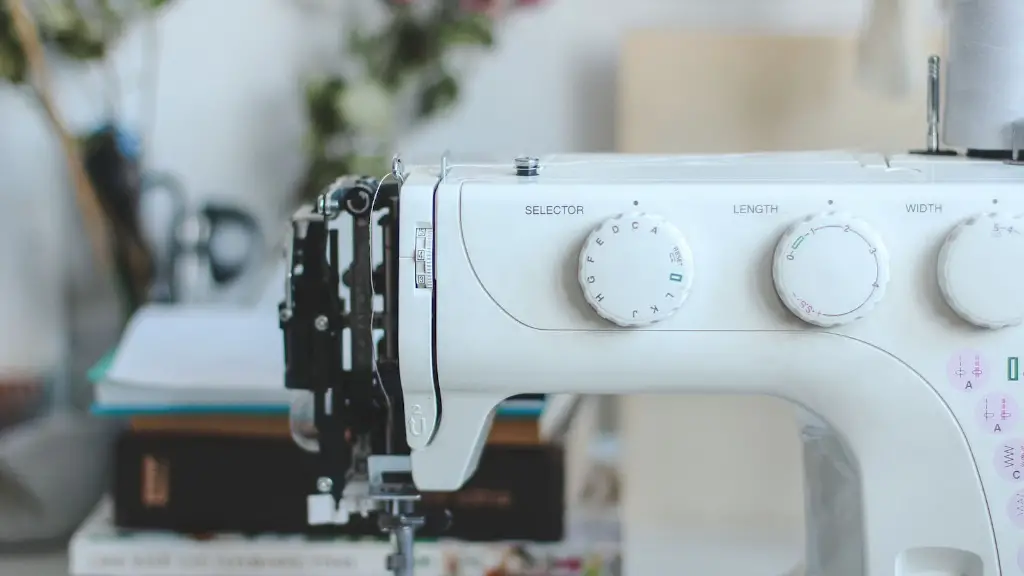
The Singer sewing machine has been a mainstay of many households for many years and a familiar sight at home. With this trusty machine comes the need to change its light bulb from time to time. Changing a light bulb in a Singer sewing machine might sound intimidating for some, but it is actually a fairly simple and straightforward process. The following steps can help you get the job done quickly and with minimal effort.
Gather the Tools and Supplies You’ll Need
Before attempting to replace the light bulb, it is important to gather the necessary items to do the job. The most important one is a replacement light bulb. You’ll also need a flathead screwdriver or screwdriver set. Finally, you’ll need a cloth to protect your Singer sewing machine.
Turn Off the Machine
The most important step to remember when attempting to change the light bulb is to make sure the electrical power is off before you begin. It is also recommended to unplug the sewing machine from the power source.
Remove the Light Bulb Cover
The next step is to remove the old light bulb’s cover. This will be the transparent plastic cover that covers the actual bulb. Typically, this cover is easy to remove, as it will just screw off from the light fixture.
Change the Light Bulb
Now that you have removed the light bulb cover, you will be able to access the light bulb itself. Carefully unscrew the old bulb and discard it. Take the new bulb and unscrew it very carefully until it is securely in place. Make sure the bulb is securely attached to the socket before turning on the power again.
Replace the Light Bulb Cover
Now that you have successfully changed the light bulb, you are ready to replace the cover. Make sure you screw it back in securely and that you don’t over-tighten it. This is essential to ensure that the fixture is not damaged.
Turn On the Machine
Finally, you are ready to turn on the Singer sewing machine. Now that the light bulb is in place, you should be able to enjoy the improved lighting that comes with the new bulb.
Safety Concerns
When attempting to change the light bulb in a Singer sewing machine, it is important to take safety precautions to prevent any accidents or mishaps. Always make sure the power has been disconnected and unplugged before starting. Wear gloves to avoid getting any dirt or other debris on the new bulb. Finally, make sure the replacement bulb is of the same wattage as the original one, or it might damage your machine.
Check the Work
Before you plug the machine back in, it is important to double-check your work and make sure that everything is attached properly and securely. Once you are sure everything is in order, then it is safe to plug the machine back in and turn on the power.
Adjust the Light
The final step to changing the light bulb in a Singer sewing machine is to adjust the light to your preference. The Singer sewing machine comes with a light-adjustment mechanism, located near the light bulb. This mechanism will allow you to adjust the light to the intensity you need.
Caring for the Light Bulb
After changing the light bulb in a Singer sewing machine, it is important to make sure you handle the new bulb with care. Cleaning the bulb regularly, making sure to never touch it with your bare hands or any other objects, and making sure it is away from water are all key tips to ensuring the long life of your new bulb.
Changing Filters in a Singer Sewing Machine
In order to keep your sewing machine in proper working order, it is important to periodically change the filters in the machine. These filters may include the motor filter, the needle filter and the lubricating filter. The process of changing the filters is relatively simple, but it is best to consult your Singer sewing machine manual for the exact steps provided for your model.
Troubleshooting Common Problems
It is inevitable that at some point you may experience a problem with your Singer sewing machine. Fortunately, there are a few simple steps you can take to troubleshoot the most common issues. First and foremost, always consult your Singer sewing machine manual for specific tips and instructions. This manual is your best guide to keeping your machine running in top condition.
Importance of Scheduled Maintenance
Like all household appliances, regular maintenance of your Singer sewing machine is essential to ensure it is operating properly. Tasks such as cleaning and oiling should be carried out every so often to ensure your machine is running smoothly. Finally, inspect the machine for any visible signs of damage or wear and tear and make sure to get it serviced at an authorized service centre if necessary.
Keep the Sewing Machine in Optimal Working Condition
Always make sure to properly store the Singer sewing machine in a safe and clean place. This will help ensure its optimal working condition, as well as protect it from any potential damage or harm. Additionally, be sure to unplug the machine when not in use and keep the cord away from water or other liquids.
Use the Right Sewing Machine Parts
It is always best to only use the Singer sewing machine’s original parts or those manufactured by the company. Using generic or imitation parts may have an adverse effect on the performance of the machine and may even void any existing warranty.
