Gather Necessary Materials:
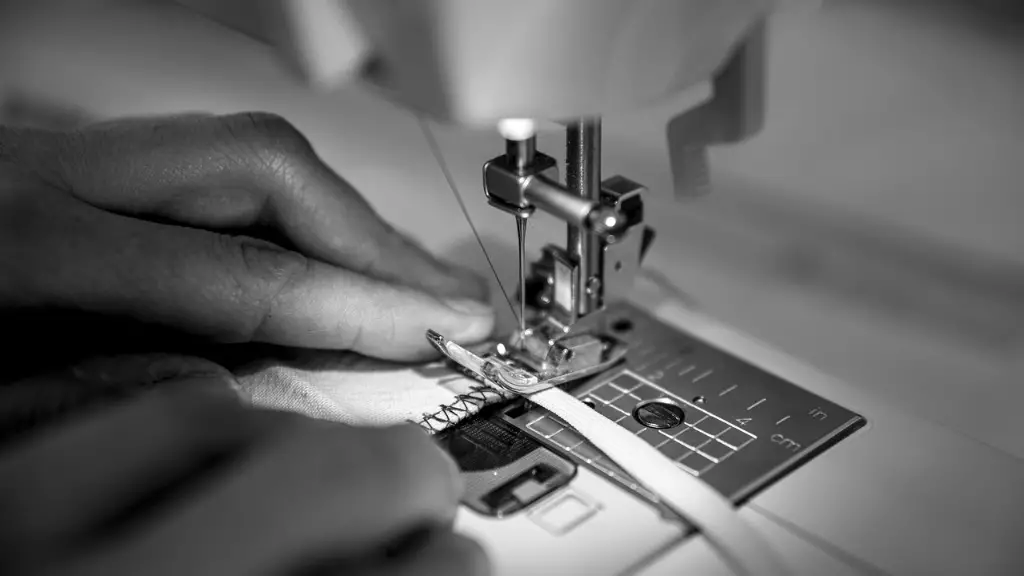
To put together a sewing machine, it is important to prepare the necessary materials before starting the assembling process. A sewing machine requires several pieces, including the machine head, bobbin winder, needle plate, foot pedal, spool pin, thread, and an instruction manual. These items should be checked off the list prior to beginning the assembly process.
It is also recommended to use lint-free thread – cotton, linen, or silk – as they are more durable than synthetic threads. Additionally, the thread should be made to match the type of fabric being used for the sewing project. This will ensure that the fabric is sewn properly.
A bobbin winder is an invaluable tool for easily and quickly re-threading the bobbins. It also helps to keep the thread taut and free of tangles as it passes through the machine.
Choose an appropriate needle plate:
The next step is to choose an appropriate needle plate. Most machines have different needle plates that provide the user with various needle configurations. The needle plates are made of metal, plastic, or sometimes both. They often feature two or more stitching holes, which are essential when sewing different fabrics.
The needle should also be appropriate for the type of fabric being used. There are many different types of needles available, with specific sizes and shapes for certain fabrics. Using the wrong type of needle can cause puckered stitches, skipped stitches, and broken threads.
Assemble the Bobbin:
The next step is to assemble the bobbin. This requires manually winding the thread around the bobbin until it is full. It is important to use the correct tension when winding the bobbin, as too much or too little tension can cause skipped stitches or broken threads.
Once the bobbin is wound, the bobbin winder should be removed from the machine and the bobbin can be inserted into the base of the machine. The thread should be passed through the appropriate tension guide, and the needle plate should be positioned correctly.
Thread the Sewing Machine:
Threading a sewing machine can be challenging for beginners, but with a little practice it can become second nature. Usually, a sewing machine has specific threading instructions printed on the machine itself. Alternatively, the instruction manual can be consulted for specific instructions.
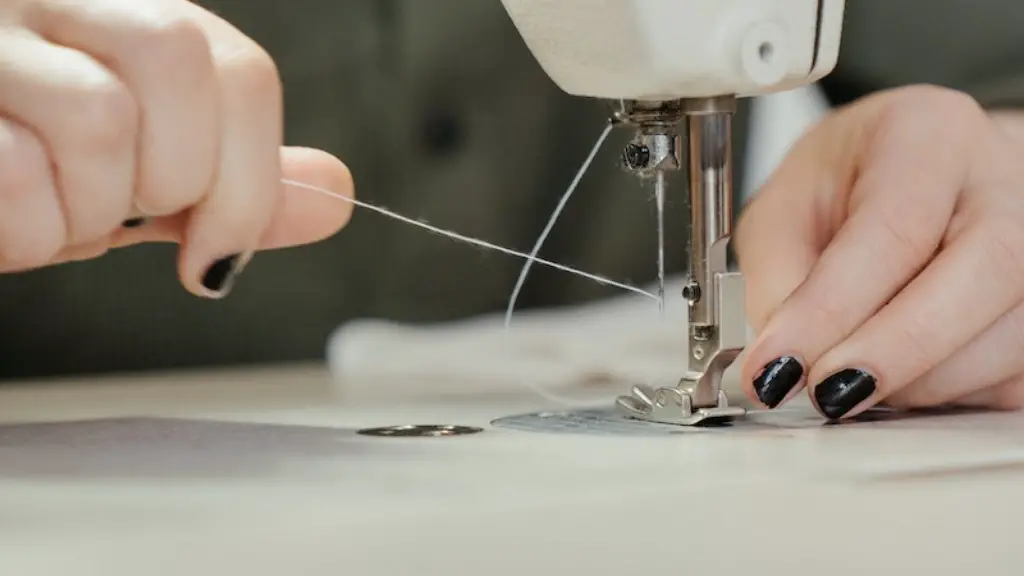
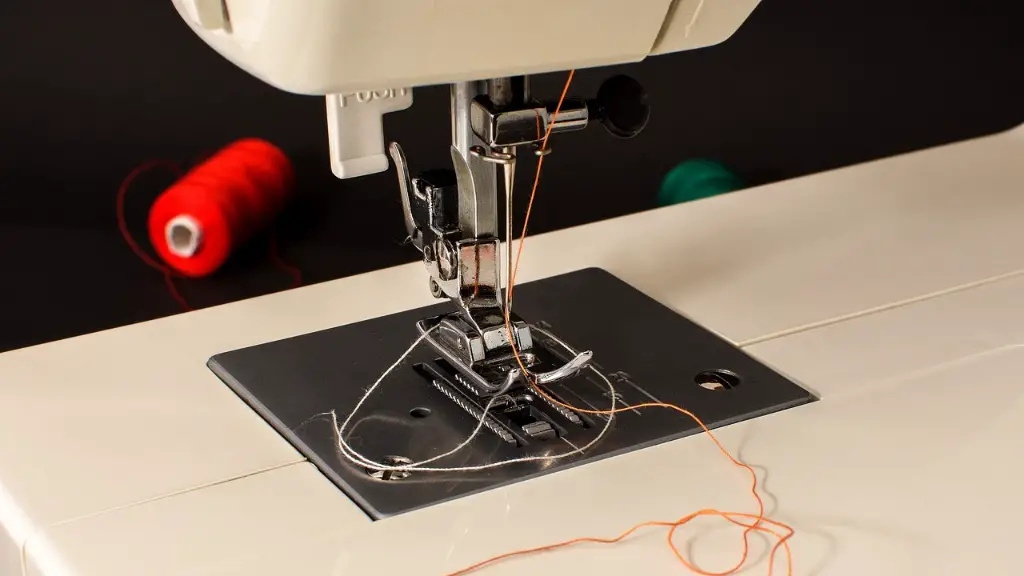
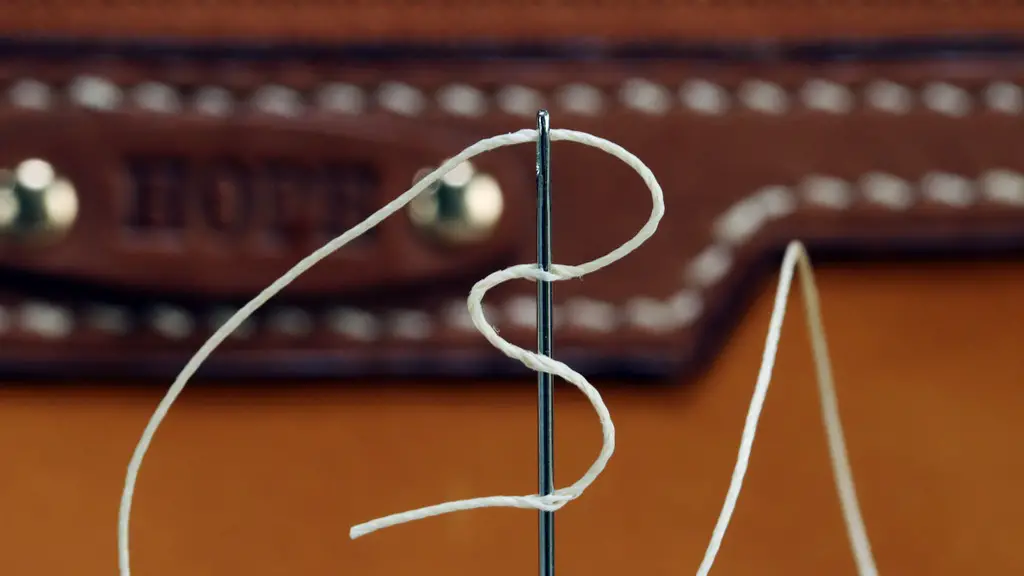
To thread a sewing machine, the needle should be threaded with the thread following a specific route up and around the tension discs, and then back down to the needle. Once the thread is in position, the thread should be tightened by turning the tension dial.
Test Thread Tension:
After threading the machine, it is important to test the thread tension to ensure that the stitches are uniform in size and that the tension of the thread is right. To test the tension, the machine should be set to the lowest stitch speed and a few stitches should be tried on a scrap of fabric. If the tension is too loose, the stitches will be loose; if the tension is too tight, the stitches will be tight.
The bobbin tension can also be tested by tying the thread to the bobbin and pulling it lightly. If the thread pulls too easily, the tension is too loose; if it is too hard to pull the thread, the tension is too tight.
Connect to a Power Source:
Once the machine is ready for use, it should be connected to a power source. This can usually be done by plugging the power cord into a wall socket. It is important to ensure that the power source provides a stable, consistent flow of electricity.
The power source should also be strong enough to handle the machine’s maximum power draw. If the power output is not enough, the machine may struggle to stitch properly or even malfunction.
Adjust the Stitch Length and Speed
Once the machine is connected to the power source and ready to go, the user can adjust the stitch length and speed with the control panel. Depending on the fabric and thread used, the stitch length and speed should be adjusted accordingly. A longer stitch length is better for thicker fabrics, and a shorter stitch length is better for lighter fabrics.
Likewise, the stitch speed should vary depending on the project. If the stitches are too fast, they may become uneven and the machine can be overloaded. On the other hand, if the stitches are too slow, it can take longer to sew a garment.
Safety:
When assembling a sewing machine, it is important to remember that the needles are very sharp and can cause injury if handled incorrectly. Therefore, caution should be taken when handling the machine and its parts. Additionally, it is important to store the machine and its accessories away from pets and young children.
Once the sewing machine is assembled, it is ready for use. All that remains is to select and prepare the fabric for sewing. With a few simple steps, one can enjoy stress-free, quality stitches using their own sewing machine.
Care and Maintenance
Keeping a sewing machine in good condition is essential in order to ensure it lasts a long time. After each use, it is important to clean and oil the machine as instructed in the user manual. Additionally, it is important to store the machine in an area where it will remain safe from dust and other debris.
It is also important to calibrate the machine with regular use. This will help to keep the machine in good working condition by ensuring the tension and other settings are correct for the type of fabric being used.
By following a few simple steps, one can keep their sewing machine running smoothly and ensure it lasts for many years. With some care and maintenance, a sewing machine is sure to be a valuable asset in anyone’s sewing arsenal.
Inspect for Issues
Sewing machines are complex pieces of machinery, and can be prone to unexpected issues. Therefore, it is important to inspect the machine for any problems or signs of wear and tear. Common problems to look out for include loose screws, loose parts, or frayed threads.
Also, it is important to inspect the machine’s parts such as the needle, foot pedal, tension discs, and thread. Any parts that appear to be worn or damaged should be replaced. Doing so will help to ensure that the machine runs smoothly and no major problems occur.
Troubleshooting Tips
Issues can also arise while using a sewing machine. When this happens, it is important to take the time to troubleshoot the issue before trying to fix it. This can help to save time and energy, and prevent further damage to the machine.
Common symptoms can include the machine failing to start, the needle skipping stitches, the machine making loud noises, or the machine producing uneven stitches. Depending on the issue, the user can consult the user manual or seek professional help to find a remedy.
Conclusion
Putting together a sewing machine can seem like a daunting task to those who are unfamiliar with the process. However, with the right materials, tools, and instructions, assembling a sewing machine is relatively simple and straightforward. By following these steps, one can ensure that their sewing machine is put together safely and correctly.
