Understanding Your Janome Sewing Machine
Making changes to your Janome sewing machine doesn’t have to be intimidating. Understanding the components, how they work together and the process of changing a presser foot can help make it easier and provide you with a greater confidence when making adjustments. Investing a little time to educate yourself on your machine can be well worth the effort, providing you with a greater understanding of how to maximize your sewing needs.
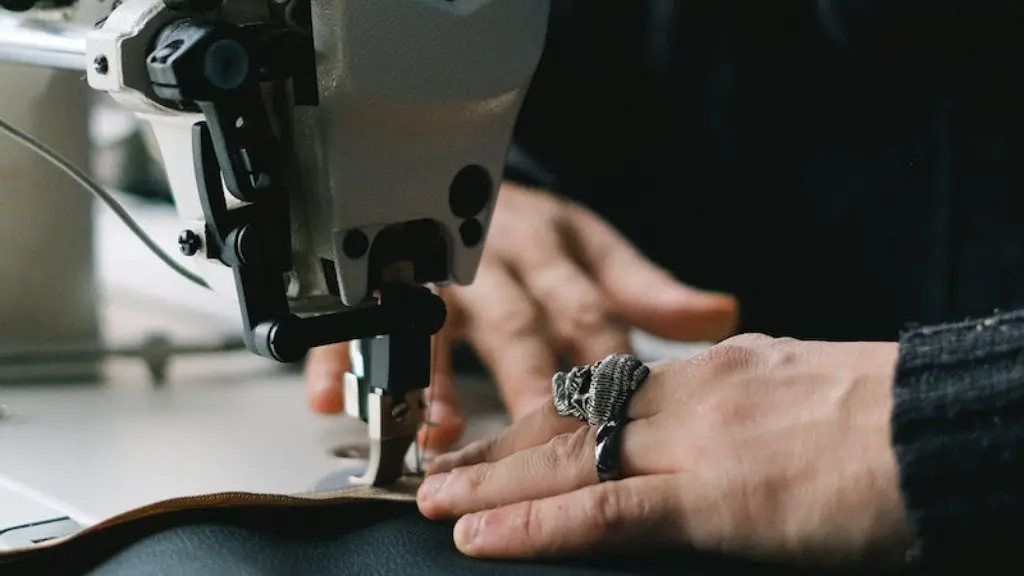
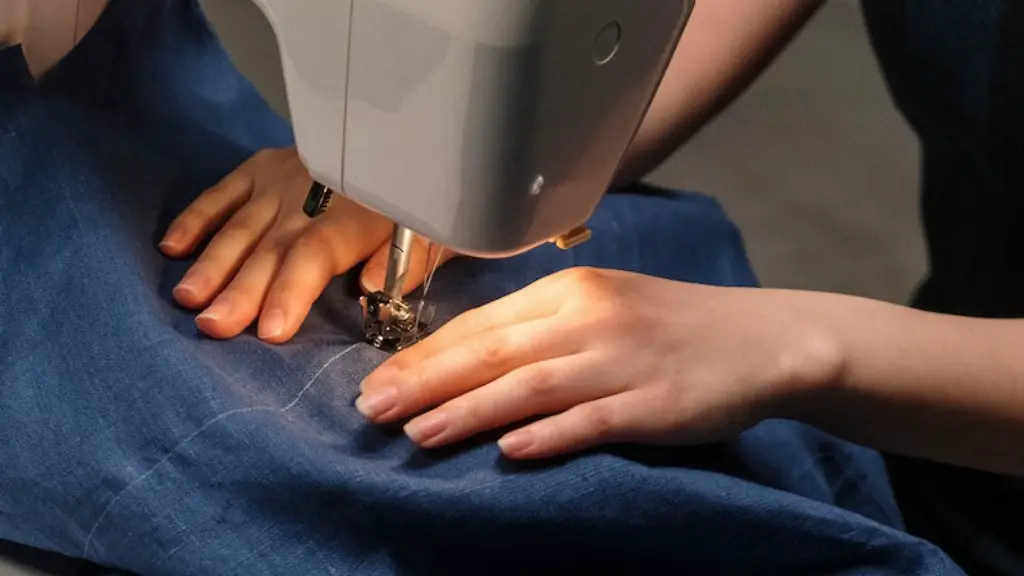
When learning how to change the presser foot, becoming familiar with the names and function of the parts involved is essential. The part of the machine that holds the presser foot, is called the presser foot holder arm. The actual presser foot, which holds the fabric material in place, is connected to the holder arm and clamped into place. To make changes to the presser foot, one has to determine the disengagement of the presser foot and disengage the arm by lowering the presser foot lifter.
Utilizing Janome Tutorials
Utilizing Janome tutorial videos can often simplify the process of learning how to swap out the presser foot. It can provide immediate visuals to go along with the process, so you can see how it’s done, as well as hearing the steps along the way.
Janome’s official website Janome America, is an excellent resource for tutorials and other informational videos. The tutorials are specific to each model, so make sure you understand the layout and components of your sewing machine.
Beyond following a tutorial to make the switch, it can also be beneficial to seek out advice or opinions from a certified technician. This can give greater clarity as to the machine’s condition and the best methods for making adjustments. In addition, you can speak to fellow sewers and crafters who have a wealth of personal knowledge about the machines and their use.
Different Types of Presser Feet
Different types of presser feet are available and can be used to increase your creative possibilities with your projects. Presser feet can range from simple and affordable to complex and costly, depending on the detail and accuracy of the projects they can help create.
A basic presser foot is often included with the machine and good for tackling everyday projects. However, some of the variations and specialty presser feet open up a world of possibilities, from decorative stitches to concealed zippers and more. Determine the project and the difficulty level, then research and find the necessary presser feet for your machine.
Using Your Janome Sewing Machine
When using your Janome sewing machine, one should always practice safety first and read the operating manual. Always follow safety measures when working, pay close attention to unplugging all cords and accessories, and following the proper steps to ensure your presser foot is securely attached.
Taking the appropriate precautions and understanding your machine’s limits and components is essential before performing any major changes. Happy sewing and enjoy all the creative possibilities that your Janome sewing machine can bring.
Making Adjustments For Janome Presser Feet
Before you make any adjustments, take into account the settings of the machine and the settings of the presser foot. Many machines have a tension regulation setting, which might need to be adjusted if the thread keeps breaking. Consult the manual to find out how to regulate the tension settings.
Another possible adjustment for presser feet is the stitch length. Most machines have a dial that adjusts the stitch length, which can sometimes be set too high or too low. Ensure the length is set correctly to prevent the needle from breaking or pulling too tightly on the fabric.
Accessories and Maintenance For Janome Presser Feet
Accessories such as a carrying case and various feet attachments, can come in handy for extra stability and convenience when changing out the feet. As for maintenance, many experts suggest cleaning and oiling your presser foot and other parts of the machine regularly. Cleaning the machine can help prevent dust and other particles from getting lodged in the mechanisms and assemblies.
Oiling can also help preserve the life of the machine and presser foot. A good oil can help lubricate the parts that are prone to corrosion and damage — such as rubbing and rusting. Make sure to use a good quality oil, one that does not become thick and sticky over time, to prevent any residue.
Conclusion and Tips for Changing Janome Presser Feet
When making adjustments to your presser foot, it is essential to understand how to properly disengage the arm and lift the foot lifter. Utilize tutorial videos, certified technicians, and other sewers to increase your knowledge of the process. Different presser feet are available and can be used to expand creative possibilities. Safety is essential, as well as understanding the settings and maintenance of the machine.
Tips for successfully changing out your Janome presser feet include:
- Take your time and stay focused.
- Unplug the machine and remove any accessories.
- Use the correct presser foot for the project.
- Keep your tools and workspace clean.
- Adjust thread tension and stitch length as needed.
- Clean and oil the machine regularly.
By observing the tips and techniques mentioned in this article, you can help make any presser foot adjustments easier and less intimidating. And each time you do, you can feel secure and confident, knowing your machine can help bring your creative ideas to life!
