Straight Stitching
Straight stitching is a fundamental skill in sewing, and having the tension on your machine set correctly is essential for achieving good, even stitches. For perfect tension, you will want the upper thread, which is the thread that comes from your spool, located at the top of the machine, to be pulled slightly taut, so that you can move it easily beneath the pressure foot.
When adjusting tension, a good place to start is to assess how your machine is currently set. If it appears that the tension is too tight, it might be that the upper thread has been threaded incorrectly; rethread it if this is the case. If your tension is too loose, however, adjusting the tension control dial on the top of your machine should help. In order to check that you have the tension set correctly, stitch a swatch of fabric, and analyze the stitches.
If the stitches look uneven, then you may need to adjust the upper tension. A good rule of thumb is to turn the tension dial to a higher number for a more taut stitch, and a lower number for less tension. If you are running into frequent thread breaks despite the tension set in this way, then try using an alternate upper thread, such as a cotton-covered polyester, or a serger thread; these are both better suited to heavy-duty sewing tasks.
As with all tasks involving your machine, the key to getting the tension right is practice – so don’t be afraid to experiment a little. Whenever you’re trying something new, make sure to use a spare piece of fabric and thread to ensure that you don’t make a mistake on a finished project!
Troubleshooting
There are a few steps that should be taken when it comes to troubleshooting tension-related issues with sewing machines. If your stitches are too loose, check to see whether the thread has been set up correctly in the top of your machine. The first thing to do is adjust the tension dial, turning it counter-clockwise to loosen the tension.
If the tension is still too loose, check for any obstructions in the machine – this could be a snippet of thread, lint or a broken needle. Clear the obstruction and then remount the upper thread, double-checking that the thread is passing through the tension disk correctly. It is also worth noting that many modern machines have alternative tension settings for different stitch patterns, so be sure to check the manual for instructions.
If your tension is too tight, make sure to check the thread path and ensure it is passing through the tension disk correctly. You can also adjust the tension dial to make the tension more relaxed. However, if this doesn’t improve the tension, check to see if the needle is worn or if the upper thread is the incorrect weight or thickness. If these are the case, it might be worth replacing them or investing in a better grade of thread.
Finally, if you still can’t seem to get the tension right, then consider consulting a professional sewing-machine technician to check over and adjust your machine as needed.
Maintenance
Regular maintenance is essential for any sewing machine, and having the tension set correctly is no exception. Oiling your sewing machine and cleaning out any lint or debris should be done regularly in order to ensure that your stitches look even and consistent. Additionally, it’s important to clean your bobbin case or check your manual for guidelines on how to do so. This will help ensure that your tension is even and your stitches are strong.
It’s also worth making a habit of replacing your needles regularly, as needles that become bent or dull can lead to uneven tension and cause the stitches to slip or break. When purchasing a new needle, make sure to purchase one that is the correct size and type for your machine.
Finally, always remember to store your machine in a cool, dry place. This will help to prevent rust from affecting the internal components of your machine, which in turn will keep your set-up running smoothly for longer.
Thread Quality
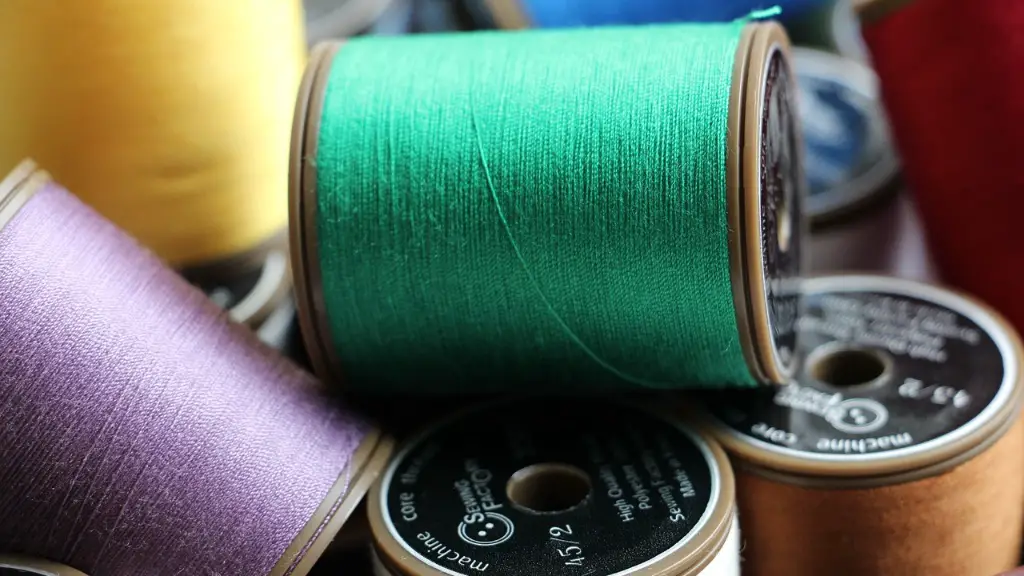
It’s important to remember that not all thread is created equal. When selecting thread for your project, consider the thread’s weight, ply, length, and strength, as these all have an impact on the tension of your stitches. Generally speaking, heavier threads will require more tension than finer threads, while higher-ply threads will require less tension. Additionally, shorter threads will require more tension than longer threads.
When it comes to selecting thread, think quality rather than quantity. Poor-quality thread not only won’t be as strong, but it can also lead to uneven and brittle stitches. Opt for an all-purpose, high-quality thread that is suited to the fabric and stitch type that you are working with. This will ensure that your project is durable and will stand the test of time.
It is also important to consider the spool size when purchasing thread – larger spools will have more thread, meaning that you won’t need to stop and rethread your machine as often. When using larger spools, it is essential to make sure that the upper tension is set correctly, as too much tension can cause the thread to break.
When in doubt, always remember that practice makes perfect! Start with a few practice stitches on a spare piece of fabric to get the tension just right before continuing on with your project.
Threading the Machine
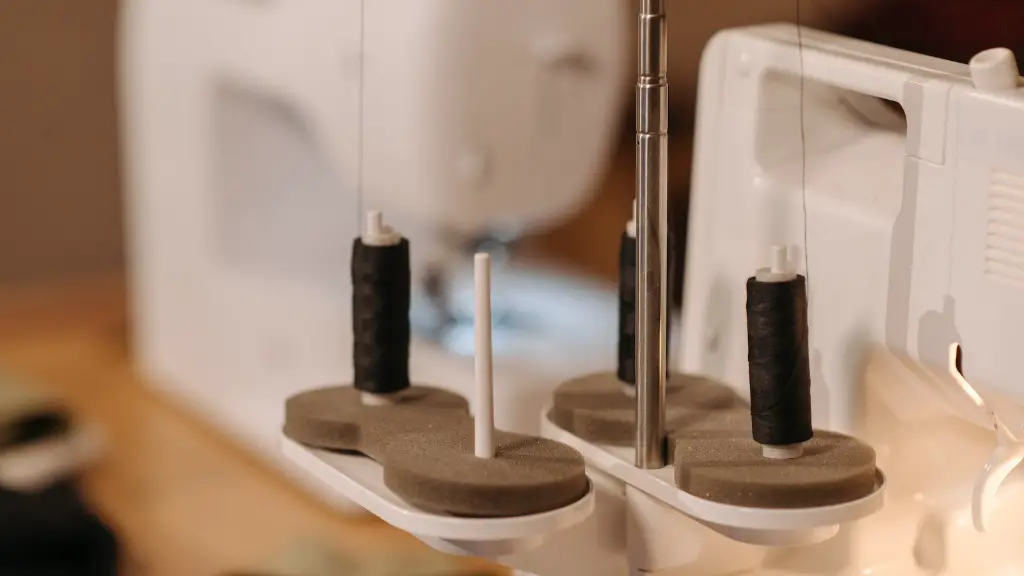
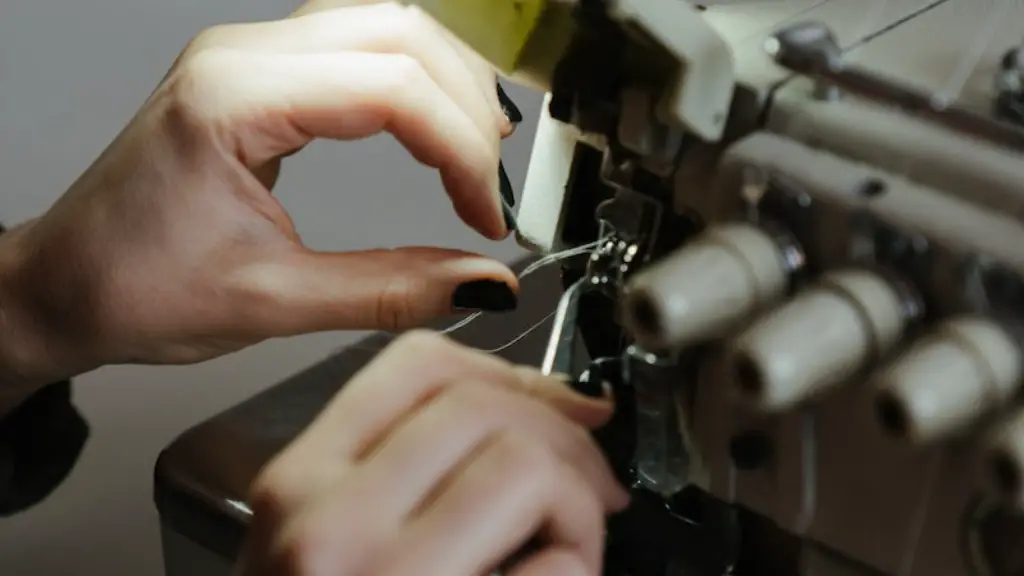
Threading your sewing machine correctly is essential for achieving the correct tension – if your thread is not threaded in the correct order, then it will not pull the needle through the fabric. Generally speaking, the thread should be threaded from the bottom up, around the tension disks, and through the takeup lever. Once it’s threaded through the takeup lever, the thread should then be passed over the pressure foot. Additionally, it is important to make sure that the threading path is not crossed or the thread will get caught up during stitching.
For machines with multiple bobbins, it is important to make sure the bobbins are loaded correctly. This involves ensuring that the thread from the spool is loaded in the upper spool case, and that the bobbin is threaded in the lower case in the opposite direction. This should be done for each bobbin prior to stitching.
When it comes to threading your machine correctly, the best way to learn is usually by watching a tutorial or consulting the machine’s manual. Once you understand the fundamentals you should be able to get the correct tension with ease.
Stabilizers
Stabilizers are another way to help ensure that the tension of your sewing machine stitches is right. Stabilizers are products specifically designed to keep fabric in place when you’re stitching, providing additional stability to the material. This helps to give the fabric additional support and structure, reducing any stretching or distortion while stitching.
Stabilizers come in a variety of types and weights, depending on the type of fabric you are working with and the stitch design. For best results, it is a good idea to consult the manufacturer’s instructions regarding the best type and weight of stabilizer for each particular project. In general, lightweight stabilizers are typically recommended for lightweight fabrics, while heavyweight stabilizers are best used for heavier fabrics.
Regardless of the type of stabilizer you use, the addition of this extra layer of support that helps to keep the material in place will help to ensure that your stitches are even and consistent.
Tips and Tricks
In order to ensure that the tension on your machine is set correctly, there are a few tips and tricks you can utilize. Firstly, always start with a test swatch using the thread and fabric you will be using in your project. This will give you an opportunity to adjust the tension prior to beginning on the actual project.
Also, be sure to use the correct needle type and size for your project. A standard household needle is typically suitable for basic sewing projects, while heavier fabrics or stretchy fabrics may require a heavier or specialty needle.
It’s also worth investing in a good pair of scissors; sharp, quality scissors will move more easily through fabric and create fewer snags. This will also ensure that your thread is cut evenly, reducing the risk of any uneven tension.
Finally, remember to take regular breaks while sewing, as this will help to prevent tension-related issues. If you find yourself getting too tired then it’s best to walk away and come back when you are refreshed, as this will help to keep your tension even.
