How To Change Sewing Machine Foot
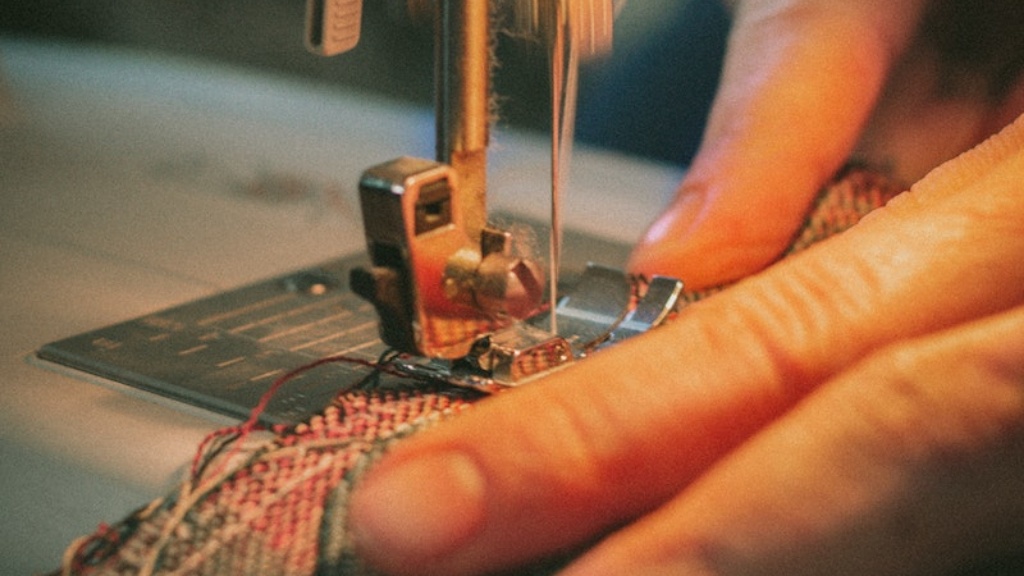
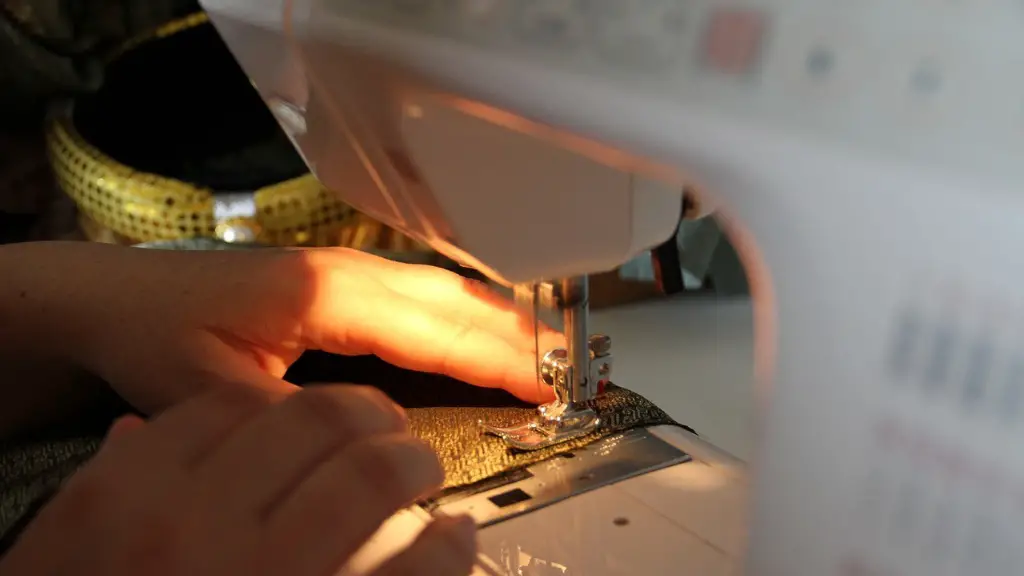
A sewing machine foot is designed to make tasks like sewing easier and faster, but from time to time, you may need to change the existing foot. With the right tools and a bit of practice, it can be quite easy to do so. Here is what you’ll need to know in order to become a sewing machine foot changing master.
Steps
The first step is to determine which kind of foot you need, as there are a few different types that come with a sewing machine. The most common type is the snap-on foot, which is easy to work with and makes the process of changing the sewing machine foot easier. However, you might also have to switch the foot if it isn’t the same type as your machine.
Once you know which type of foot you need, unscrew the presser foot anchor screw and remove the existing foot. Next, place the new foot in the proper position and tighten the presser foot anchor screw until the foot is secure. Make sure to check the needle alignment as well.
That’s all there is to it. You should now have a new sewing machine foot securely in place. Keep in mind that the foot must be placed in the exact same spot as the previous one, as any misalignment can lead to fabric bunching or poor stitch quality.
Particulars
To avoid any issues, take special care when attempting to change the sewing machine foot. Note that most models require you to loosen the anchor screw first in order to remove the foot. Check the machine’s manual for specific instructions.
Also, pay attention to the position of the needle. Replacing a sewing machine foot is a great opportunity to tighten the screw while ensuring the needle is properly aligned. This will prevent stitches from going crooked or coming out too loosely.
Finally, there are a few different types of feet, so be sure to choose the correct one for your machine and task. Different feet are designed for different purposes, and some might not fit your machine correctly. Common types of feet include geared and non-geared.
Tools
Before attempting to switch the foot, make sure you have the proper tools. You will need a screwdriver to loosen or tighten the presser foot anchor screw. Additionally, you may want a needle holder for adjusting the needle alignment.
Check the machine’s manual to see which type of screwdriver is required. The wrong type might damage the foot, so be sure to get it right.
Maintenance
Maintaining the foot is just as important as the process of changing it. This is because small pieces such as screws may be lost or bent due to improper use. Over time, you should check the foot for damage and make sure that it is in good condition.
Additionally, pay attention to the stitches. If they start to look wonky or come out at uneven lengths, it could be a sign that the foot is damaged or not properly aligned. If you encounter such a problem, consider replacing it immediately.
Troubleshooting
Troubleshooting is an inevitable part of the process, but thankfully it’s not too difficult. First, check the presser foot anchor screw to make sure it’s securely tightened. If the foot is loose, it won’t be able to perform as expected.
You should also make sure the needle is properly aligned. If it’s off-center, stitches won’t come out properly. Additionally, make sure the type of foot you are using is correct for your machine and task.
Finally, check the shaft connecting the foot to the machine. If there is damage or rust, consider replacing the foot immediately.
Additional Tips
Always keep in mind that different sewing machine models require different types of feet. Some might require a snap-on foot, for instance, while others may require a flat foot. Be sure to check the manual first in order to make sure you are using the right type.
It is also important to practice. Once you get the hang of it, switching the sewing machine foot won’t be a problem. However, it’s always a good idea to have a friend or family member on hand to help. After all, two hands are better than one.
Buying New Feet
The easiest way to purchase new feet is to look online. There are a number of websites that offer a wide selection of feet for different types of sewing machines. Take your time to find the perfect one for your needs.
It is also possible to purchase feet from specialty stores, fabric stores, and sewing machine repair shops. You may be able to find a cheaper price if you shop around, and many shops are willing to provide advice on which type of foot is best for your machine.
Cleaning the New Foot
One final step to keep in mind before attempting to switch the sewing machine foot is to thoroughly clean the new foot. If you don’t, dirt and debris could get lodged in the mechanism and cause problems later on.
To clean the foot, start by using a soft cloth or brush to brush away any dust or debris. Using a clean, lint-free cloth, dampen it with rubbing alcohol and wipe down the foot. Then, using a dry cloth, buff the foot until it is completely dry.
Final Thoughts
In conclusion, changing the sewing machine foot doesn’t have to be difficult. With the right tools, proper maintenance and knowledge of the different kinds of feet, you’ll be able to confidently replace your machine’s foot. Do keep in mind that the wrong kind of foot might not fit your particular machine and make sure to clean the new foot before attempting to switch it.
