Singer sewing machines are an important tool for many sewers, allowing them to craft beautiful pieces of sewing art. Knowing how to change the foot on a Singer sewing machine is a fundamental skill, and one which any sewer should know well. That being said, the process of switching out the foot on a Singer sewing machine isn’t always intuitive. Doing it incorrectly can cause unnecessary wear and tear on your sewing machine and even damage the foot.
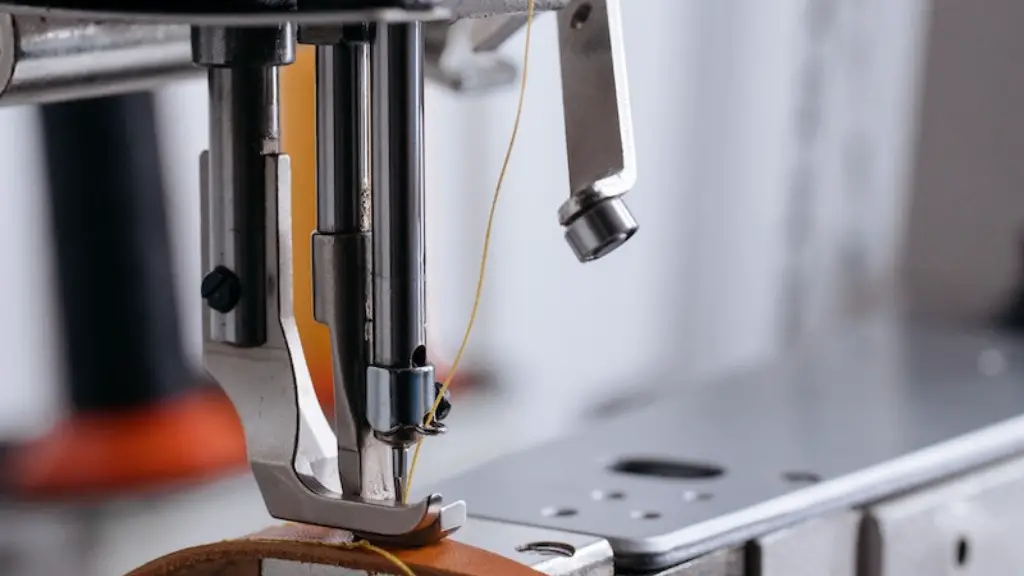
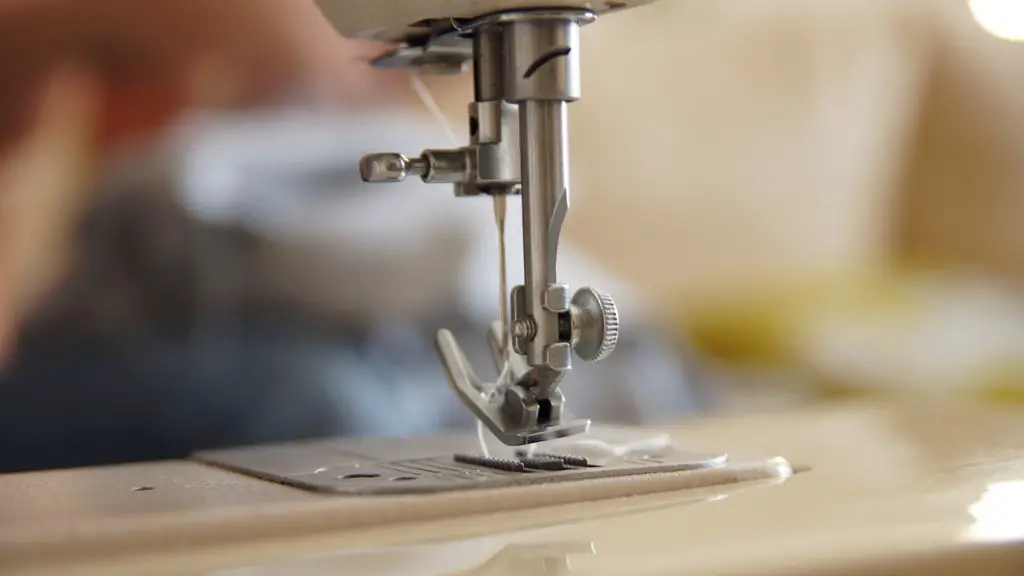
The first step in changing the foot on your Singer machine is to remove the existing foot. This can easily be achieved by providing pressure on the two release buttons or levers located on either side of the back of the foot holder. This needs to be done slowly and smoothly in order to make sure the foot is safely released.
Next, the new foot needs to be placed. The foot should be placed the same way it was removed. Once the foot is correctly aligned with the foot holder, the foot should then be tightened. If a button or lever is present, press it to lock the foot tightly in place.
If your Singer machine is slightly different and has a screw, you need to make sure that it is tight enough to hold the foot firmly in place. It is also essential that the foot does not move, as this could cause damage or even break the machine. Another important thing to be mindful of is that tight screws and buttons could damage threads and fabrics, making it hard to work with.
When changing the feet, it’s also important to use the right type of feet for your project. There are lots of different feet available for different uses. For instance, for decorative stitches, you need the special decorative foot. More difficult tasks, such as quilting or gathering may require the even-feed foot. As such, make sure you select the right foot for the right task.
It is also important to remember that if a foot has been damaged or has become stretched, it should be discarded and a new foot should be used. This is important because a damaged foot can cause irregular stitches and the fabrics could be pulled or stretched.
Finally, when the job is finished, remember to clean the sewing machine and all its accessories and parts. Cleaning a Singer machine regularly will help to extend the working life of the machine and help it to remain in perfect condition.
Adjusting Tensions
While changing the feet of a Singer sewing machine, it is important to pay attention to the tension settings. During the process of changing the feet, the tension settings of the machine may change. This is especially important for those who are working with delicate fabrics and need to adjust the tensions for those materials.
Tension settings can be adjusted either at the bobbin or at the top of the machine, depending on the type of machine you have. If you are not sure how to adjust the tensions, consult the manual that came with your sewing machine.
When adjusting the tensions it is important to remember to re-thread the top and the bobbin. As a general rule of thumb, you should use the same kind of thread when re-threading a Singer machine. If the type of thread changes, the tension settings will also need to be adjusted accordingly.
Another important thing to keep in mind when adjusting the tensions is the type of stitch being used. Some stitches are more difficult to sew than others and require the machine to be set at higher tensions than normal. This can make a difference in how the final product looks.
lso, sometimes you may need to adjust the tensions for a heavier weight fabric. For this, you should adjust the tensions by turning the tension dial further to the left.
Correct Threading Procedure
Threading a Singer machine is not always intuitive. To make sure the thread loop takes would complete the fabric you’re working with, it’s important that the thread is properly threaded through the machine.
Start by wrapping the thread around the bobbin winder clockwise. This will make sure the tension is correct and the thread won’t be pulled out of the spool when you start sewing. Once the thread is wound around the bobbin, it needs to be threaded through the machine properly.
The thread should be inserted in the lower slot first, then it needs to be moved up towards the needle. Once the thread is properly aligned with the needle, it needs to be threaded underneath and then back up around the tension discs. Again, make sure the tension is correct in order to avoid any problems.
Finally, you need to ensure that the thread is looped around the needle. This will make sure the thread takes hold and the fabric is stitched properly.
Changing Needles
When it comes to changing the needle on a Singer machine, it is important to use the right type of needle for your fabric type. Most Singer machines come with a universal needle which can be used for almost all fabrics. However, if you are sewing thicker fabrics, you need to select a heavier needle.
To change the needle, start by unscrewing the needle clamp. Lift up the needle, being careful not to damage the machine. Select the right type of needle and insert it into the thread holder.
Once the needle is in place, you need to make sure it is sitting at the correct angle. The tip of the needle should be pointing straight down and the flat side should be facing to the back. This will ensure the needle will penetrate the fabric correctly and the stitches will be even.
Finally, you need to tighten the needle clamp, making sure that the needle is held in place firmly and securely. If the needle is loose, the stitches will be uneven and could be a potential risk of breaking the machine.
Using Different Presser Feet
One of the great things about Singer sewing machines is that they have a variety of presser feet available. These feet are designed to give you more precision and control over your fabric as you sew. The presser feet also allow you to achieve different stitches and patterns, as each foot has a different purpose.
The most common foot is the all-purpose foot, which is the most versatile and is suitable for most fabrics. Specialty feet such as the gathering foot, the zipper foot and the quilting foot are also available for specific tasks and fabrics. When using any of these feet, make sure that the fabric is properly secured to the bed of the machine, as this will make sure that everything runs smoothly.
When using the presser feet, it is important to remember to adjust the pressure settings of the machine. This is necessary to ensure that you get the best results when sewing with each individual foot. The pressure settings for each foot can be found in the manual of your machine. It is important to be mindful of these settings, as the wrong pressure can cause irregular stitches and cause more damage to your sewing machine over time.
Regular Cleaning and Maintenance
Like any machine, regular cleaning and maintenance of your Singer machine is important to keep it in good condition. Make sure to inspect and clean the machine regularly and replace any worn parts as needed. Regular maintenance will help to ensure that the Singer machine is functioning properly, allowing you to create beautiful pieces of sewing art time and time again.
Inspect the machine for any debris or dust that may have accumulated over time. Use a damp cloth to remove any dust or debris from the machine and its accessories. Make sure to clean the top, bottom and all of the sides of the machine. Once you’ve wiped the machine clean, make sure to dry it off thoroughly with a dry cloth.
It is important to inspect the needle and the presser foot for wear and tear every so often. If the needle is bent or the presser foot is cracked, you should replace these parts immediately. This is important as a damaged needle or foot could damage the fabric or cause the stitches to be faulty.
Finally, lubricate the moving parts of the Singer machine with the appropriate lubricant. This will help to reduce any friction between the moving parts and increase the working life of the machine. Following these basic cleaning and maintenance tips will make sure that your Singer machine keeps running smoothly.
