Have you ever had the overwhelming feeling of wanting to do a clothing alteration at home but were intimidated by the task of how to change the needle on your Kenmore sewing machine? Don’t fret, thousands of people around the world have experienced this fear. However, fear not! With the right instructions and know-how, you can change the needle on your Kenmore sewing machine in minutes and make your creativity flow!
A Kenmore sewing machine is a great way to start sewing, but with its improved bobbin system, needle placement and durability, it can also be a fantastic choice for professional seamstresses. When you begin any sewing project, you’ll need to make sure the needle is able to tackle the task at hand, which usually starts with changing the needle. No matter the fabric, be it denim, silk, or cotton, every project will start with this essential step.
Tools Needed
Before you begin to change the needle, you’ll need the proper tools. Depending on the model you have, your sewing machine may require either a flathead screwdriver or a Phillip’s head screwdriver. This is to help loosed and secure the needle clamp. Additionally, you will need a pair of needle nose pliers, to hold the needle still. If you want to keep your sewing organized and efficient, it is also a good idea to have a few spare needles in case there is a problem with the one you are using.
Changing the Needle
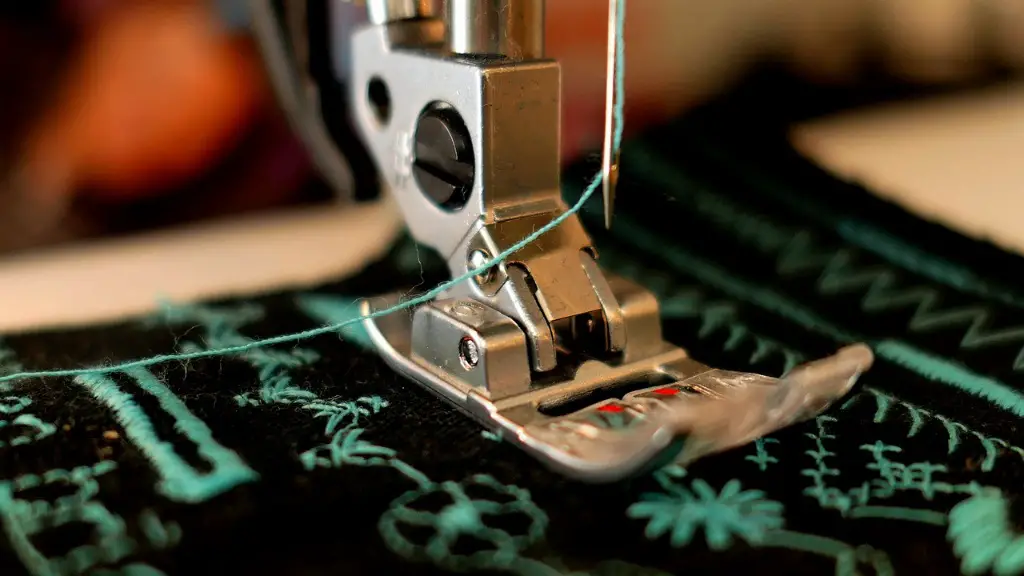
Now, it is finally time to change the needle. First, you’ll need to make sure the sewing machine is turned off and unplugged before beginning! Now, all the tools you will be using are ready. Locate the needle clamp, usually located near the front of the machine order to to get a better view and make sure you don’t mistakenly adjust any other settings. Use the corresponding screwdriver to loosen the needle clamp screw. Once loosened, go ahead and carefully remove the current needle. Then, take the new needle and make sure the flat side of the needle is facing the back.
It is very important that the new needle is inserted at the right height, to ensure it runs smoothly and isn’t slipping out of place. A common mistake that beginners make is not putting the needle at the correct height. Next, use the needle nose pliers to guide and push the needle up into the needle clamp, then tighten the screw with the same screwdriver you used before, to secure the needle in place. The needle should be tight, however, don’t overtighten the screw.
Check Your Work
Finally, be sure to test the new needle. Take a few test stitches on a scrap piece of fabric before you work on your actual project. This is an important step in ensuring the needle is working correctly and that you are using the right tension settings. If the stitches come out crooked, too tight or loopy, then it is likely the needle is not at the proper height or you need to adjust the tension settings.
Now that you’ve successfully changed the needle on your Kenmore sewing machine, you can begin on your projects. With a few simple steps and the right instructions, you can confidently take on any sewing project without having to worry about your machine’s needle.
Needle Types
For any given task on your Kenmore sewing machine, there will be a needle type best suited for the job. Needles come in various sizes and types, some of which are stretch needles, universal needles, and denim needles. Each type will work best for different types of fabrics, and you may need to experiment a bit to find the perfect needle for each project. It is usually best to consult with a professional seamstress or a local store to determine the perfect needle for the job.
Stretch needles are made from fine materials and have a slight taper point designed to release fabric threads without breaking them when stitching a stretchy material. Universal needles are great when you are working with a large variety of fabrics and they are ready to tackle any project. Denim needles are generally longer than most needles and are specifically designed for denim or other thick fabrics that require more length.
Thread and Bobbin
Another important part of making sure your machine runs correctly is by making sure your thread is correctly loaded onto the bobbin and bobbin case. Your sewing machine will come with specific instructions on how to properly thread and fill a bobbin, so it is best to read the manual. If following the instructions in the manual doesn’t seem to help, a quick trip to the store might be in order. Many stores will have knowledgeable professionals ready to help you with any issues that may arise.
To get better results, make sure to use quality threads and bobbins for your projects. It may be tempting to use cheaper threads, but unfortunately, cheaper threads are usually too lightweight and not strong enough to give your fabric the look it needs. When you are ready to get started on a new project, make sure your thread, bobbin, and needle are setup correctly.
Tension Settings
The last step to having a successful project is adjusting the tension settings. It is important to test that your stitch will be even and not puckered. To do this, stitch a few scraps of fabric together and check that the stitches are even on both sides. If the upper thread is too tight, the fabric will be puckered, but if the tension is too loose, the thread will begin to loop through the back. You can adjust the tension by using the tension dial located near the top of the machine.
When first starting, it may be tempting to stick to the same tension settings, but it may be a good idea to play around with the various settings to get more familiar with the machine. Cleaning the bobbin case and checking the tension levels every time you sit down to sew will give you better results and will help you avoid any difficulties with the tension.
Safety Precautions
Finally, it is important to follow very important safety precautions when sewing on a Kenmore sewing machine. Always remember to unplug the machine when you are changing the needle and whenever you are cleaning it. Additionally, it is very important not to leave the machine unattended when it is plugged in. Turning the machine off when you are not using it is also a great way to reduce any risks of unexpected injury. If you are ever in doubt, it is best to consult a professional to make sure you are following all the safety precautions.
Maintenance and Cleaning
Just like any machine, sewing machines need regular maintenance and cleaning to keep it running at its best. This is especially true for the parts and components that are regularly used, such as the needle and the bobbin. Make sure to clean the needle and clamp area before and after any project and always check the needle’s condition to ensure there are no breaks or tiny shreds of fabric stuck in it.
It is also important to keep an eye on the bobbin area as this is where most of the potential problems can occur. Check the bobbin tension regularly, as well as the spring, to ensure they are working properly and that your stitches are even. Finally, it is a good idea to oil the different parts of the machine at least every few months, just to make sure the parts move freely and everything runs smoothly.
