Supplies for Cleaning a Singer Heavy Duty Sewing Machine
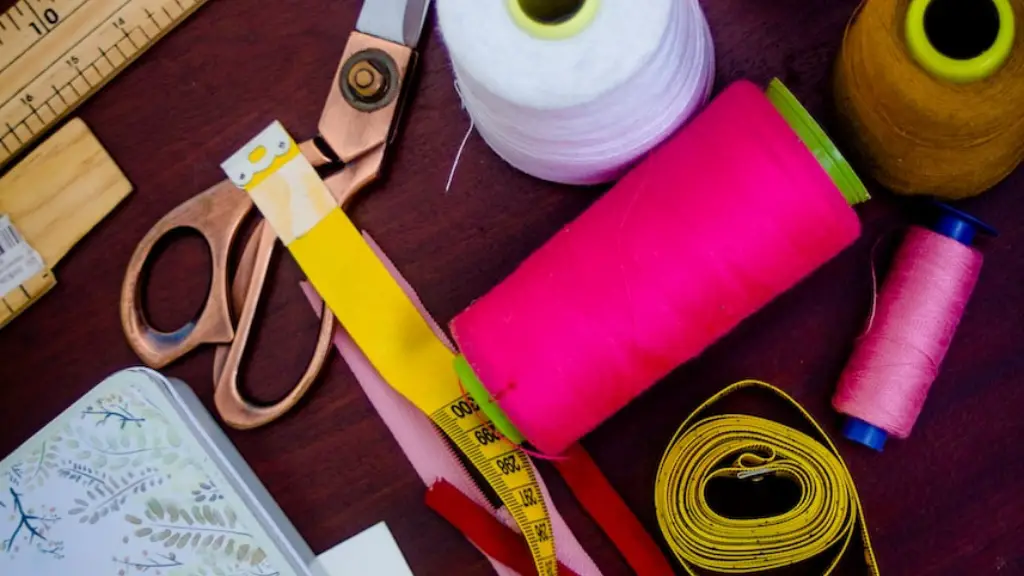
Cleaning your Singer Heavy Duty sewing machine regularly is important to maintain the quality of your work. To get the job done, you’ll need the right supplies. Depending on the type of sewing machine, different supplies are needed. Generally, however, the following items are essential for the task: an air duster, a brush, a lint roller, a vacuum cleaner, a can of compressed air, and a cleaning solution.
Air dusters come in various sizes and can be used for both large and small sewing machines. You can use them to clean the machine’s motor, bobbin case and other hidden parts where lint accumulates. A brush can help to get rid of any lint that is stuck in the nooks and crannies. A lint roller can be used to clean fabrics as well as the sewing machine’s exterior. Lastly, a vacuum cleaner can help to suck up any remaining lint.
A can of compressed air should be used to blow away any dust and lint that the vacuum cleaner may have missed. It’s important to use this with caution though, as the pressured air can cause damage to the machine if it is not used correctly. Lastly, a cleaning solution or detergent should be used to clean the exterior of the Singer Heavy Duty sewing machine. To ensure a thorough and effective clean, it’s important to follow the manufacturer’s instructions.
Cleaning the Inside of the Machine
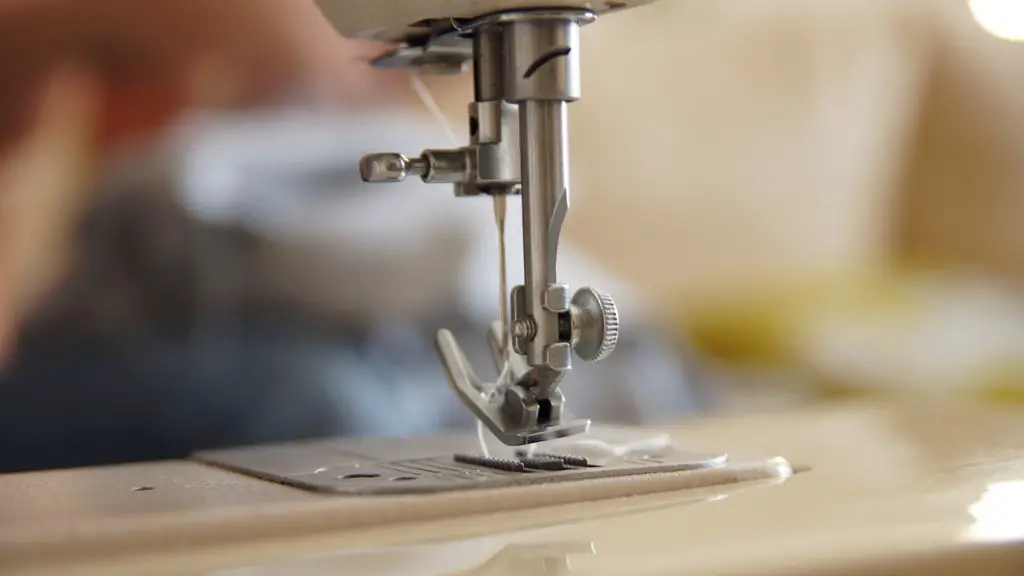
The first step when cleaning the inside of the Singer Heavy Duty sewing machine is to remove the bobbin case. This will allow you to access the feed dogs, the area where the needle penetrates the fabric, and the shuttle hook area. Once these areas are accessible, carefully clean them using the air duster and brush. It’s important to be extra careful to not damages any of these parts as they are delicate and integral to the performance of the machine. After these parts are dust and lint free, reinsert the bobbin case and return the needle to its proper place.
You should also inspect and clean the tension discs, the reverse stitch lever, the throat plate, and the presser foot lever. Use the air duster and brush to clean these components and check that they are all in good working order. Once everything is checked, reinstall these parts and you should be good to go.
Lastly, it’s important to check and clean the machine’s screws and nuts, making sure that all of them are tightened and secured properly. Doing this will help ensure that you don’t run into any problems with the machine in the future.
Cleaning the Outside of the Machine
Once the inside of the machine is dust and lint free, you can start to clean the exterior. Make sure to switch off the machine before you start and unplug it from the power source. Once that is done, use the cleaning solution and a damp cloth to wipe down the outer parts. Then dry the machine off with a dry cloth before reattaching the power cable.
Cleaning the Needles and Presser Feet
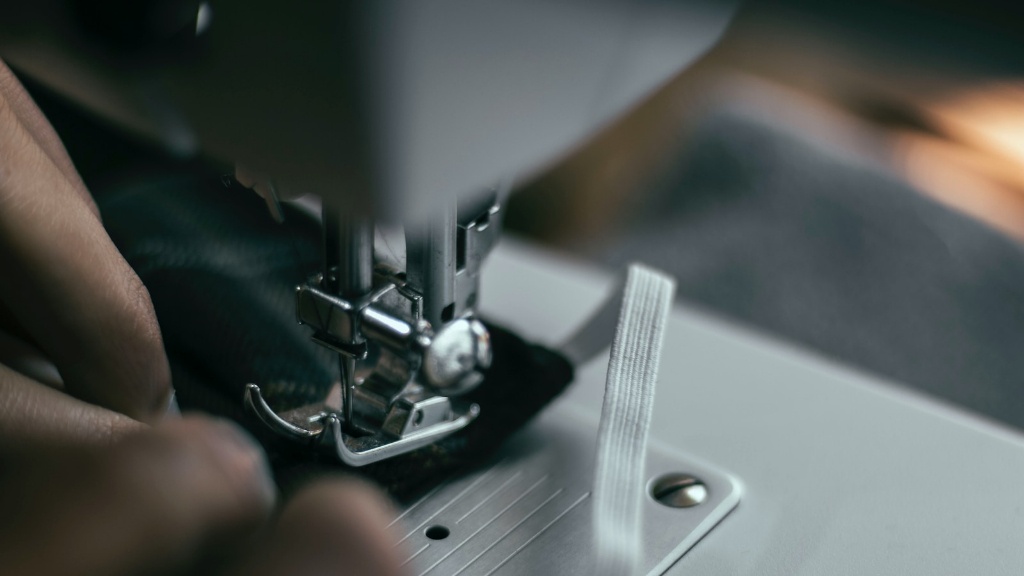
Apart from the sewing machine, you should also clean the needles and presser feet. These components are essential to the machine and should be checked periodically. To clean the needles, use a toothpick to remove any lint and debris that may have built up in the eye of the needle. Then use a soft brush to brush away any remaining debris. To clean the presser feet, use a soft cloth and cleaning solution to wipe them down. Make sure to not use any substances that may cause corrosion or damage to the presser feet.
Maintenance of the Machine
After cleaning and inspecting the Singer Heavy Duty sewing machine, it’s important to perform some maintenance on it. Start by lubricating the needle bar, feed dogs and other moving parts of the machine with oil or needle oil. Take care not to use too much oil as this can cause the machine to malfunction. If your sewing machine has an automatic threader, make sure to lubricate it too. You should also lubricate the inner and outer tension discs with oil or grease.
Storing The Machine
After you have finished cleaning and maintaining the sewing machine, you should store it in its designated home. It’s important to avoid storing the machine in an environment that is too dry or too hot. Avoid extreme temperatures as these can cause damage to the machine. It’s also important to always switch the machine off before storing it, in order to prevent any accidents.
Regularly Clean Your Machine
It’s important to regularly clean and maintain a Singer Heavy Duty sewing machine in order to ensure optimal performance and long-term durability. Make sure to follow the steps outlined above and take the necessary precautions when cleaning the machine. Regular cleaning and maintenance will help keep your sewing machine running smoothly and efficiently for years to come.
Keeping The Machine Dust-free
To keep your Singer Heavy Duty sewing machine free of dust and debris, it’s important to keep the environment it is stored in clean as well. Vacuum or dust the areas around the machine on a regular basis to keep the dust and particles away. Also, make sure to clean the machine itself thoroughly each time you finish a project. Taking these precautions will help to maintain the quality of your work.
Conclusion
Cleaning a Singer Heavy Duty sewing machine requires some preparation and attention. Make sure to use the right supplies and to follow the instructions provided. Cleaning and maintaining a sewing machine on a regular basis will help ensure that it lasts a long time and functions properly. With some care and attention, you can keep your Singer Heavy Duty sewing machine in top condition for years to come.


