Part 1: Introduction to Patching Pants with a Sewing Machine
Patching up a pair of pants with a sewing machine is not as daunting a task as it may initially seem. With the right materials and a steady hand, pant patching can be done within a few hours or less. All you need is fabric or a patch to match the pants, thread and a sewing machine. Depending on the fabric used for patching, the process may differ slightly. For most materials, though, the process is quite similar and can be broken down into a few simple steps. Read on to find out how to patch your pants with a sewing machine!
Part 2: Prepping Your Machine and Supplies
Before beginning, you should make sure your sewing machine is ready to go and that you have all of the supplies you need. Once you have collected the necessary patching materials, such as fabric and thread, it’s time to prep the machine. Bobbins should be wound, threads should be threaded, and needles should also be ready to go. Once this is done, it is essential to test out the stitching to ensure that your machine is set up properly and ready for the pant patching process.
Part 3: Measuring, Marking, and Cutting the Patch
When patching a pair of pants with a sewing machine, the first step is to measure the area to be patched. This is done by overlapping the new fabric onto the area needing attention and marking the circumference of the patch. Once the patch has been measured, it is time to cut it out. Care must be taken to ensure that the patch is even and without any frays or loose threads. If need be, a scrap piece of fabric can be used to practice the cutting.
Part 4: Attaching the Patch to the Pants
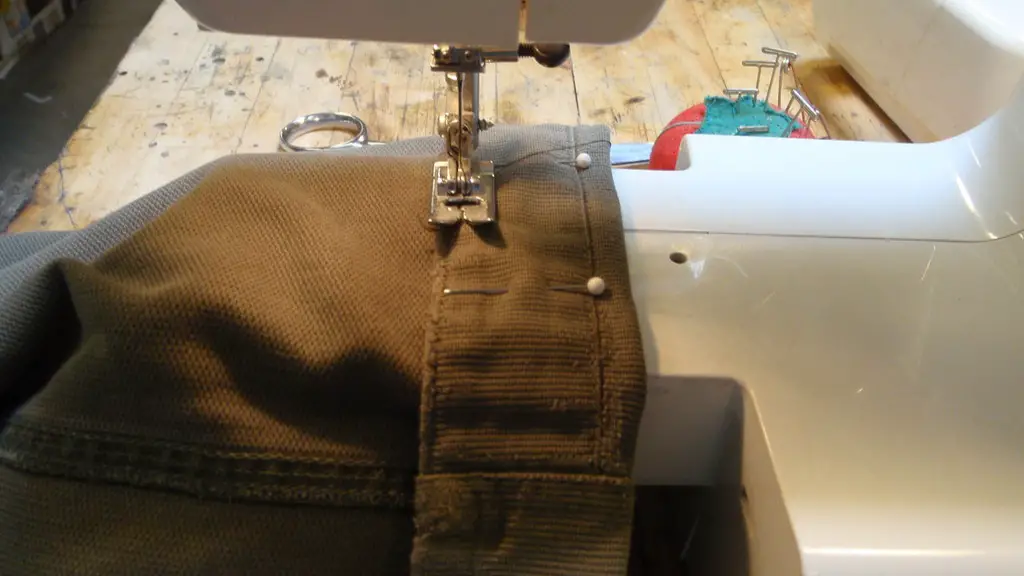
Once the patch has been cut out, it must be pinned to the pants in the area needing repair. This is done by overlapping the cut patch onto the area needing attention and pinning it in place. To ensure that the patch does not move or shift during the sewing process, it is important to evenly distribute the pins and make sure that the patch is secure.
Part 5: Sewing the Patch Onto the Pants
Once the patch is pinned to the pants, it is time to begin sewing. Care must be taken to sew an even stitch so that the patch is firmly attached to the pants. Depending on the weight of the fabric, a zig-zag stitch may be necessary. If it is a very light fabric, a straight stitch will be the better option. Once complete, the patch should be firmly attached to the pants.
Part 6: Finishing the Patch
With the patch firmly in place, it is time to finish the patch. This is usually done by either zig-zagging the edges of the patch to ensure that it stays attached or by over-stitching around the edges to create a professional and tidy finish. Once complete, it is important to trim off any excess thread before taking a closer look at the patch to see if it is secure.
Part 7: Maintaining Your Sewing Machine
After patching your pants with the sewing machine, it is essential to check that all parts of the machine are in working order and that the machine is in good condition. In addition, it may be beneficial to get the machine serviced once in a while to ensure that everything is running smoothly and to make sure that the bobbin, thread and needle are all in great shape.
Part 8: Troubleshooting Your Machine
Though sewing machines should generally be problem-free, there may be times when issues arise. If this happens during the patching process, it is important to be aware of a few tips to help troubleshoot the problem. To start, it is important to ensure that the machine is set up properly, that the thread is threaded correctly and that the bobbin is wound properly. If the machine still continues to malfunction, it may be beneficial to take a look at the machine’s manual or contact the manufacturer for specific guidance.
Part 9: Alternatives to Sewing Machines
Though sewing machines are the preferred option for patching pants, there are alternatives that can be used for this process. Fabric glue can also be used for patching, as many brands are specially formulated for fabrics that can withstand the wear and tear of heavy washing over time. Another option is iron-on patches, which can be attached easily with an iron, though the patch may not last as long as ones sewn in place.
Part 10: Identifying the Right Materials
When patching pants, it is essential to identify the right materials for the job. This can be done by researching the type of fabric in the pants, as well as the type of thread and needles that are needed to match it. The fabric used for the patch should also be similar to the fabric of the pants, as the stitching will be more secure in the event that the patch is exposed to wear and tear. In addition, it is important to use durable thread, such as polyester thread, as this will make the patch last longer.
Part 11: Tips for Successful Patches
To ensure that your patches are successful, it is important to keep a few safety tips in mind. First and foremost, it is essential to take your time and pay attention to your stitches, as this will ensure that the patch lasts long-term. In addition, be sure to use sharp needles and cut the fabric in straight lines to ensure that the patch looks neat and professional. Finally, be sure to take a few breaks throughout the process to avoid hand and wrist cramps and to ensure that your stitching is precise.
Part 12: Caring for Your Patched Pants
Since patched pants are exposed to wear and tear, it is essential to give them the proper care to ensure that the patch lasts. When washing patched pants, it is best to take special care and hand-wash them, or if machine-washed, to do so on the delicate cycle. This will help to prevent the patch from becoming frayed or pulling away from the fabric over time. In addition, dried patched pants should also be ironed with care to ensure that the patch does not lose any of its shape or form.
Part 13: Final Thoughts
Patching up a pair of pants with a sewing machine is not as difficult as it may initially seem. With the right materials and a steady hand, pants can be patched in just a few hours. All in all, the process can be broken down into a few simple steps: measure and cut out the patch, secure it to the pants, sew it onto the pants, finishing the patch, and maintain and troubleshoot the sewing machine. With these steps in mind, patching a pair of pants with a sewing machine is an easy and rewarding task that can be done in no time.


