Supplies and Products
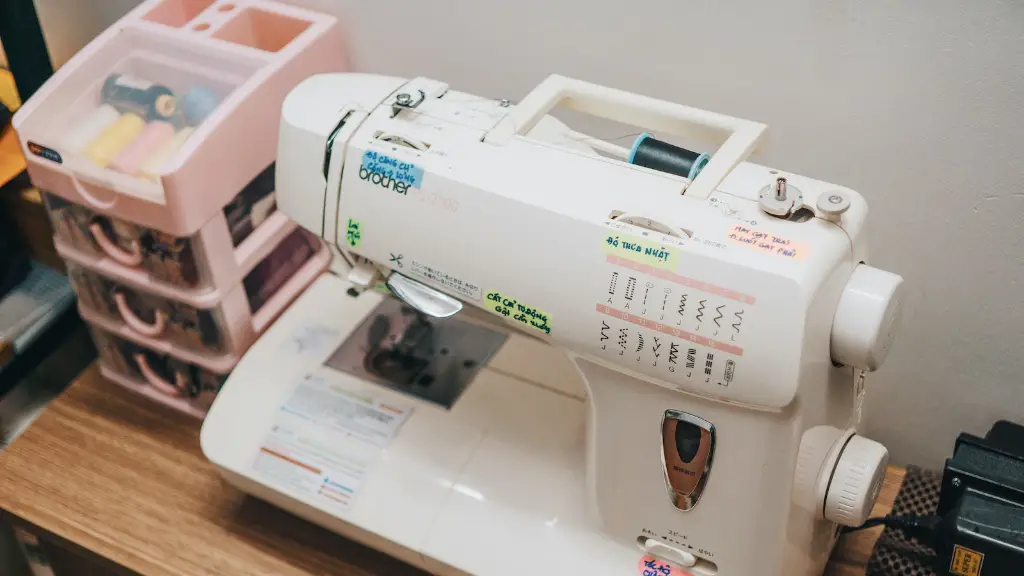
The first thing to do when cleaning your Singer Simple sewing machine is to make sure you have the right supplies to do the cleaning. This includes things like:- A soft cloth or brush to gently clean out any dust or lint build-up- An air compressor for gently blowing out any dust or lint build-up- A small vacuum to gently suck any lint or dust from around the machine- A mild cleaner (such as Dr. Woods or Simple Green) and a small container for soaking and cleaning- A cotton swab to get into hard-to-reach places
You’ll also need to make sure you’re wearing protective gear when cleaning your machine. Although a Singer Simple machine is of a quality that makes it very easy to clean, you need to make sure you’re wearing protective gear such as safety glasses and a face mask when cleaning it.
How to Clean
Once you’ve gathered all the required supplies, it’s time to begin cleaning your Singer Simple sewing machine. Here’s a step by step guide on how to do just that:- Unplug the machine from the power source and make sure all the parts are disengaged from the motor.- Remove the bobbin, unscrew any screws or plates and – if need be – use an air compressor or a small vacuum to clean out any lint and dust from inside.- Use a damp cloth and a mild cleaner such as Dr. Woods or Simple Green to lightly wipe down the exterior of the machine. Be sure to not use too much cleaner so as not to damage the finish of the machine.- Gently use a cotton swab to get into small and hard-to-reach areas and remove any dust.
Insider Tips From Sewing Experts
According to sewing experts, the best way to clean a Singer Simple sewing machine is to first unplug the machine from the power source and make sure all the parts are disengaged from the motor before starting the cleaning process. It is also important to take the machine apart if possible in order to better expose dust and lint and make sure all the parts are clean. Next, use a soft cloth and a mild cleaner to wipe down the exterior of the machine. Lastly, use a cotton swab to get into any small or hard-to-reach areas and remove any dust.
Common Mistakes
One mistake many people make when cleaning their Singer Simple sewing machine is using a abrasive cleaner instead of a mild soap or cleaner. This could potentially damage the finishes on the machine and is best to be avoided. Another mistake people make when cleaning their sewing machine is not unplugging it from the power source before beginning the cleaning process. This could lead to electric shocks so it is important to make sure the machine is unplugged first and all the parts are disengaged from the motor.
Practical Advice and Suggestions
One of the best ways to make sure your Singer Simple sewing machine is kept clean is to make sure it is kept in a clean, dust-free environment. If possible, put a cover over the machine when not in use in order to avoid lint build-up. Furthermore, always make sure you’re wearing protective gear such as safety glasses and a face mask when cleaning your sewing machine.
Efficient Cleaning Techniques
The most efficient way to clean a Singer Simple sewing machine is to use a combination of a damp cloth and mild cleaner to clean the exterior. This is followed by using a small vacuum, an air compressor, or a cotton swab to get into any small or hard-to-reach areas and remove any dust and lint. Once the machine is cleaned, be sure to put a cover over the machine when not in use in order to avoid lint build-up.
Safety Tips
When cleaning your Singer Simple sewing machine, it is crucial to always make sure you’re wearing protective gear such as safety glasses and a face mask. Furthermore, always make sure to unplug the machine from the power source and make sure all the parts are disengaged from the motor before starting the cleaning process.
Regular Maintenance
It is important to note that regular maintenance and cleaning of your Singer Simple sewing machine is key to ensure its longevity and performance over time. Be sure to try and clean it every few months or so in order to make sure it’s always in working condition.


