Cleaning the Outside of Your Sewing Machine
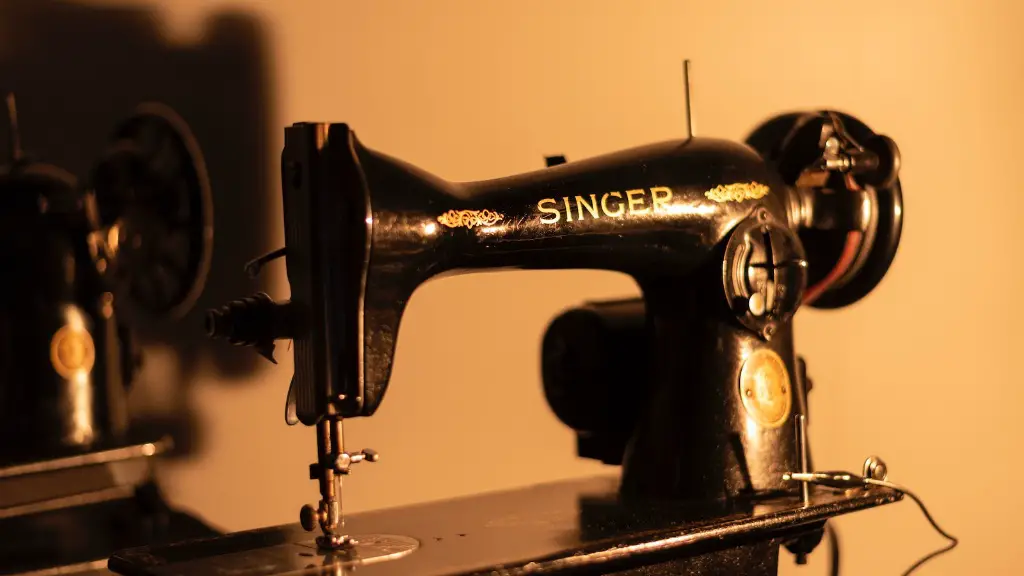
Keeping your sewing machine in tip-top condition is essential for efficient stitching and even bigger projects like a full-size quilt. First, let’s take a look at the outside of your sewing machine. Dust and build-up can easily accumulate on the outside and can clog up the essential areas of your machine that would otherwise make sure your projects come out looking their best.
Unplug your machine and remove any dust or ash particles with a soft cloth. Gently use a soft brush to clean all plastic and metal surfaces as well as the surface of the machine. Make sure to move in circular motions and pay attention to the crevices, corners, and seams of your machine. If the dust or build-up is too thick, try using a slightly damp cloth.
When cleaning the exterior of your machine, make sure that no water or liquids get inside the machine. Take out all loose attachments and avoid getting them wet. If the accessories need to be cleaned, use a damp cloth and never submerge them in water. This includes the power cord and foot pedal, as well.
Once you’ve got the outside of your machine clean, it’s time to look at what’s inside. Before you open up the casing to your machine, make sure to consult the manual provided when you first bought the machine. Every machine is different and may need special instructions on how to open up, clean and close the machine when finished.
Cleaning the Inside of Your Sewing Machine
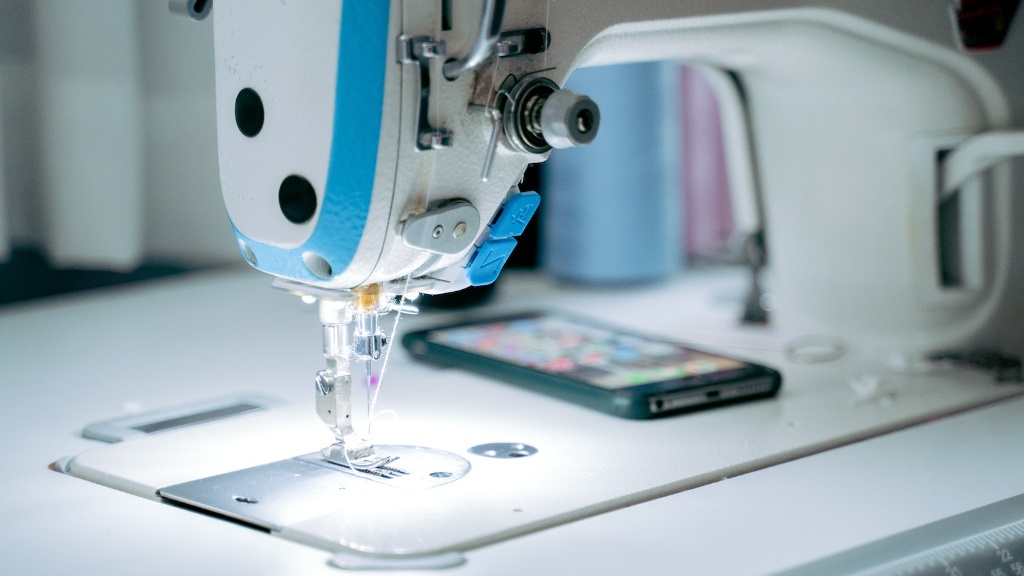
Now, let’s look inside your machine. Unplug your machine and unscrew the screws that are holding the casing in place, then gently lift the lid off the machine. Once you can see the inner workings of your machine, look around for visible dirt, lint, and dust. Carefully brush away any dust and debris from all moving parts. Use a soft cloth if necessary.
If you don’t have access to compressed air, you can use an old household vacuum cleaner. Make sure to use the brush attachment and move in circular motions so as not to disrupt any delicate parts. Clean out the bobbin case in the same manner, and make sure to remove any extra threads that may have gotten caught inside and around the bobbin. Make sure to examine the thread path and clean out any buildup with a small brush.
Look around for any other obstructions, like gummed up or broken pieces, anything blocking the bobbin or tension wheel, and dust buildup on the feed dogs. You may need to use tweezers, small cotton swabs, or brushes to get into hard to reach places. Be sure to take your time and make sure that all the delicate parts are well movable.
Finally, make sure that nothing is blocking the needle. If the needle becomes blocked, it could cause major damage to your machine. Keep in mind that metal needles become dull over time, so replacing them every few months can prevent issues.
Maintaining Your Sewing Machine
After you have cleaned up the inside and outside of your machine, it’s time to add some protective layers of maintenance. It is recommended that you unplug your machine when not in use, and always make sure to use a machine lubricant. It’s always a good idea to check with your machine’s manual on what type of lubricant to use, since some may react with the metal parts.
When you’re finished with your machine and ready to store it, do not cover it with plastic or anything that can trap moisture. Doing this can lead to the growth of mold in hidden areas of your machine. Instead, cover the machine lightly with a cotton cloth, like an old cotton shirt, or a dust cover. This will help keep your machine safe from dirt, dust, and moisture.
Tips For Cleaning Your Sewing Machine
It’s important to take the time to give your machine a good cleaning once in a while. Doing this will make sure that your machine runs smoothly and prevent any major damage in the long run. Here are some tips to remember:
- Always unplug your machine before cleaning it.
- Use a dry cloth to dust and clean the outside of the machine.
- If necessary, use a slightly damp cloth to remove stubborn buildup.
- To clean the interior of the machine, use a soft brush and circular motions.
- Using a vacuum cleaner can help get rid of finer particles.
- Lubrication is essential to keep your machine in good working order.
- Never cover the machine with plastic, as this can cause moisture buildup.
Storing Your Sewing Machine Safely
After you are done cleaning and maintaining your sewing machine, it’s important to store it in a safe place. Make sure to keep the machine in an area that’s free from dust and protect it from extreme temperatures and moisture. It’s also a good idea to keep the machine in a designated spot, so it’s easy to access when you need it. This can help save time, since you won’t have to search around the house before getting started.
When transporting the machine, make sure to pack it up carefully. Gather the machine and all its attachments, cords, and manuals, and wrap them up securely. If you’re taking the machine on a plane, make sure to check your airlines’ travel restrictions first.
Sewing Machine Maintenance Cost
Cleaning and maintaining your sewing machine may cost time and effort, but the long-term benefits of taking proper care of your machine far outweigh the cost. Regular maintenance will make sure that your machine lasts longer and performs accurately, no shortage of fabrics and projects with precision. This will significantly reduce the amount of machine related frustration, so you can focus more on the creative process of your project.
With the right machine, high-quality fabric, and talented sewers, even the most ambitious of projects can be accomplished with ease. Properly maintained machines make all tasks easier, saving time and money, and adding that extra spark of joy when stitching.
Cleaning Sewing Machine Accessories
When cleaning and maintaining your sewing machine, don’t forget about its accessories. Pay attention to small scissors and rotary cutters that get used frequently. Regularly take apart the scissors (if possible) and clean the inside of any build-up or dust. This is especially important if the blades are beginning to stick.
Rotary cutters require a similar amount of attention. Wipe off the blades and the handle after every use. If the blades are worn out, or if you notice any dullness in the cutting, it may be time to replace them.
Presser feet, bobbins, and needles should also be part of your routine maintenance process. Make sure to check them regularly and replace them when needed. If the presser feet are moving too slowly or stuck, use a lint brush to clean out any obstruction that may be causing dragging. Consult the machine’s manual for proper oiling procedures for metal and plastic parts.
Conclusion
Proper maintenance and cleaning of your sewing machine is essential for keeping it in good working order. Dust, dirt and lint can easily accumulate on its surfaces, so unplugging and wiping down the exterior is an important first step. Then examine the interior of the machine for any obstructions, lint or broken parts, and use a circular motion to brush away any dust and dirt.
Inspect presser feet, bobbins, and needles regularly, and use the right machine lubricant to keep all the delicate parts of your machine in excellent condition. Finally, make sure to store it in an area free from dust and protect it from moisture. With a little bit of effort, your sewing machine can stay in perfect working order for years to come.
